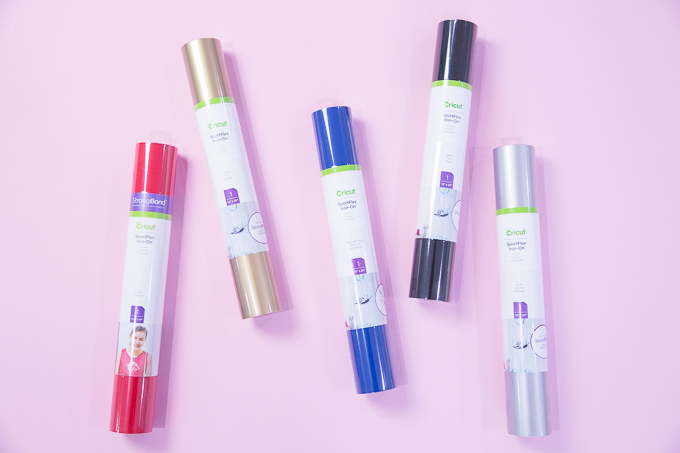
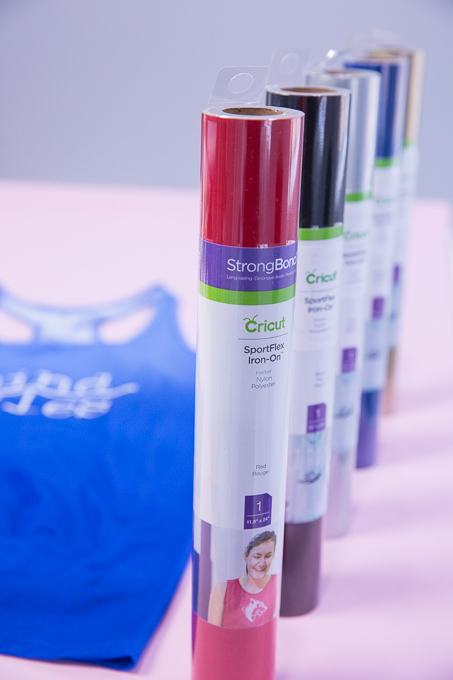
Have you seen the new Cricut SportFlex Iron On™? It is specifically made for all your athletic wear. Yay! You know how much I love a great graphic tee. Plus, I wear athletic (aka stretchy) clothing a ton! Sometimes it’s because I’m going to exercise… and other times it’s because it’s comfy! Who’s with me?! :)
My oldest is now running track too, the 400 meter and the 800 meter. He’s inspired his mom to get back in the groove of running. It’s that or I need a new mountain bike to keep up with him when he’s training at home! They run at the University of Alabama two days a week (no problem because I can hang out in the stands), and then crazy mountain trails the other three (where I need to get my groove back). Whew! He doesn’t need me to run with him of course, but his little brother wants to go too.
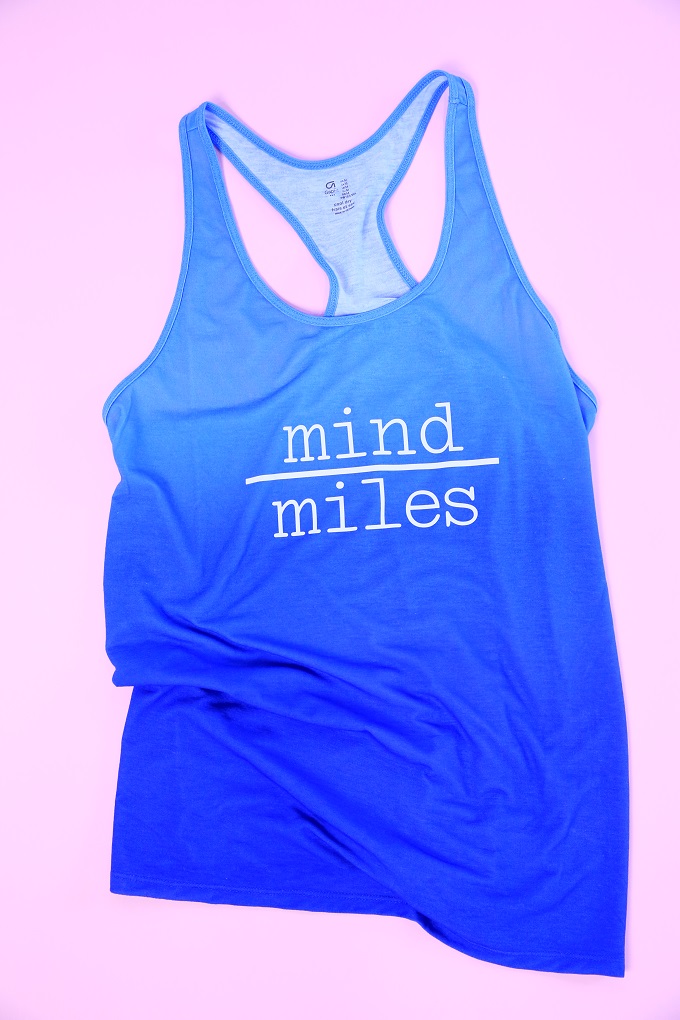
My motto is MIND OVER MILES. I just have to start running and daydreaming so I don’t concentrate on each footfall!
And to run you have to feel good, which is where I need cute new tanks and tees! I made this cutie tank. The SportFlex Iron On is made for fabrics like nylon and polyester. It’s thin, stretches (so you can put it on tighter tees too), lightweight and it’s strong!
You can even layer up to two layers to make your designs even more detailed. I’m going to layer red and white for our school logo on my next shirt. It features the Cricut StrongBond™ Guarantee* for long-lasting results that stick so it can take the pressure!
Want to make one?
Supplies For Mind Over Miles Graphic Tee
- White SportFlex Iron On
- Cricut Maker or Cricut Explore Air 2
- Standard Mat
- Weeding Tool
- Scissors
- EasyPress
- Ruler
- Tshirt
- Design Space File
- Optional: BrightPad
Instructions For Mind Over Miles Graphic Tee
- Design & Measure – It’s important to measure the chest of your tee and determine how large you want your design. Size it in Design Space by pulling or reducing the design at the corners.
- Mirror Image & Cut – Don’t forget to mirror image your design once you select “make.” Place the SportFlex shiny side down on your mat and cut.
- Weed – Using a weeding tool, take out all the negative material on the backer, remembering to pull the center of the letters out.
- Place & Press – Measure your tee again, find the center point, place the design on the tee and press. If you have an EasyPress, the new SportFlex Iron-On has an insert telling you “Set EasyPress to 305 degrees. Preheat material for 10 seconds. Place weeded design, liner side up, onto the preheated material. Heat each area 30 seconds with medium pressure. Flip over and heat the back for 15 seconds. Let cool 1 to 2 minutes.”
It’s that easy!

More Cricut Graphic Tee Tutorials
Watch for tons more SportFlex Iron On tutorials. Since we’re a sports family I’ll be making lots of things for the boys and me. Until then, here are a few more graphic tees I’ve whipped up with my Cricut:
- Feed Me And Tell Me I’m Pretty Graphic Tee
- Shine Bright Graphic Tee
- Proud To Be An American Graphic Tee
- Easter Egg Hunt Graphic Tee
- Sew Awesome Graphic Tee
As always, I hope you’re inspired to craft, bake, create and celebrate!
INSTAGRAM | FACEBOOK | PINTEREST | GOOGLE+ | TWITTER | YOUTUBE | BLOGLOVIN
Thank you for supporting my wonderful sponsors. They make it possible for me to keep the ideas coming! All content, ideas, photography and opinions are that of my own and I’d have it no other way! There may be affiliate links in this post, of which we do earn a small fee at no cost to you.
This is a sponsored conversation written by me on behalf of Cricut. The opinions and text are all mine.


 How To Personalize Store Bought Easter Gifts With The New Wisteria Cricut & EasyPress