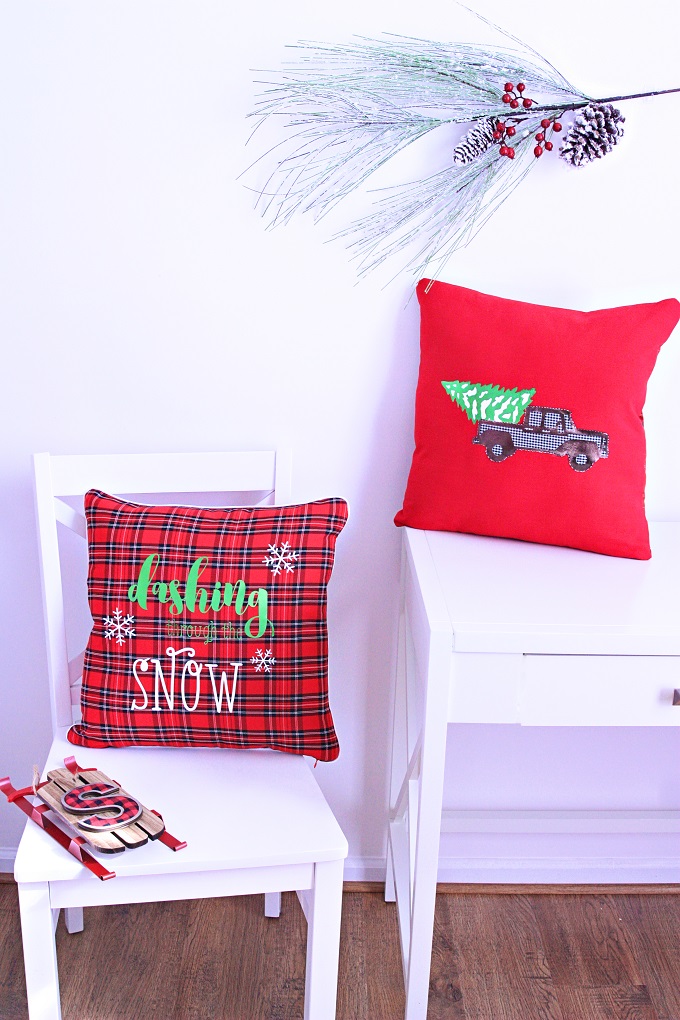
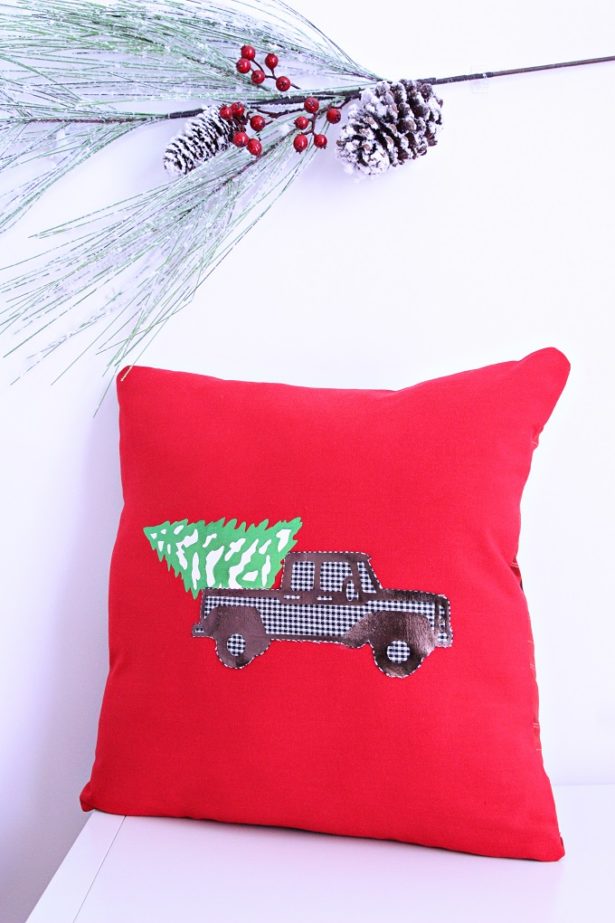
Christmas throw pillows! They’re one of my favorite ways to decorate a room for the holidays and this year I made a few. Let’s start with a vintage truck Christmas throw pillow embellished with foil!
Every year I add handmade Christmas decorations to my ever growing collection. My idea is that someday, when my boys are grown, I’ll give them some of our little family treasures to start their own Christmas decoration collections. This year, I’ve already made several things, but I think my favorites so far are these handmade Christmas pillows.
You’ve likely seen the vintage truck with a Christmas tree in back in many of the home décor stores. I love the look and knew I had to put it on a Christmas pillow. The best part is, it’s so easy to make with Cricut and Cricut foil iron-on.
What You’ll Need
To make your own vintage truck Christmas throw pillow you’ll need a few items from your local JoAnn Fabric & Craft Store:
- 2/3 yard Red Fabric (poplin, a sturdy cotton)
- 1/4 yard Black and White Gingham Fabric, cotton
- Cricut Foil Green Iron-On
- Cricut Foil Bronze Iron-On
- Cricut White Iron-on (available in-stores)
- Cricut Explore Air 2
- Cricut Weeding Tool
- Cricut Standard Cutting Mat
- Cricut Design Space
- Elmer’s Xtreme Glue
- Red Thread
- Invisible Zippers, 12-14 inch
- Piping
- Pillow Forms, 18”
- Iron & Pad
- Ruler
- Scissors
Easy Step-By-Step Throw Pillow Tutorial
For the full tutorial on how to sew the 18×18 pillow covers with invisible zippers and piping, including pictures of the step-by-step, hop over to my Learn To Sew – Easy DIY Throw Pillow Covers with Piping post. But before you sew your pillow, let’s cut our fabric and embellish it!
Easy instructions:
1. Cut base pillow fabric – using a clear ruler, cut 19×19” squares. I chose to make my pillows two sided. If you’d like to do the same, cut one 19×19” red and one plaid per pillow.
2. Design – open my project in Cricut Design Space, make any adjustments to size or add text if you’d like, keeping the finished 18×18 size of the pillow in mind.
3. Cut foil and white iron-on – cut each element of the truck and tree, remembering to flip the design for iron-on.
4. Cut truck fabric – iron the truck outline foil onto the gingham fabric, and fussy cut out the design.
5. Glue – measure for the center of the pillow and using fabric glue, glue the truck to the pillow. Allow to set for five minutes.
6. Iron – place the tree on the truck, angling it up slightly and trim off a corner that would be “inside” the truck. Do this same for the snow on the tree. Iron each element on individually, allowing the fabric to cool for 3-4 minutes between layers.
7. Sew pillow – follow my directions here Learn to Sew – Easy DIY Pillows.
More Fun & Easy Christmas Crafts
- Simple No Sew Hoop Ornaments
- Free Printable Gift Tags & Red Velvet Peppermint Cupcakes,
- Easy Photo Transfer Ornaments,
- How To Make A Not So Ugly Sweater,
- Easy Plaid Penguin Christmas Crafts,
- Snowman Wreath
As always, I hope you’re inspired to craft, bake, create and celebrate!
INSTAGRAM | FACEBOOK | PINTEREST | GOOGLE+ | TWITTER | YOUTUBE | BLOGLOVIN
This DIY project is sponsored by Jo-Ann Fabric and Craft Stores. Thank you for supporting my wonderful sponsors. They make it possible for me to keep the ideas coming! All content, ideas, photography and opinions are that of my own and I’d have it no other way! There are affiliate links in this post, of which we do earn a small fee at no cost to you. #KimByersForJoAnn #HandmadeWithJoAnn
How To Make A Vintage Truck Christmas Pillow seen first on The Celebration Shoppe.


 Christmas Party Prep – Decorate Damage Free