Say goodbye to summer with a simple ice cream party! Hang a few decorations, grab some bowls and if you’re feeling crafty, let’s make a simple chalkboard flavors sign! It’s easier than you think to chalk that perfect chalkboard sign for your next party.
It looks intimidating when you see those beautifully chalked signs, with straight lines and perfect letters, but truly it’s very easy! For my technique, you’ll need to pull out your Cricut if you have one. If not, stencils and a ruler also work great!
Let’s gather up a few craft supplies:
- Vinyl chalkboard
- Chalk pen, fine point and medium point
- Cricut, Standard Cut Mat and Cricut Stencil Paper
- Ruler
- Paint brush
- Small bowl of water
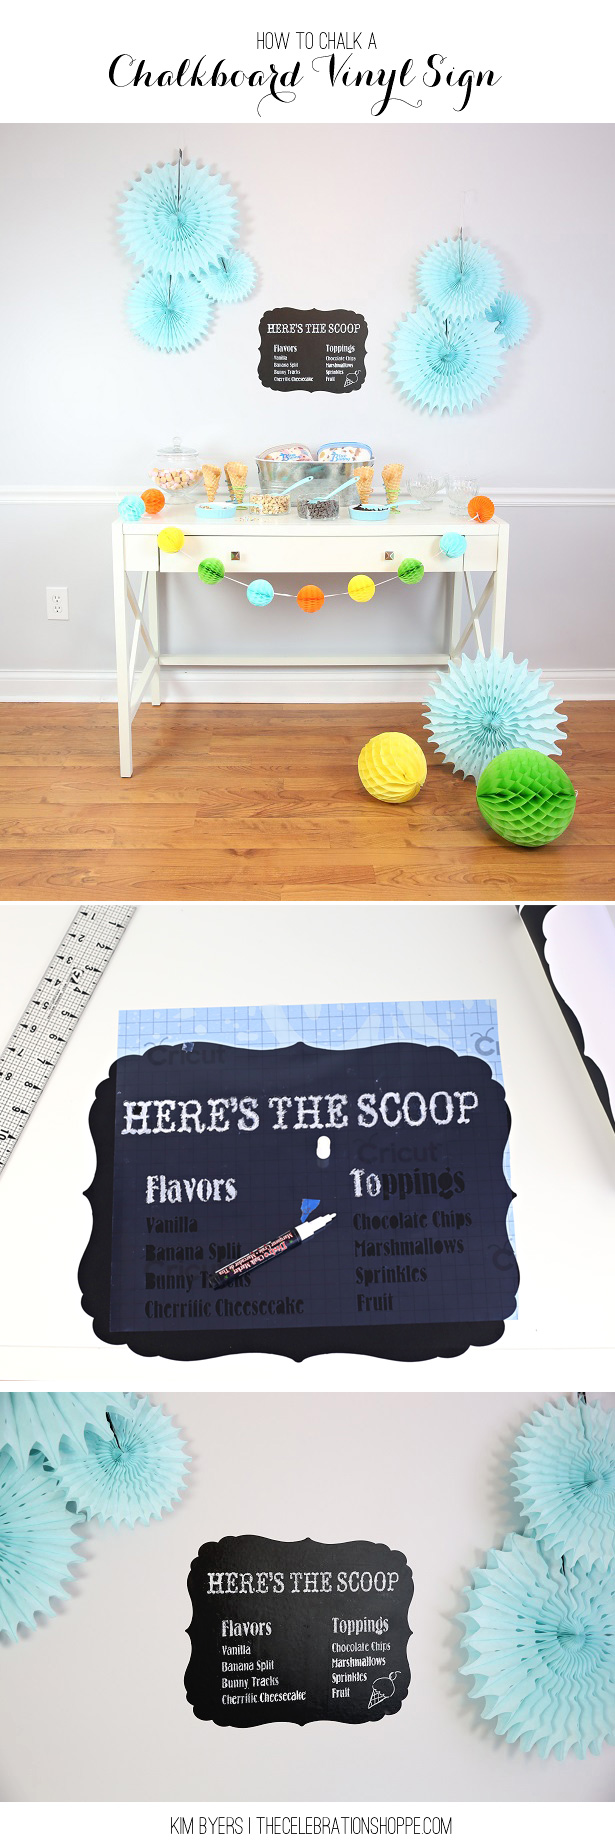
Easy DIY steps for crafting a chalkboard sign:
- Cut – cut out the frame for your sign. Most die cut machines have a variety of cuts to choose from.
- Personalize – either with a die cut machine or with stencils, personalize the message. In my case I wanted to share all the available ice cream flavors because I didn’t want them out on the table for the entire party.
- Overlay – place the stenciled message on the vinyl sign.
- Chalk – using a chalk pen, fill in the stencil design.
- Apply – find center above table and apply the vinyl to the wall. It pulls away with no damage and you can easily clean it up with water and use it again for another party!
Tip: Keep a fine paint brush and small bowl of water on hand for easy clean-up if you chalk outside the lines. It’s like having a magic eraser! {wink}
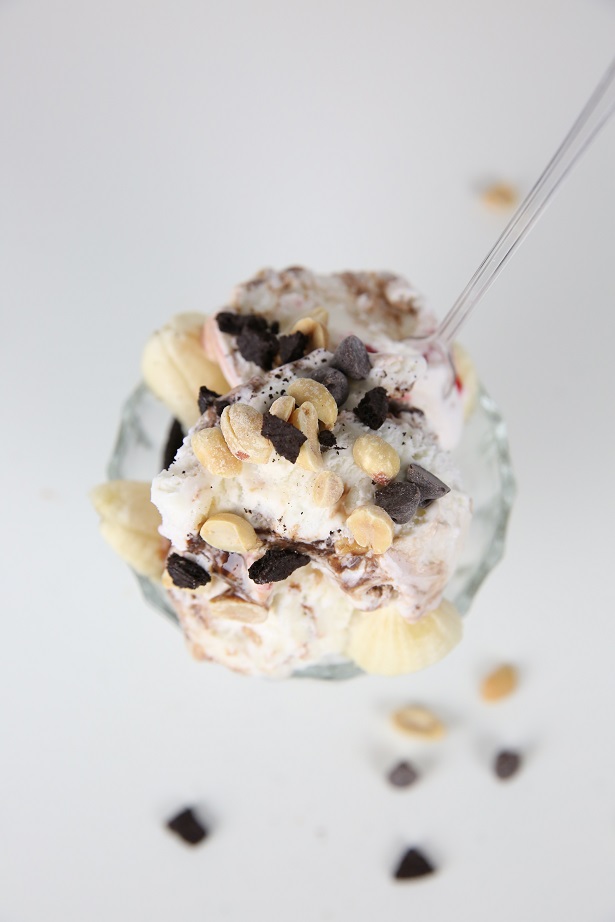
For more ice cream party ideas, make sure you check out my rainbow ice cream sandwiches, blueberry lemon ice cream recipe, and dipped and sprinkled ice cream cones. My favorite tends to be a huge banana split. {wink}
As always, I hope you’re inspired to craft, bake, create and celebrate!
INSTAGRAM | FACEBOOK | PINTEREST | GOOGLE+ | TWITTER | YOUTUBE | BLOGLOVIN
How To Craft A Perfect Chalkboard Sign The Easy Way was seen first on The Celebration Shoppe


 All Star Baseball Concession Stand Free Printables