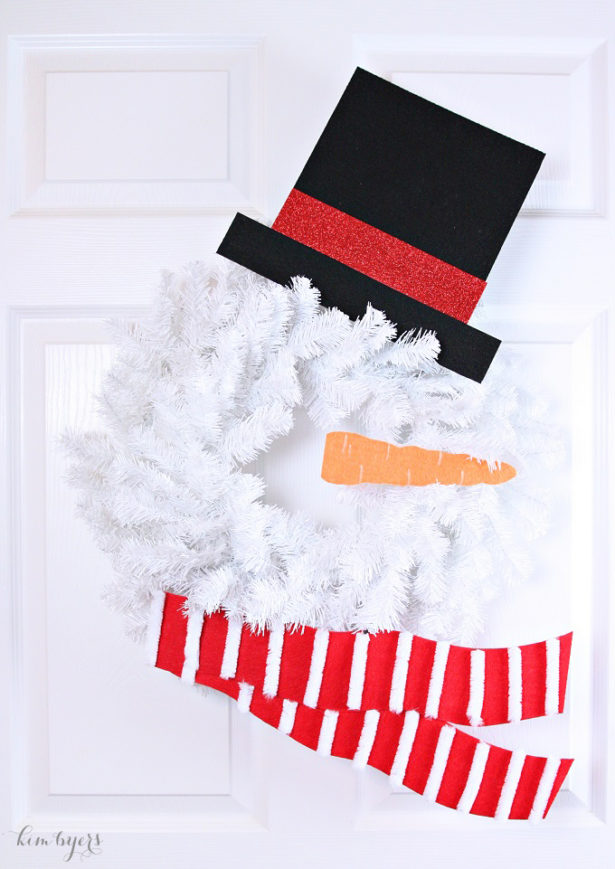
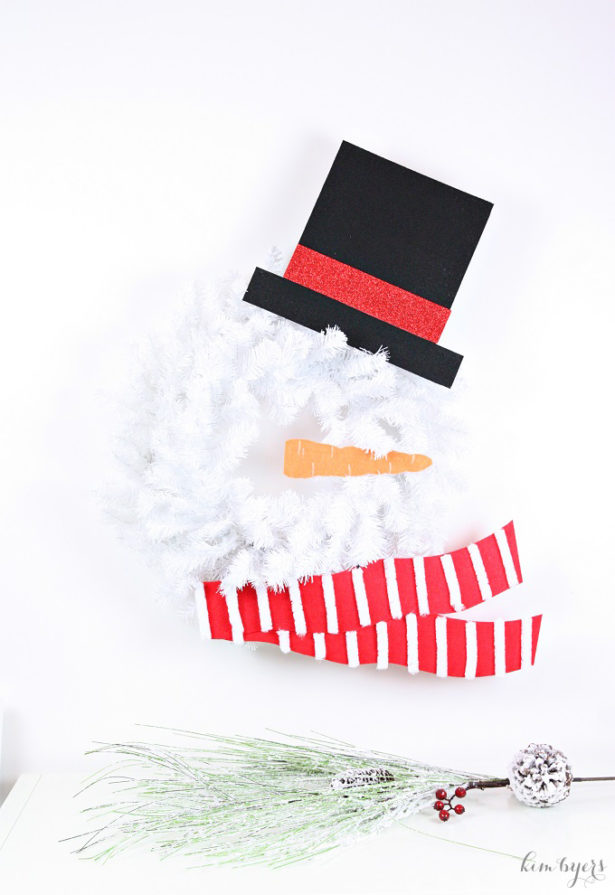
My boys are dreaming of a white Christmas. While I can’t promise them snow for Christmas, I can create a little winter wonderland for them with a super easy snowman wreath!
You may remember that my little family moved from Ohio to Alabama this year. Snow was everywhere up there and nowhere down here. {wink} Even though there’s no snow on the ground here, I won’t let that stop me from making a snowman!
What You’ll Need To Make A Snowman Wreath
To make this snowman wreath, you’ll only need a few things from JoAnn Fabric & Craft Store:
- 18″ white wreath
- 2 black felt sheets, backed
- 1 orange felt sheet, backed
- 1 red felt sheet, 11 x 17, backed
- white painters pen
- Elmer’s Xtreme Glue and/or hot glue gun
- mini white clothespins (available in store)
- white chenille wire stems
- scissors (plus wire cutters if you prefer not to use scissors on stems)
- ruler
- optional: Command strip heavy hangers
How To Steps For Making A Snowman Wreath
1. Fluff – start by fluffing the wreath so you can determine exactly how big it will be. If needed, adjust my hat, nose and scarf measurements to fit.
2. Cut out hat – cut each piece of felt or foam. If you have a straight edge trimmer, those work great for the straight cuts. For the hat, use the black felt and cut two pieces: 8.5 x 9″ for top hat and 2 x 12″ for rim. Add a layer of glitter foam to make it sparkle. This piece should be 2 x 9″.
3. Cut out nose – cut orange felt 2 x 8” and then fussy cut the ridges and bumps to look like a carrot.
4. Draw – using a white Painters Pen, draw growth lines on the carrot to give it dimension.
5. Cut out scarf – using the larger red felt, fussy cut out two scarf pieces. Just make sure that your second and third cut on the scarf piece mirror the first so that it looks like it waves evenly.
6. Embellish scarf – glue two scarf lengths together at one end as if it’s blowing in the breeze. Using scissors or a wire cutter, cut 3” sections of chenille and place them 1 ¼” apart on scarf length. After all are in place and spacing looks good, glue them all down trimming excess when needed near overlap. I suggest placing the stripes on the bottom scarf piece between the top ones so that they don’t all run together.
7. Decorate – using white mini clothespins, attach each element to the wreath. If you’re hanging your wreath outside, you may want to also secure with hot glue.
More Fun & Easy Christmas Crafts
- DIY Chalkboard Countdown to Christmas,
- Easy Photo Transfer Ornaments,
- How To Make A Not So Ugly Sweater,
- Easy Plaid Penguin Christmas Crafts,
- Photo Transfer Christmas Ornaments
As always, I hope you’re inspired to craft, bake, create and celebrate!
INSTAGRAM | FACEBOOK | PINTEREST | GOOGLE+ | TWITTER | YOUTUBE | BLOGLOVIN
This DIY project is sponsored by Jo-Ann Fabric and Craft Stores. Thank you for supporting my wonderful sponsors. They make it possible for me to keep the ideas coming! All content, ideas, photography and opinions are that of my own and I’d have it no other way!


 Merry & Bright Christmas Party