So of course I couldn’t just have fun food for my little boy’s third birthday bash, I had to have some really fun decor too. We decorated the entire backyard, but these are a few of my favorite crafts.
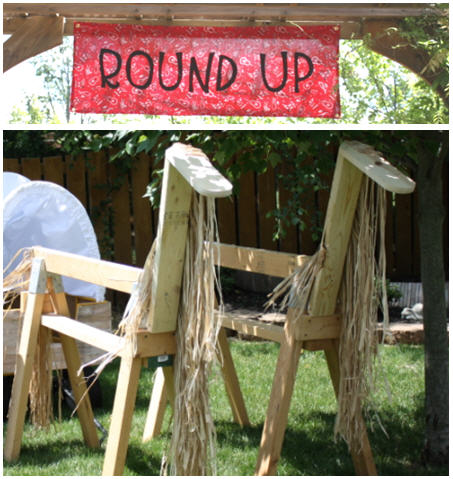
The banner was a no-sew project. You’ll need:
- 2 yards of a cowboy bandanna print
- 3/4 yard of black
- 3/4 yard Heat n Bond iron on adhesive
- roll Stitch Witchery hemming tape
- 4 grommets (grommet hand tool is easiest, but you can use a hammer)
- twine
And here are the simple steps:
- Enlarge your letters in Word and print them off as a template
- Iron the Heat n Bond adhesive to the black fabric (per the package instructions)
- Cut out your template letters, pin them to the black fabric and trim them out
- Take your cowboy print, iron down 1/2″ hem and secure it with Stitch Witchery (follow instructions on package)
- Insert one grommet in each corner about 2″ from each side
- Place your black letters on your banner, peel off the adhesive backing and iron them down
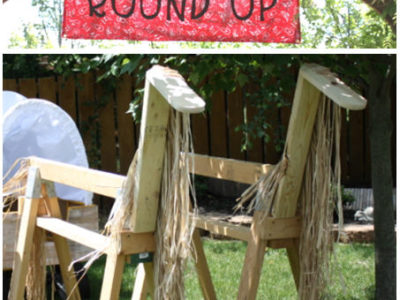
Okay, on to the (saw) horses. They in themselves are not new; I blogged about this idea almost a year ago. However, the little covered wagon in the back is all us! I only wish I had gotten a better shot of just it. Here’s how you pull these two crafts off. The horses are just my hubby’s saw horses with a neck (2×4) and a slightly mitered head (1×4) embellished with raffia mane and tail. Very simple, but the kids loved it!
The covered wagon, a little more complex, but well worth it. The wagon itself is just our garden wagon. The side panels were covered with cardboard, Hodge Podge and scrapbook paper that looked like wooden planks. {wink} The top was created from:
- a white twin sheet,
- three 6 ft. long tubes, and
- a 9 ft. roll of thin elastic
And here’s how you make it:
- Trim off 18″ from one end of the twin sheet (make sure and measure your wagon and modify as needed) and hem it back with a small opening.
- Third the 18″ into 6″ strips and use those to create three pockets in your sheet. One centered and the other two 4″ from each end
- On each end insert your thin elastic and pull the fabric in to look like the opening of a covered wagon (stitch the elastic in place or plan to tie it to your wagon)
- Insert your flexible tubing and then using wire ties attach it to the wagon
Happy crafting and Yee Haw!


 cowboy birthday treats