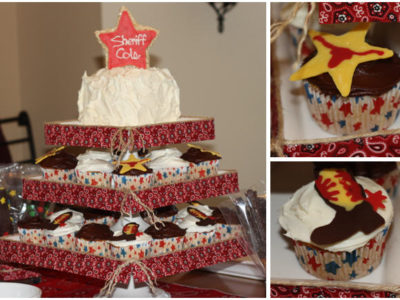
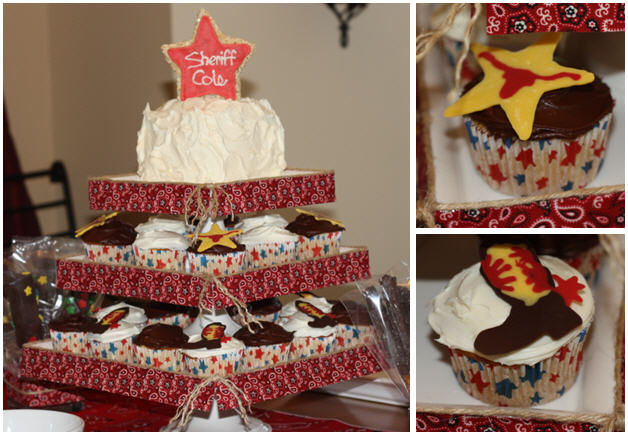
My youngest is turning three and he wanted a wild west cowboy bash. So as you can imagine, I gave him one. {wink} Those who read me often know that he has severe food allergies so I needed to make a cake and treats that were dairy and nut free. (He was released from the egg allergy thank goodness; cake is not cake without eggs!)
Candidly I was really unsure what I was going to do until a few days before the party. I decided on a chocolate and vanilla cupcake tier with a 4×4″ cake (for my little guy) on top. Not only does the tier give the table height, but it also made a clear separation between his cake and the guest cakes… especially since I tried my hand at chocolate transfer. {loved it!}
So for his cake, I could use dairy-free chocolate transfer (trust me you can’t tell the difference in taste), but I’ve only been able to find it in regular chocolate, no white chocolate or other colors, and I didn’t think that was very interesting so I opted for a rice crispy (which he loves) sherrif badge. No worries, I made more as favors for his little buddies.
However, I did use chocolate transfer for my guest cupcakes. This was actually my first attempt and I was amazed at how easy it is. Here are a few tips:
- Print out your design. If small enough put multiple designs on a single sheet.
- Tape your template to a cutting board (so that you can turn the image if you need to).
- Cover the image with wax paper.
- Use melting chocolate (available at all craft and baking supply stores). I used Wilton red, yellow and dark chocolate.
- Use a freezer weight resealable bag, heating your chocolate in 8-10 second intervals and massaging it with your hands between heating. (Make sure and insert your connector before melting your chocolate.)
- Pipe your design backwards, meaning pipe the design you want to show on top first and then layer the rest of the design on top of it. Here’s a pictorial from the Love-Sweet-Love blog.
- Allow the chocolate to cool, peel it off, flip it over and apply. Tah-dah!
As for the cake plate decoration, this part was a lot of fun because I got to use my glue gun! You guys know I love it! {giggle} Anyway, I embellished Martha Stewart’s square tier cake plates (8″, 10″ and 12″) with a 2″ bandana ribbon and twine. I applied the glue to the ribbon and then applied the ribbon to the cake plate. Doing it this way allows it to cool slightly before applying to the plate. As for the twine, I put it on second leaving a two inch overhang at one corner. Once the glue set, it is almost instant, I separated the twine ends and frayed them slightly.
I’ll post more ideas, including how to make the sheriff rice crispy treat, from our bash later this week. So stay tuned and happy baking!


 owl inspired