We love having a Christmas advent calendar. The kids bounce out of bed each day giddy to see what is inside. When they were really tiny it was always a little note about how we would celebrate the season that day. Reading a book together, hot chocolate, etc.
Last year they really wanted to the LEGO advents in addition to our regular advent. My oldest got the original and my youngest got the Star Wars. They were fun and the boys wanted to do it again this year. After looking at the 2013 sets and how similar they are to the 2012 sets, I decided I’d rather buy a bigger Christmas set and separate it into the advent myself. The set was only a bit more and it is much cuter!
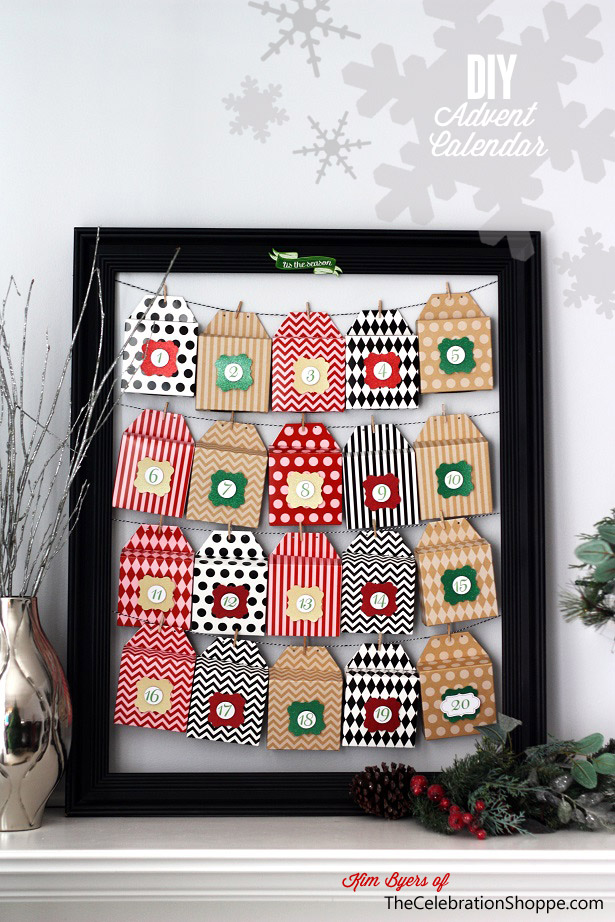
Well of course to make this magic happen that meant I had to create my own DIY advent calendar. Let me tell you, it is a huge hit with my kiddos and it looks pretty in my living room. {grin}
So let’s get crafty!
To make your own advent calendar, you can find all of these supplies at JoAnn Fabric and Craft Stores:
- 4″ boxes or bags for the number of days that you’ll be celebrating (these exact boxes are from Pick Your Plum, but JoAnn has similar boxes & paper bags)
- Mini clothespins (in the wood section)
- Bakers twine or ribbon
- DCWV The Christmas & Winter Glitter Cardstock Stack
- DCWV The Holiday Cheer Stack
- DCWV Chipboard Christmas embellishment (shown on top of frame)
- Elmer’s Craft Bond Glue Spots 1/8″ thick
- Whimsy frame 2.5″ punch
- Circle 1″ punch
- Foam adhesive squares
- Optional: 30″ wide frame and hot glue (a banister or mantel would work great too)
And these are the easy steps:
- Measure – if you’re hanging your boxes or bags inside a frame, measure the width of your packaging and the inside edges of your frame. Lay them out on the table in the arrangement you want.
- Select paper colors – flip through the DCWV The Christmas & Winter Glitter Cardstock Stack and select glitter paper.
- Punch frames – punch the sheets and set aside
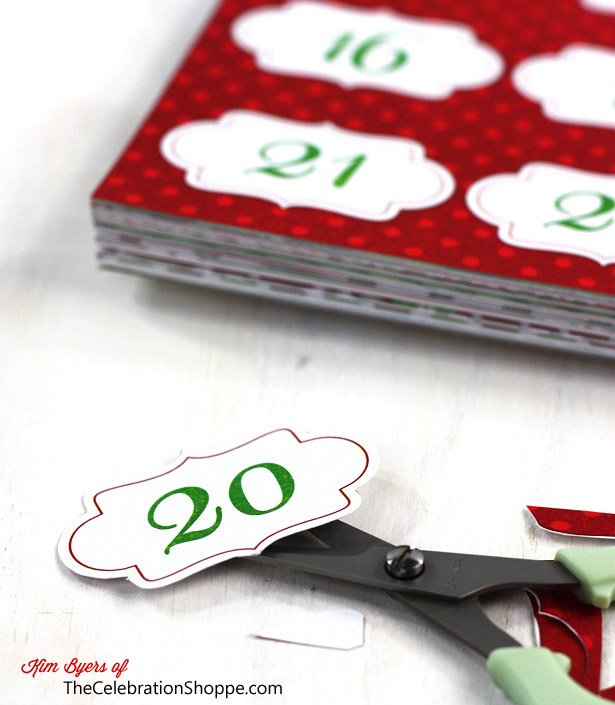
- Punch and/or cut numbers – in the front of the DCWV The Holiday Cheer Stack you’ll find two sheets of frames and numbers. I punched the numbers from 1-19 out with a 1″ circle punch. I then cut out the frames for the 20-24 boxes.
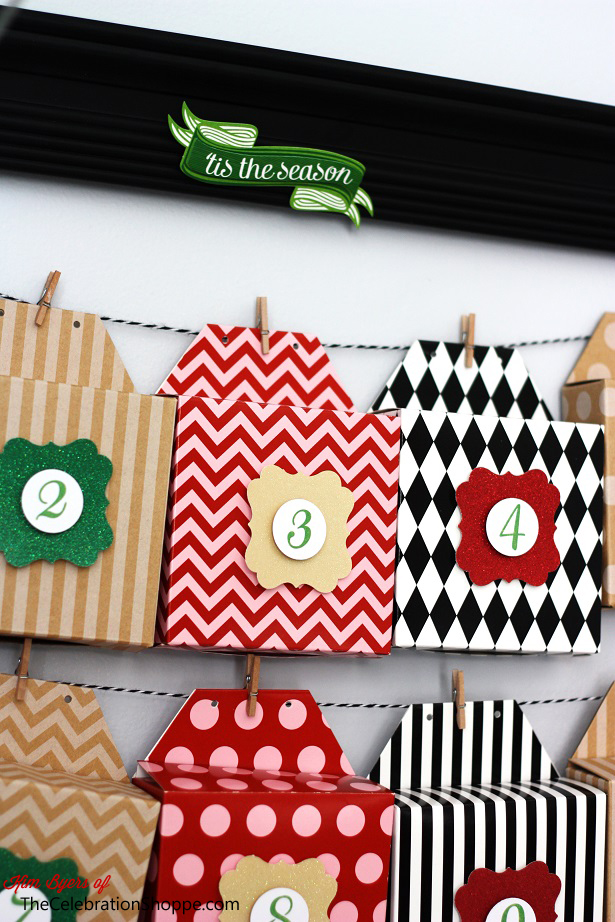
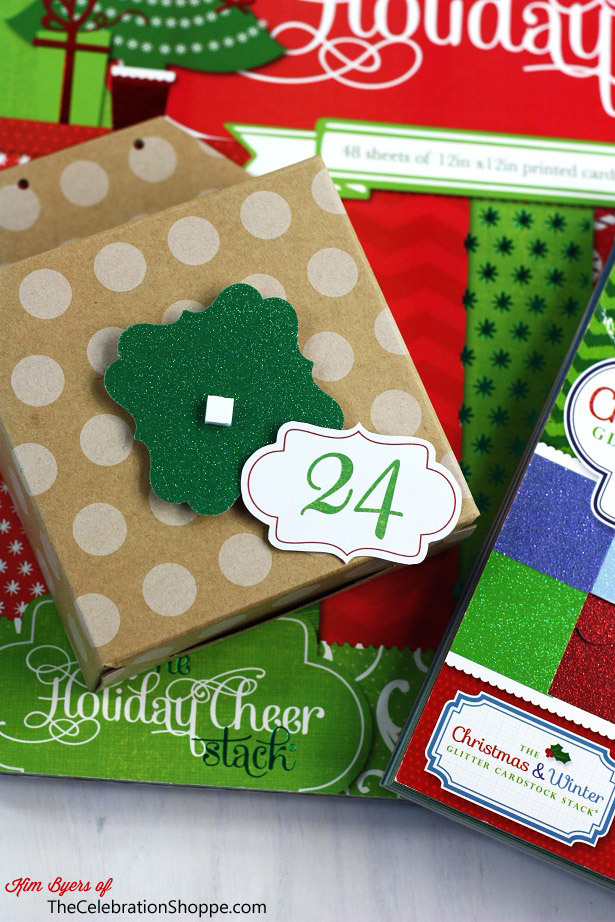
- Attach frames and numbers – using 3/4 glue dots, attach the frames to the center of your packaging. Top with a foam adhesive dot and add the day/number.
- Hang – string bakers twine inside your frame (or along a banister or mantel), attach with hot glue or push pins (depending on the surface) and clothespin on each box.
- Give – I chose to only put the next morning’s gift in each day. There are two reasons for this. One, my boys might look… {grin} and two, it keeps the weight on the string to a minimum.
And if you’re like me, and you’re filling yours with LEGOs, take 24 resealable bags (or 48 in my case) and separate the LEGOs according to the instruction book. My boys are loving getting a new piece to their creation every day!
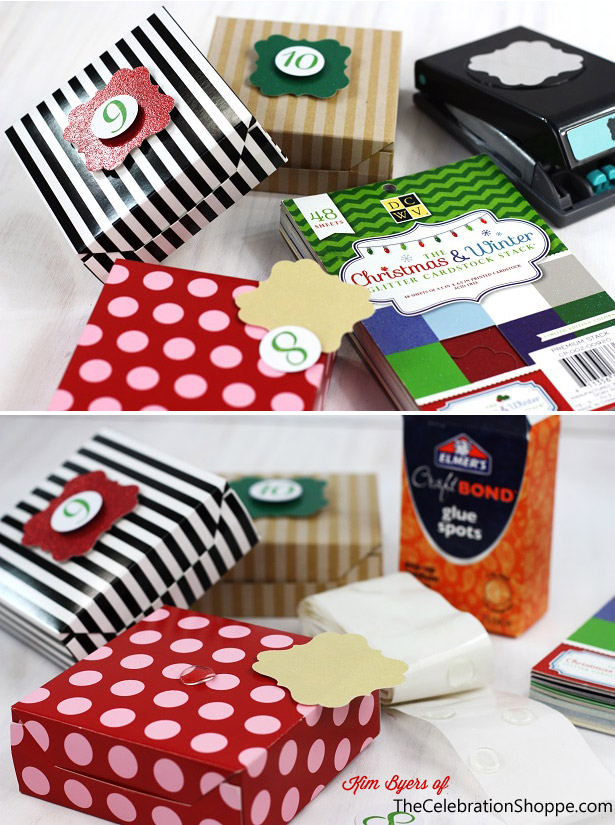
I used small detail scissors for the whimsy frames on the numbers.
And this is what the foam adhesive dot looks like between the frame and number. Gives it just a bit of 3-D effect!
Guess what?! DCWV and JoAnn are offering you a coupon to get your craft project started!
click here, print your 50% off coupon and let’s get crafty!
As always, I hope you’re inspired to craft, bake, create and celebrate!
INSTAGRAM | FACEBOOK | PINTEREST | GOOGLE+ | TWITTER |
How To Make An Easy DIY Christmas Advent Calendar {Tutorial} seen first here on The Celebration Shoppe
This #papercraftedChristmas project was created in partnership with JoAnn Fabric and Craft Stores and DCWV. The Celebration Shoppe did receive compensation and supplies, but all opinions and ideas are my own. You know I’d have it no other way!

 Believe Christmas Party Supplies {Red, White & Silver with Snowflakes}