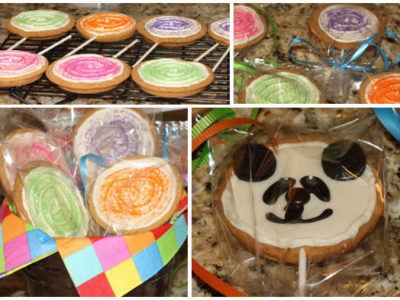
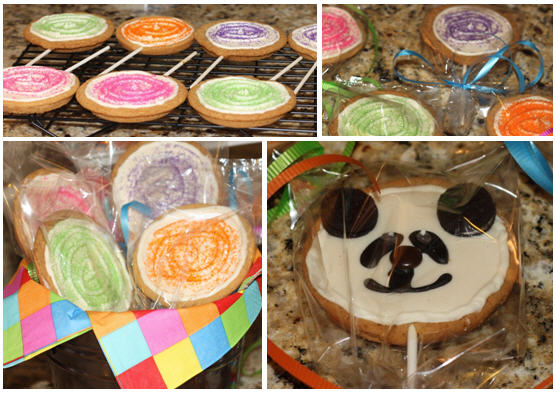
My oldest son’s last day of preschool was this past Friday and I volunteered to provide the end of year treat. His class was loving called the Panda Bear class so I, naturally, wanted to make Panda Bear cookies. I had everything ready. I baked the lollipop cookies a day in advance and I had all my cookie decorations ready to go… or so I thought. Long story short, I fell asleep Thursday night while reading the boys a book and didn’t wake up until 12:30 a.m. {Oh yeah!}
After a large cup of coffee I pulled out all of my decorating supplies to find that the black icing I needed for my panda bear was in fact gel… it came out slimy! So plan B was quickly devised. I had just enough black icing to make one panda bear and the rest became lollipops. {This is precisely the reason you don’t promise anything specific when baking for these types of things!}
Okay, okay, so down to business. Both kinds of cookies started out the same way. I used the lollipop cookie pan from Wilton; just make sure your dough is only about half the size of the indention as the cookie will spread. And, make sure that your cookie is fairly thick so that your lollipop stick will hold the cookie up once it cools.
Here’s what you’ll need:
- Can cream cheese or vanilla icing
- Colorful sprinkles
- Tube black writing icing (for the panda bear)
- Mini Oreo cookies (for the panda bear ears)
- Chocolate chips (one for each panda bear eye; use dairy free for kids with allergies)
- Brown M&M (for the panda bear nose; use dollop of chocolate icing or leave off for kids with allergies)
- Resealable (freezer weight) bag
- #4 icing tip
- Icing tip connectors (available in craft and baking stores)
And here are the easy steps:
- Snip the corner of your resealable bag, insert your connector and add on your icing tip.
- Place about two large spoonfuls of icing into the resealable bag and pipe an edge around each cookie. (Tip: Go slowly so that your icing clings to the edge of your cookie. Sometimes when they cool they’ll become concave.)
- Place about four large spoonfuls of icing in a microwave bowl and heat for 15-17 seconds. The icing will be a little soupy, but will pour easily into your cookie and will dry flat.
- Once your icing has set completely, at least one hour (less if refrigerated), you can decorate.
- For the lollipop, simply take your icing bag with the #4 connector and pipe a spiral on the top of your cookie. Immediately apply your crystal sprinkles.
- For the panda bear, pipe two dots and apply the Oreos as the ears. Next, using the black writing icing, draw the black eye area and the nose/mouth area (using the picture as a guide). Quickly apply the chocolate chip eyes and M&M nose.
As for packaging, make sure your cookies are allowed to dry for at least four to five hours before inserting them in clear cello bags and tying them with colorful ribbons.
My son’s class seemed to enjoy them and I hope you will too. Happy baking!


 creative pirate party ideas