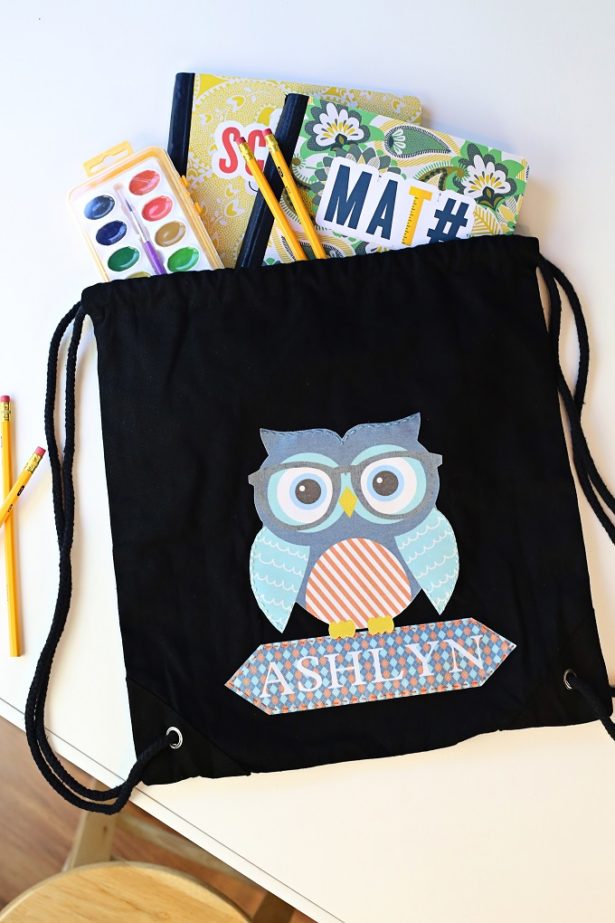
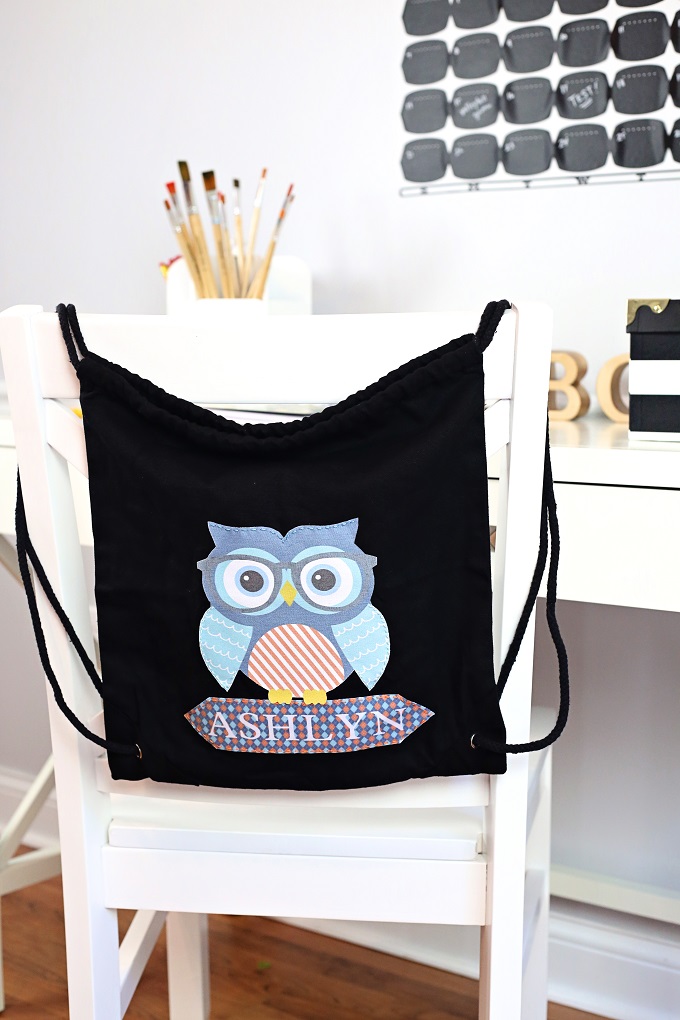
I have a beautiful little niece headed back to school and I couldn’t resist making her a darling personalized backpack to carry all those heavy books. Okay… so she’s not old enough for heavy books, but all those crayons and worksheets! The best part of this project is that I snagged the darling little backpack from JoAnn Fabric and Craft Stores for $5 and used my Cricut Explore Air to make it all hers!
I love personalizing things for my kids. We used to live in a large city and the chances of you having the exact same bag, lunchbox, etc. as some other child was a bit slim. Now we live in a small city (loving it), and it’s highly possible you’ll have the same something as another kid. Well, here’s a fun idea to make sure your kid’s backpack is uniquely their own.
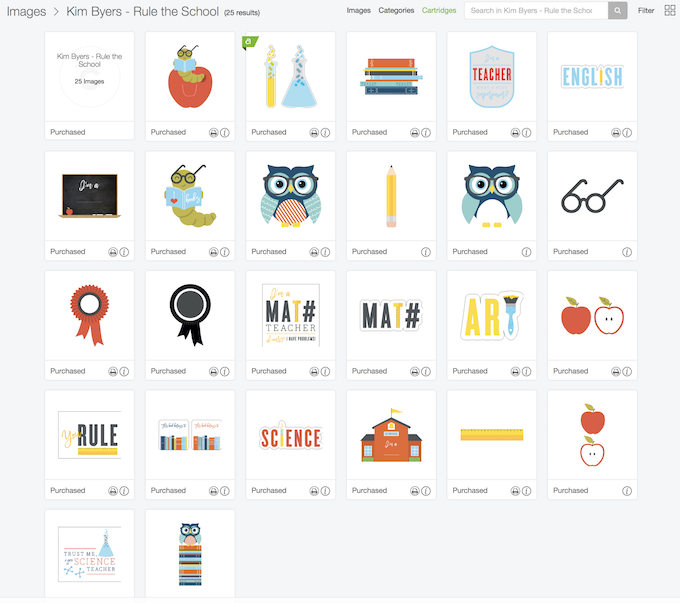
For the graphics, I just designed a new cartridge for Cricut called Rule The School. It’s 28 cut, print then cut, and pattern images of darling and fun designs to help you go back to school in style!
This sweet little owl, and the pattern behind my niece’s name are both part of the collection, as well as the “MATH” and “SCIENCE” images on the notebooks! I hope you’ll stop in and check out all the designs as soon as they’re released!
For this easy cute backpack, you’ll only need a few things from JoAnn:
- Backpack (in t-shirt section of store)*
- Cricut Printable Fabric
- Cricut Design Space
- Cricut Explore Air
- Cricut Explore Standard Mat (12×12)
- Cricut Weeding Tool
- Needle
- Cross-Stitch Thread
*There are several different options. In addition to this style, there is a traditional tote, as well as a messenger bag. LOVED the messenger bags for my boys!
Easy How To Steps For Making A Personalized Backpack:
- Measure & Design – measure your bag and design your bag in Cricut Design Space. This owl and the pattern on the name plate are both part of my newest collection that will available on Cricut at the end of August, but there are literally thousands of graphics to choose from right now.(TIP: Use shapes and then fill them with patterns to match your graphics. When you do this, you can flatten the art to make one graphic for print then cut. The options are truly endless! If you have questions, Cricut has a library of “how to” videos.)
- Cut & Weed – Load Cricut Printable Fabric into your printer, print, then insert into your machine, cut and weed out excess design.
- Apply – the printable fabric has a denim appearance and it’s backed with an adhesive that holds your design in place. Measure again and center.
- Stitch – I used cross-stitch thread (divided in half) and a needle, but you could also use a machine. I love how it turned out!
Back To School Cricut Cartridge
Here’s a look at all the fun in my digital Rule The School Cricut cartridge. The projects are endless!
Want more creative back to school ideas?
Did you see how I created the perfect homework station and DIY chalkboard calendar in my last JoAnn post? It’s super easy and functional. Make sure you also check out how to organize your kiddos closet for back to school including free printables, plus a fun free printable for giftcards or a LIVE LOVE TEACH clipboard that will make the teacher smile and maybe win you a few brownie points before the year begins! {wink}
Hop over to JoAnn for all your Cricut supplies, backpacks and homework station ideas!
As always, I hope you’re inspired to craft, bake, create and celebrate!
INSTAGRAM | FACEBOOK | PINTEREST | GOOGLE+ | TWITTER | YOUTUBE | BLOGLOVIN
This craft idea is sponsored by JoAnn Fabric and Craft Stores. Thank you for supporting my wonderful sponsors. They make it possible for me to keep the ideas coming! All content, ideas, photography and opinions are that of my own and I’d have it no other way!


 Easy Teacher Gift – Live Love Teach Clipboard