Have you seen the new Disney Pixar movie Monsters University? We did on Tuesday and the my boys loved it!
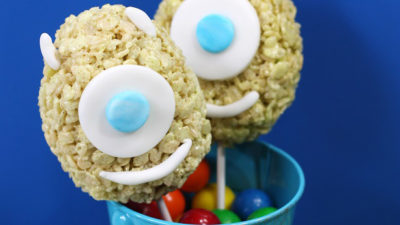
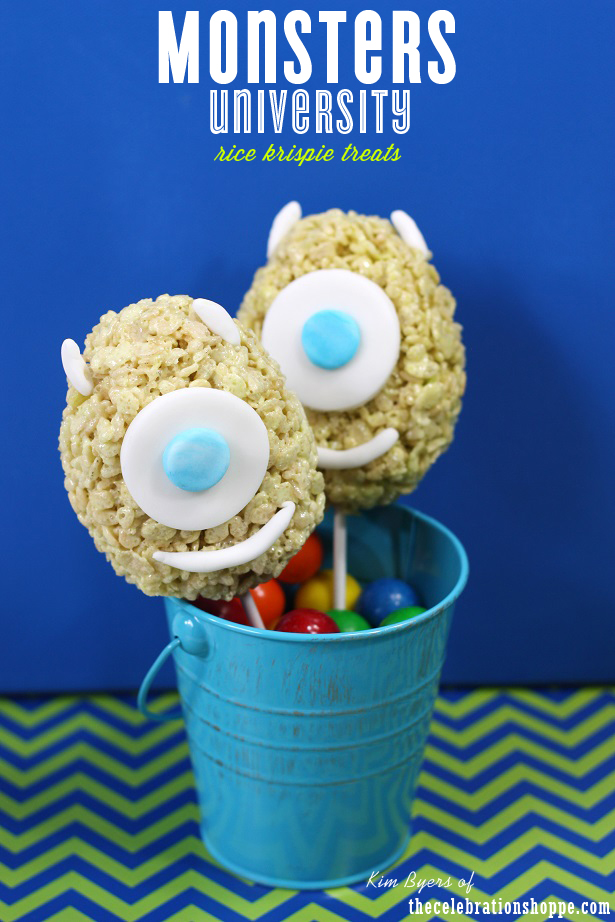
If your kiddos are excited, or if you’re planning a Monsters University party, I have a treat for you! An easy Mike Wazowski Rice Krispies Treat!
Here’s what you’ll need:
- 6 cups Kellogg’s Rice Krispies Cereal (I add 4 and then a bit at a time so they keep a good consistency)
- Bag of marshmallows
- Butter (for dairy-free Rice Krispies use Smart Balance Light Butter)
- Fondant, white (Wilton’s pre-made available JoAnn Fabric and Craft Stores)
- Blue and Lime Green food coloring, gel is best
- Lollipop sticks
- Wax paper
- Rolling pin
- Resealable bag
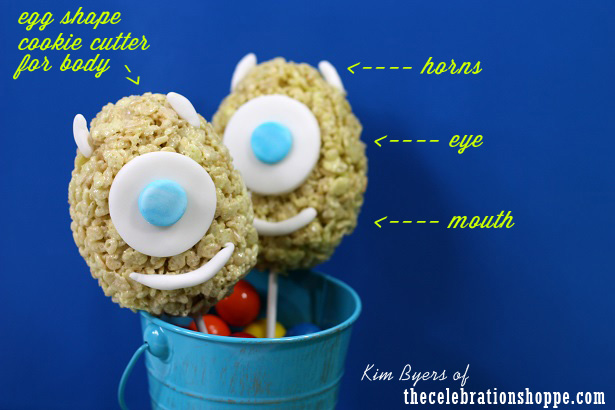
- Cookie cutters: egg shape, 1.5″ round and .5″ round (or could use an icing tip bottom for tiny round)
And here are the easy steps:
- Body, part I – Make Rice Krispies Treats as you normally would using the recipe on the box, except, add lime green food coloring gel (I used three squirts, but to your liking) to the marshmallow and butter mixture, before adding the cereal. Finish the treats.
- Body, part II – Place a piece of wax paper on your counter, butter the egg shaped cookie cutter and mold the treats while still warm. The wax paper and butter will keep them from sticking to anything but themselves.
- Eye, white – Roll out the fondant and using the 1.5″ cookie cutter, cut out the white part of the eye
- Eye, blue – Place a small amount of fondant in a resealable bag with a squirt of blue gel food coloring. Massage the color into the fondant. Roll out on wax paper and using the .5″ cookie cutter (or icing tip bottom) cut out eye.
- Horns and mouth – roll white fondant between your hands (like you would play dough to make a snake!) and pinch off the length you need for both the mouth and horns. Round the edges.
- Assemble Mike – Attach the white eye, horns and mouth. Because the Rice Krispie is slightly sticky, the fondant will adhere to it (we bagged ours in cellos and carried them to a party and nothing ever fell off!). For the blue eye, take a small amount of water, apply it to the back of the dot and attach it to the white.
Makes 6 treats.
If you want to bag them, use gusseted cellos as Mike can be a bit thick. {grin} These were a huge hit with my boys and their friends. I hope your kiddos love them too!
As always, I hope you’re inspired to craft, bake, create and celebrate!
Join The Celebration Shoppe on facebook, sign-up for the daily ideas to come right to your inbox (never miss an idea, giveaway or free printable!), connect with Kim on twitter, pinterest and on instagram. And don’t forget to shop the party store for birthday, baby shower and holiday party supplies. Oh, and now you can follow the blog with Bloglovin too! Hope to see you around!


 sangria {strawberry, apple & lemon}