
• Skip to main content
  • Skip to header right navigation
  • Skip to after header navigation
  • Skip to site footer
Kim Byers

Kim Byers

The Celebration Shoppe

  • Meet Kim
  • Blog
  • Shop
  • CRICUT
  • SVG & PRINTABLES
  • HOLIDAYS
  • CELEBRATIONS
  • VIDEOS
Home / theme / baby shower / pink & brown tablescape
November 8, 2009 by Kim

pink & brown tablescape

Babybump feature1
FacebookTweetPinEmail

babybump_feature1

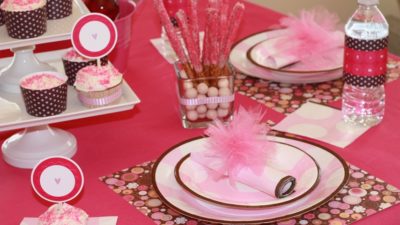
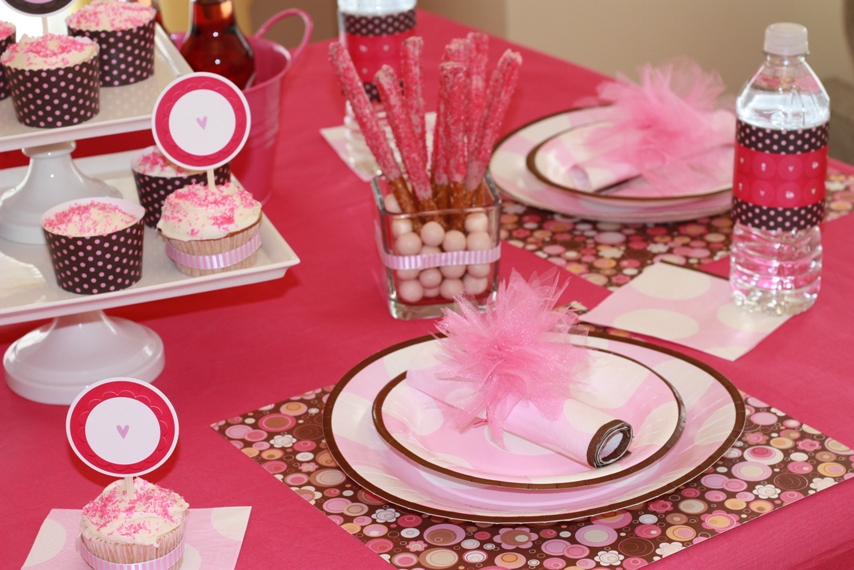
We often get calls from customers asking about items in photos that we used for staging, but don’t sell in the shoppe,  so I’m going to start doing a better job of giving you all the details. We staged our new baby bump shower a few weeks ago. Most of the items we offer in our decor, but here are the few things we don’t:

Placemats – these are just 12×12 sheets of DCWV (Die Cuts With A View) Glitter Pink-Brown Flower Dots cardstock from the craft store.

Candy vase – I was browsing the candy store (as I do too often) and ran across these strawberry flavored malted milk balls. Well after I thought “yummy!” I thought how adorable they could be in the new baby bump tablescape. So long story short, I melted down some pink chocolate, covered a few pretzel rods, sprinkled them with pink crystals (available in the shoppe) and settled them into a ribbon embellished short vase of strawberry flavored malted milk balls.
tulle-napkin-ring-tutorial

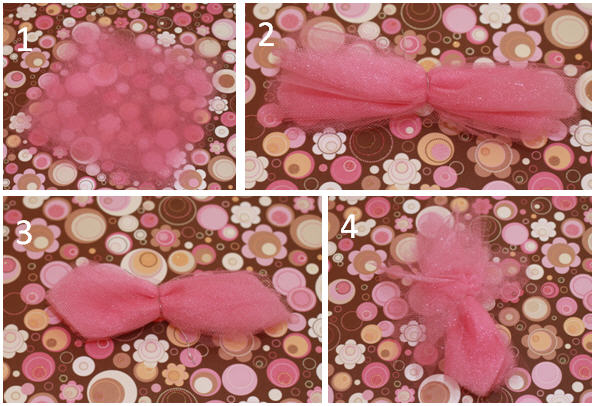
Tulle napkin ring – I was browsing for inspiration for our new black & yellow buzz theme and ran across a table setting that used a black chrysanthemum as a napkin ring. It was really beautiful so I thought about trying to find one at the craft store. I wasn’t in luck so I decided to make my own version for baby bump using pink tulle. To make these yourself you’ll need pink glitter tulle and florist wire. And here are the easy step-by-steps:

  1. Cut 12 4×4″ squares of tulle and stack them.
  2. Fold the group like an accordian.
  3. Pinch them in the center and wrap them with a small piece of florist wire.
  4. Trim the ends as shown.
  5. Cut a straight line between each fold to the florist wire separating the folds into individual petals.
  6. Carefully separate the individual petals and pull upward to give the flower fullness.

It takes a little patience, but it’s worth it… don’t you think. {wink}
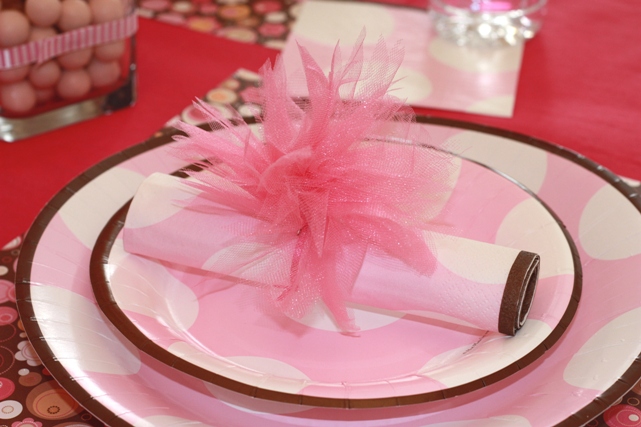
babybump_pinkbrowndotplates

Hope you’re inspired!

FacebookTweetPinEmail
Category: baby shower, bridal shower, crafts, Kim's crafts, princessTag: DIY tulle flower napkin ring, pink and brown plates and napkins

About Kim

Kim Byers, creative director & owner of The Celebration Shoppe. Party supplies designer. Food and craft stylist. Her work has been featured in Parents, Better Homes and Gardens, All You, Pregnancy, iVillage, Huffington Post and many others. Kim is also a contributing writer for JoAnn Fabric and Craft Stores, and designer for Cricut and Darice Crafts.

Previous Post:Turkey cupcake roundupturkey cupcake round-up
Next Post:gobble! gobble!Bakerellaturkeycakepops

Sidebar

  • https://www.facebook.com/TheCelebrationShoppe
  • https://www.instagram.com/thecelebrationshoppe/
  • https://www.pinterest.com/kimbyers/_created/
  • https://twitter.com/celebshoppe
  • https://www.youtube.com/user/celebrationshoppe/featured


Let’s craft! I have tons of ideas to share, as well as hundreds of cut files and printable designs to get us started. Let’s make something! xo Kim

Watch Craft Videos

Latest Ideas

  • Can I Layer Infusible Ink?
  • Tour My Small Sewing Room With Me – 2022 Edition
  • What Can Cricut Cut? | 40 Easy Cricut Projects You Can Make With Cricut Materials

Watch Kim Byers on YouTube

Can I Layer Infusible Ink?

Tour My Small Sewing Room With Me – 2022 Edition

What Can Cricut Cut? | 40 Easy Cricut Projects You Can Make With Cricut Materials

  • Kim’s Cricut cartridges
  • Press & Praise
  • Free Printables
  • Free Cut Files
  • Privacy Policy

Copyright © 2026 · Kim Byers · All Rights Reserved · Powered by Mai Solution