This post is brought to you by Disney and Blue Print Social, but all opinions are 100% mine. You know I’d have it no other way! Original idea created by Kim Byers and seen here on TheCelebrationShoppe.com first.
I’ve been in love with Winnie the Pooh since I was a little girl. It’s no surprise my boys loved him too. As a matter of fact, I have a picture of my oldest with Pooh from our very first trip to Disney World on my wall right now. He was 19 months at the time and we spent most of our Magic Kingdom day in the Winnie the Pooh toddler area. I think Pooh’s house was just too exciting! {grin}
Now we’re celebrating the release of The Many Adventures of Winnie the Pooh, all the original Pooh antics and the perfect gift for any Winnie The Pooh lover. The Blu-ray Combo Pack and HD Digital will be available on August 27th, but you can see video snippets and pre-order now!
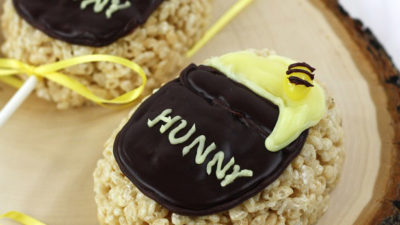
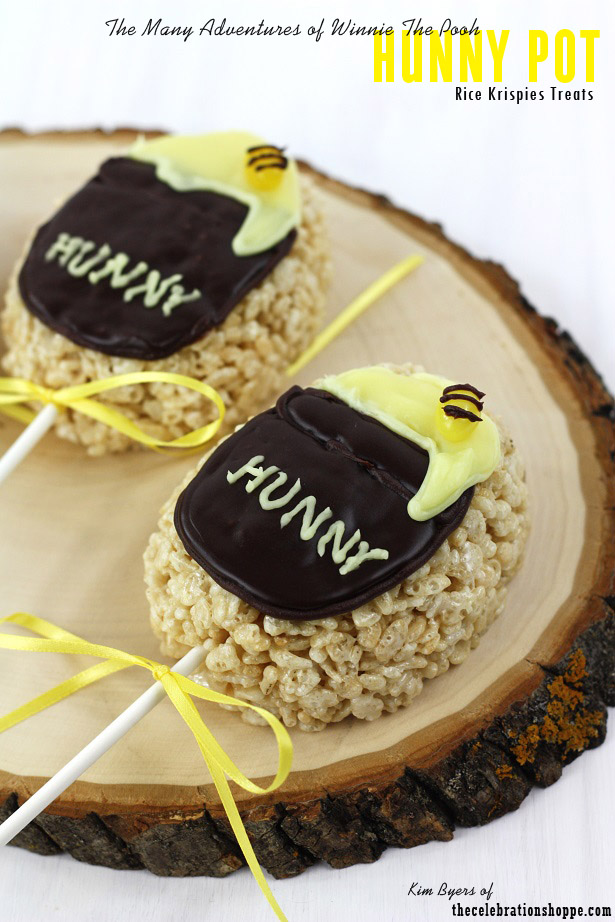
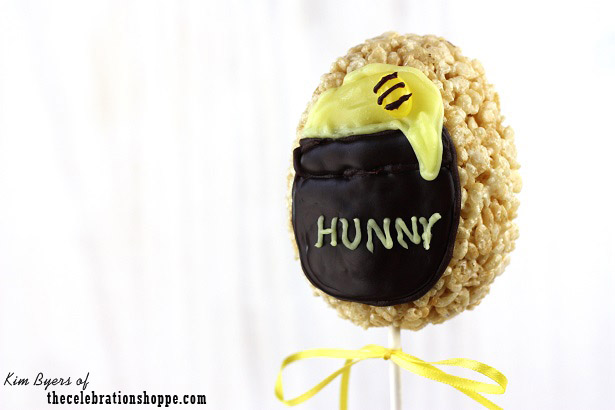
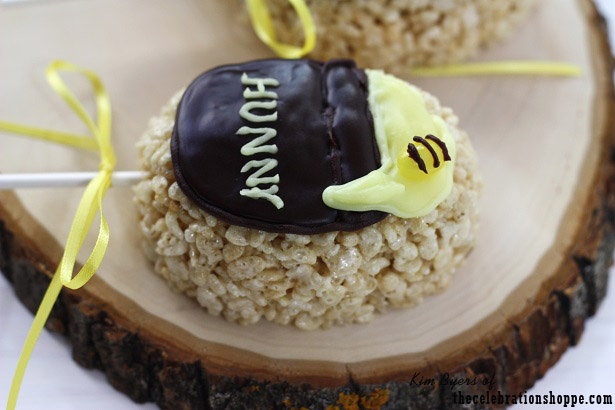
We had the opportunity to preview the movie so I whipped up a fun little HUNNY POT Rice Krispies Treat to get the kiddos excited.
You’ll need:
- 6 cups Rice Krispies
- 1 bag marshmallows
- 1/2 stick butter (or two tablespoons Smart Balance vegan spread for dairy-free treats)
- 1 can chocolate icing
- 1 can lemon icing (or you can tint vanilla with yellow food coloring)
- Yellow jelly beans
- Egg shaped cookie cutter (mine is 1″ deep)
- Lollipop sticks
- Freezer strength resealable bags
- #4 Wilton icing tip and connector
- Wax paper
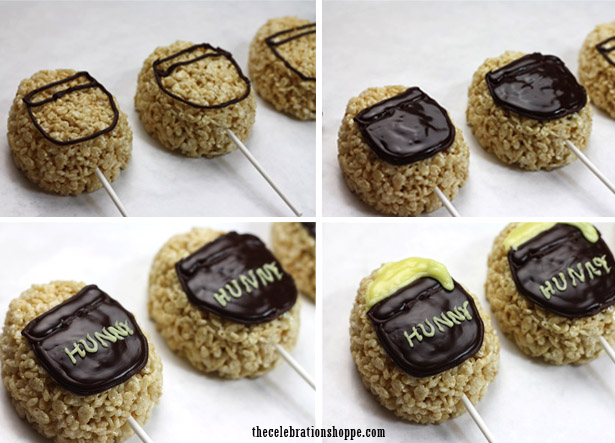
And the easy how to steps:
- Make the Rice Krispies – Prepare Rice Krispies treats according to directions on the box. Butter cookie cutter and spoon warm treats into cutter to mold shape. Insert a lollipop stick and allow to cool on wax paper.
- Shape the pots – Using buttered hands, gently compress the egg shape point down a bit and close any holes in the Rice Krispies shape, especially the sides.
- Pipe the pots – Attach the #4 icing tip with connector to resealable bag and fill with chocolate icing. Pipe a pot outline as shown.
- Make the bees – Pipe three lines on yellow jelly beans (aka bees), one for each pot.
- Fill the pots – Remove metal tip and warm remaining icing for 5 seconds in the microwave. Slowly pour warm icing into pot outline and allow to set.
- Pipe the “HUNNY” – Attach the #4 icing tip with connector to a new resealable bag and fill with lemon icing. Pipe a “HUNNY” outline with a drip onto the pot on one side. AND write the word “HUNNY” on the pot. Remove the metal tip, warm the remaining lemon icing for 5 seconds in the microwave and slowly pour warm icing into outline.
- Top with a bee – Attach bee before the “HUNNY” icing dries.
Recipe yields 6 Rice Krispies Hunny Pots.
If you’re a Winnie The Pooh enthusiast or have a little Winnie The Pooh lover at home, you’ll want to get this beautiful original. Hop, or bounce if you’re a Tigger, over to Disney to learn more about The Many Adventures of Winnie the Pooh. And make sure you join Winnie The Pooh on Facebook too!
Want more Winnie The Pooh party, food and craft ideas? A few blogging friends are sharing ideas too!
As always, I hope you’re inspired to craft, bake, create and celebrate!
INSTAGRAM | FACEBOOK | PINTEREST | GOOGLE+ | TWITTER | YOUTUBE | BLOGLOVIN
This post is brought to you by Disney and Blue Print Social, but all opinions are 100% mine. You know I’d have it no other way! Original idea created by Kim Byers and seen here on TheCelebrationShoppe.com first.
Join The Celebration Shoppe on facebook, sign-up for the daily ideas to come right to your inbox (never miss an idea, giveaway or free printable!), connect with Kim on twitter, pinterest and on instagram. And don’t forget to shop the party store for birthday, baby shower and holiday party supplies. Oh, and now you can follow the blog with Bloglovin too! Hope to see you around!


 Back To School A Is For Apple-Shaped Cake