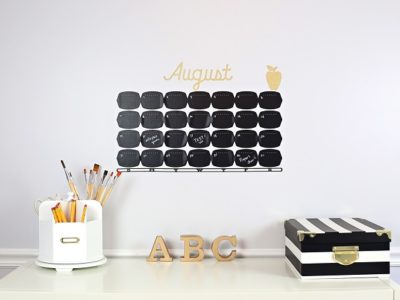
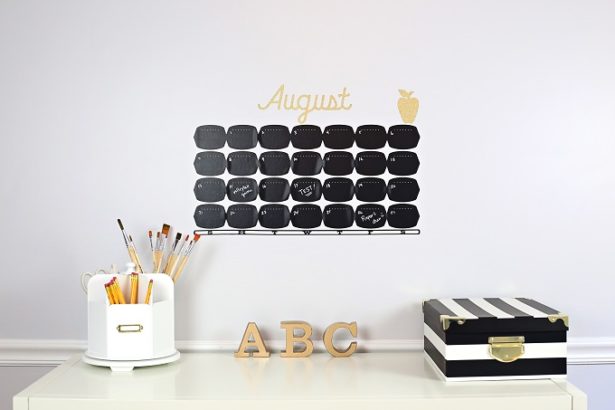
After a fun filled summer, it’s time to start getting organized for back to school with a functional work space. As much as I don’t want to think about summer ending, I know that the fall frenzy is quickly approaching! To help my kiddos (and me!) make an easy transition from lazy summer days to back to school routines, I crafted this easy vinyl chalkboard wall calendar.
I love for my kiddos to have a designated space that is all their own for homework (and that crazy amount of paper they bring home!). I know that when I’m organized I’m more productive, and kids are the same way. To plan the space I ran over to my local JoAnn Fabric and Craft Store to see what they had to help us organize.
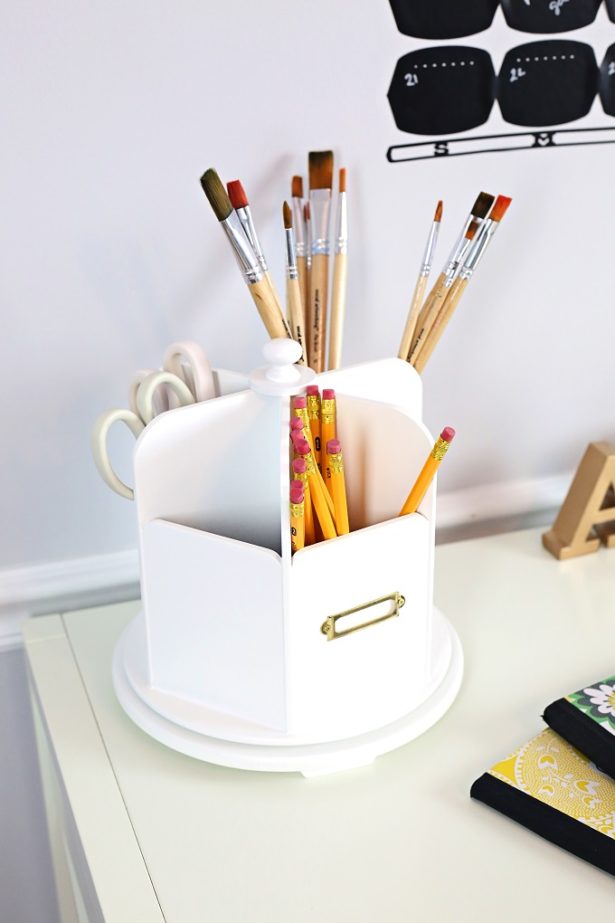
I found this great caddy to organize all the pencils, scissors, paint brushes, etc. that we’re sure to need. It’s all wood and white… my favorite color right now… and the best part is that it spins!
For paper organization, I picked up the black and white stripe box. I have to hide all the paper. Just seeing it out on the desk gives me hives. {wink} If you’re looking for more of a girly vibe, they have lovely black and pink boxes too.
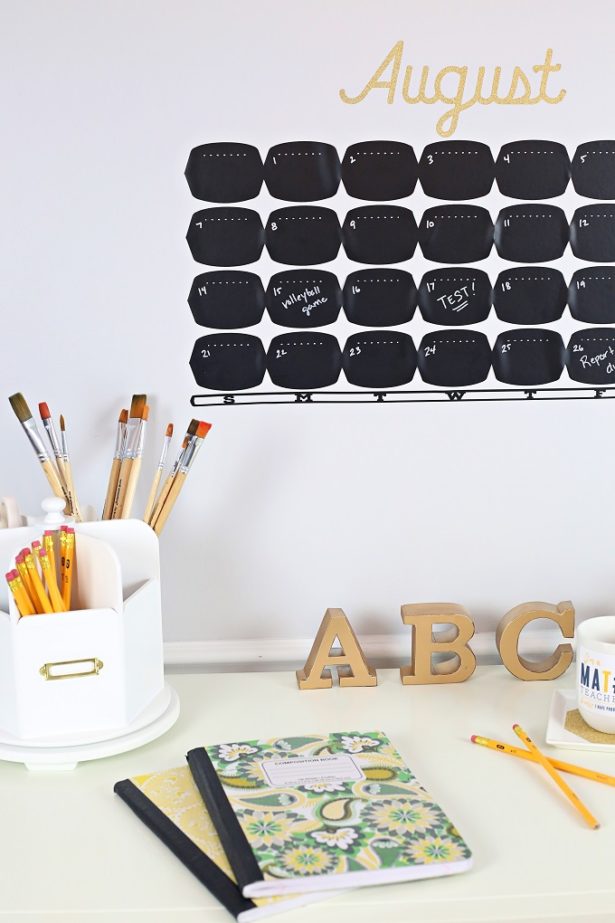
Finally I pulled out my favorite craft tool, my Cricut Explore Air, and made a chalkboard calendar to go above the desk. When school starts it seems like we’re thrown into organized chaos. A great calendar is the only thing that keeps me sane and my family in the right place at the right time.
Supplies to make a DIY chalkboard vinyl chalkboard wall calendar:
- Cricut Explore Air
- Cricut Explore Standard Mat (12 x 12 or 12 x 24)
- Cricut Weeding Tool
- Cricut Design Space Project
- Cricut Chalkboard Vinyl
- Cricut Gold Glitter Vinyl
- Chalk pen, fine point (available in-stores)
Easy How To Steps For Making A Back To School Vinyl Chalkboard Calendar:
1. Measure & Resize – first determine how big you want your calendar. I chose to make mine rather large because we tend to have a lot going on. Open my Cricut Design Space file and resize the calendar to fit your space.
2. Cut & Weed – load Cricut Chalkboard Vinyl into your machine, cut and weed out excess design.
3. Apply Transfer Tape – lining edges up to show straight guide lines apply transfer tape to the calendar and pull away.
4. Apply to Wall – using a ruler, apply calendar to wall and pull transfer tape away.
5. Repeat – repeat process with gold glitter vinyl for month and apple. (Tip: I save the months on the vinyl backing so that I can use them over and over.)
To dress up and personalize the desk I added the ABC letters. Perfect touch that doesn’t take up too much work space. I’ll share the tutorial for the letters next week!
Cricut has a million ways you can create and personalize your back to school this year, from notebook labels to backpack embellishments to bookmarks. Make sure you hop over to Jo-Ann for all your Cricut supplies! Then join me on Cricut Design Space to make not only this creative calendar, but projects like my Book Nerd mug and Live Love Teach teacher gift.
Now that you are on your way to getting organized for Back to School, why not throw one last celebration? Did you see our Back to School Party? And, don’t forget to start thinking about fun Back to School Teacher Gift Ideas!
As always, I hope you’re inspired to craft, bake, create and celebrate!
INSTAGRAM | FACEBOOK | PINTEREST | GOOGLE+ | TWITTER | YOUTUBE | BLOGLOVIN
This craft idea is sponsored by JoAnn Fabric and Craft Stores. Thank you for supporting my wonderful sponsors. They make it possible for me to keep the ideas coming! All content, ideas, photography and opinions are that of my own and I’d have it no other way!


 Sewing Room Organization With Mason Jars