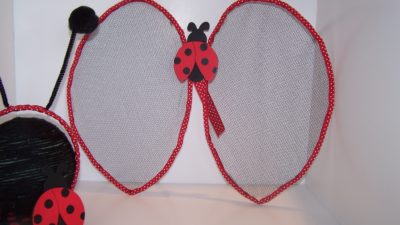
- ½ yard netting or bridal tulle
- 16 gauge crafting wire (found in the jewelry section of your craft store)
- ¾ inch ribbon, grosgrain shown
- Wooden bug cutout (available, usually painted, in craft stores)
- Mini clothespin
- Glue gun (fabric glue can be used for the ribbon portions)
- Wire cutters
And here’s how you make them:
- Bend the crafting wire into the shape of your wings, considering the size of the child, cut it with wire cutters and twist the ends around one another.
- Using the wing shape as a loose guide, cut out four pieces of netting, leaving a ¼ inch to ½ inch all the way around. Each wing will be two pieces thick.
- Tack the netting to the wire frames with just a touch of glue and trim off excess.
- Apply the ribbon to the outer rim of your wings to secure the netting and to hide the wire. The best way is to center the wire in the ribbon, pipe in a stream of glue (not too much) and then lightly tap it down with your fingers until you’ve gone all the way around each wing.
- Next, hot glue a mini clothespin to the back of your wooden bug cutout, near the bottom of the bug.
- Finally hot glue the wings to the back of the cutout, allow to cool and the wings are ready for play.
If you prefer a visual guide, the “how to” video will be posted on our blog by Friday. Happy crafting!


 buggy headbands