I’m excited to have Stephanie Lynn from Under the Table and Dreaming as a guest blogger this morning!
My oldest has been going through the list of what type of birthday party he wants this year (you may recall, Science was his choice last year) and he’s considered a camping and/or adventure party, among other ideas. I’ve been wanting to use my owl campout invitations for years (we also have a fun great outdoors invitation) so I’m game, but of course I’d have to create an entire set of printables to go with!
And although no decisions on his part yet, I saw this fabulous set of DIY ideas that Stephanie Lynn whipped up last year for her own little one and just had to ask her to share. She turned a normal backyard into an organized and detailed campground for just pennies on the dollar. LOVE it!
~~~~~~~~~~~~~~~~~~
When planning a party, I love taking a particular theme and creating a space that captures a total experience for all the guests, especially the little ones. Although it takes some pre-planning and prep work, setting the stage for an unforgettable party can be fairly easy and inexpensive… especially if you are willing to get a little creative and put together some projects yourself.
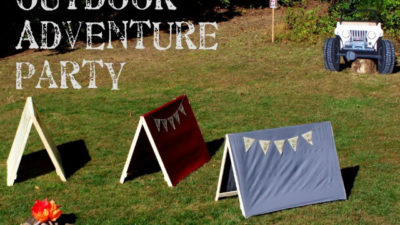
Last year I put together an Outdoor Adventure Party to celebrate my little guys fourth birthday. Once we decided on the theme, I knew immediately that that the backyard was destine to be turned into a mini camping site for the little ones.
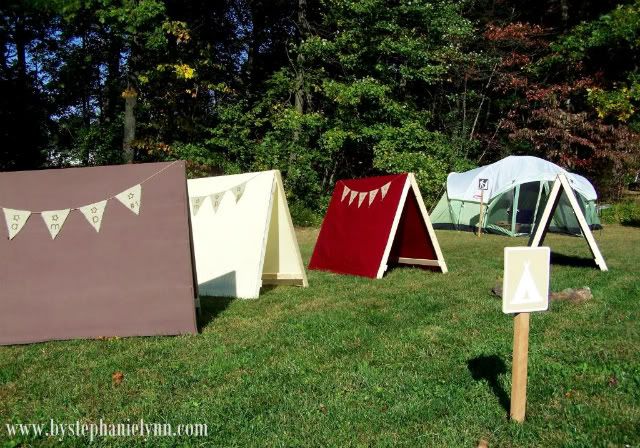
I started by drawing up some simple plans for Kid-Sized A-Frame Play Tents. Coming in just under $9 per tent, these little pretend play structures were sure to provide hours of make believe fun, while creating the perfect campsite scene for the party.
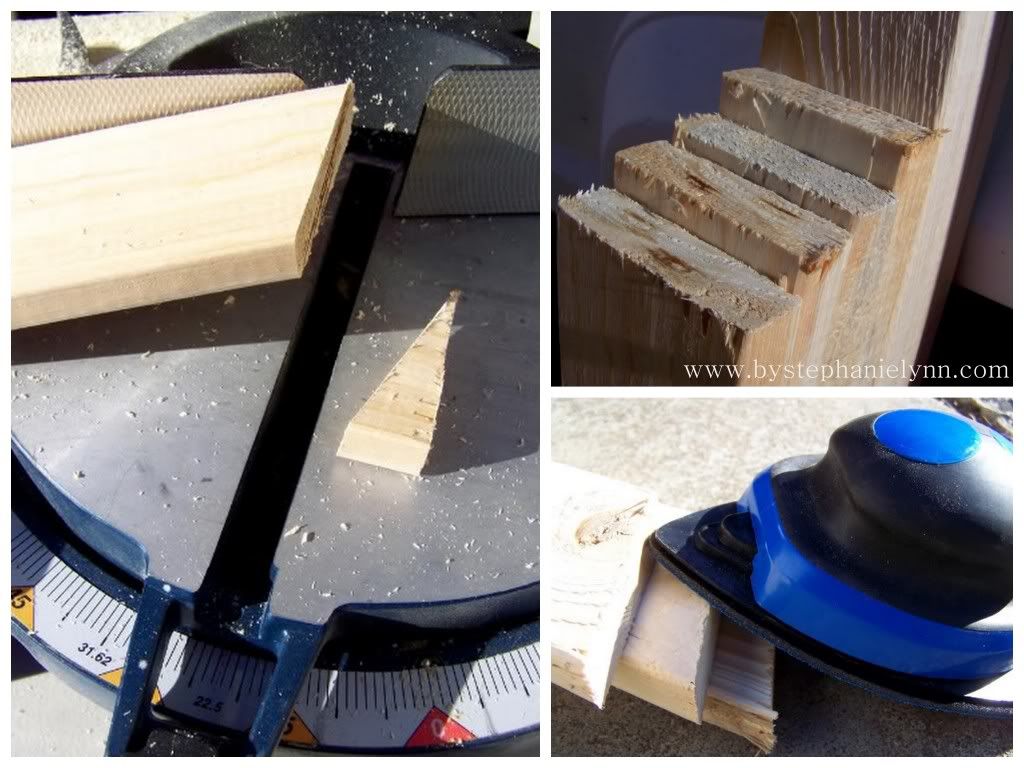
Inexpensive furring strips from the lumber store were used to create the frames. It took just a couple of cuts – completely detailed in the online tutorial.
The pieces were then secured together with wood glue and nails and covered with twin size flat sheets – simply stapled to the frame. I made burlap pennant banners to embellish each side of every tent – using an easy no-sew method.
Since every camp site needs a fire I made this one kid friendly. Rocks were used to create the fire ring and logs were than stacked and topped with red and orange tissue paper for the flames.
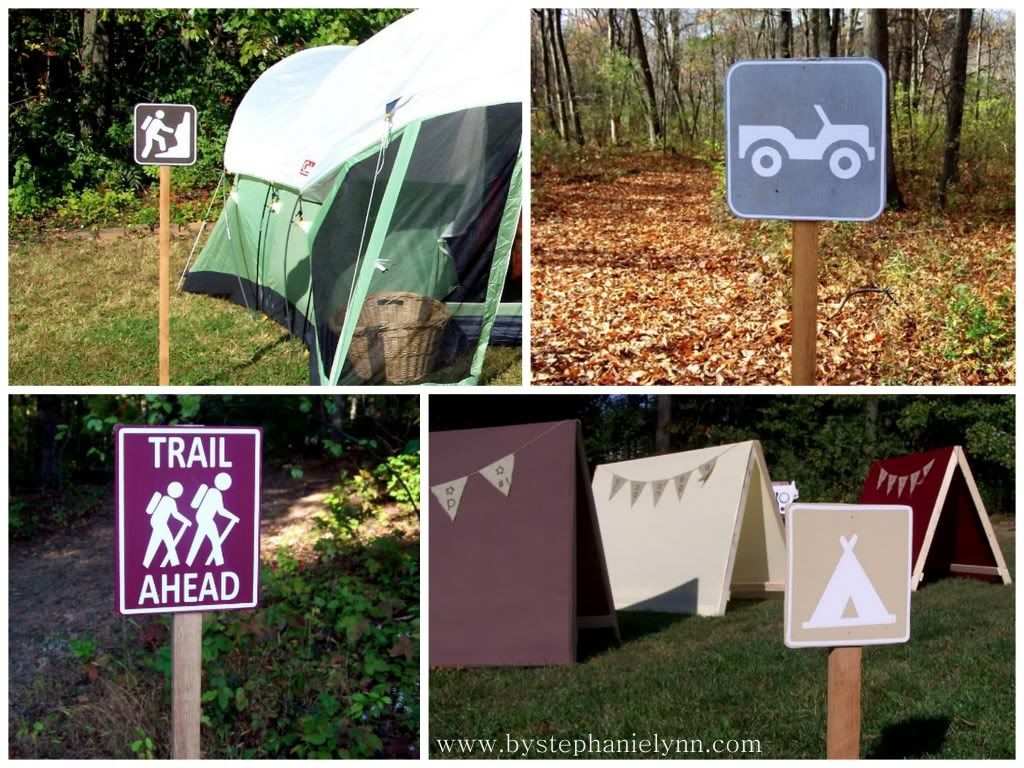
Camping Park Signs were made to scatter around the yard designating all the different party stations.
Scrap wood was cut to size and painted, then fool proof vinyl was added for the designs. It was an inexpensive way to add a few custom decorations and help add to the whole camp site feel.
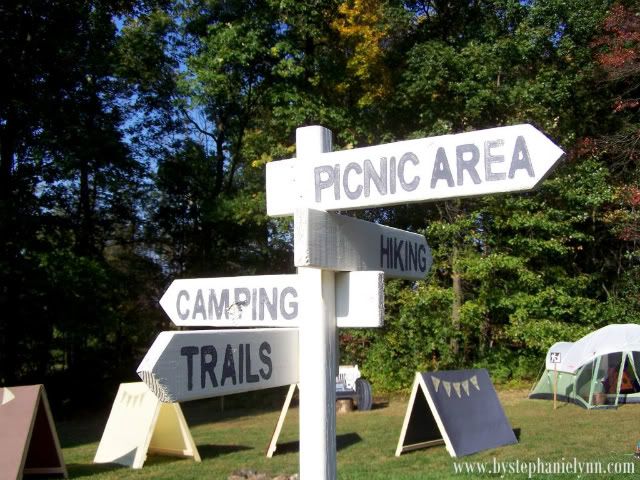
To lead guests were they needed to go a wooden directional sign was made and stamped with all the fun areas to visit.
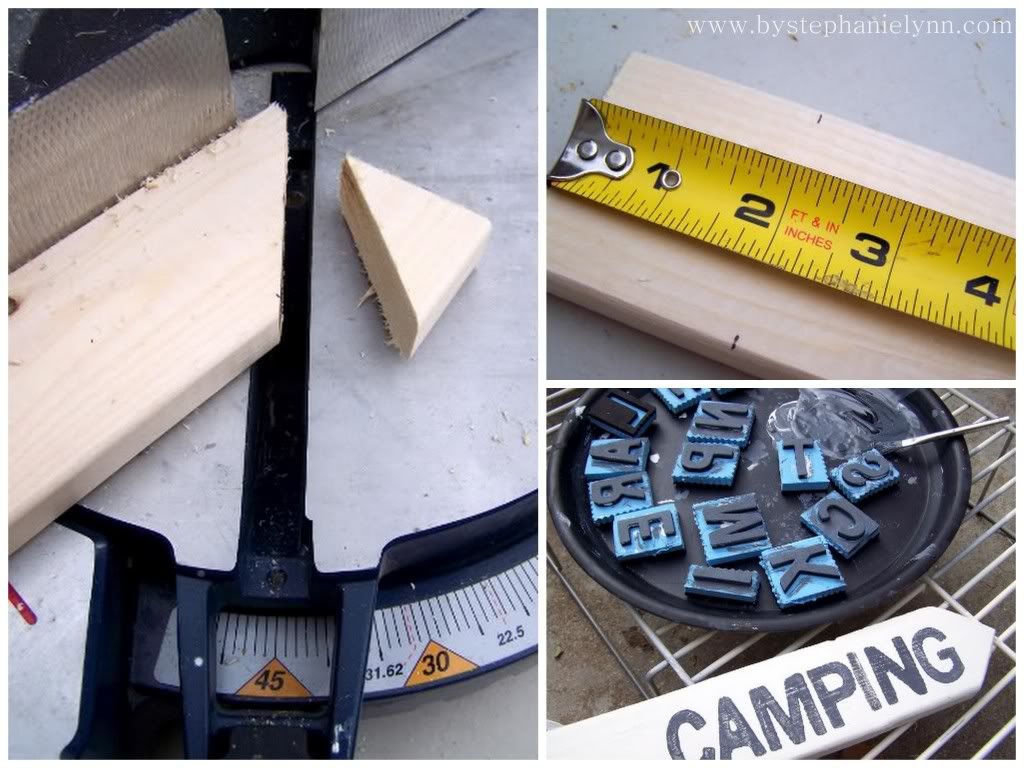
Costing under $2.50 in supplies makes this a fun inexpensive party decoration that you’re able to customize to fit just about any theme. Furring strips from the local hardware store were cut to size using this tutorial. The cut pieces were then assembled, painted and stamped with foam alphabet stamps.
I hope you can use some of these ideas for your next outdoor adventure or imaginary play area! The kids got a kick out of having a campsite all to themselves, especially one just their size!
~~~~~~~~~~~~~~~~~
For more creative do-it yourself ideas, visit Stephanie Lynn on her blog at Under the Table and Dreaming on facebook and on twitter!
And as always, I hope you’re inpired!




 Rice Krispies Paint Brushes