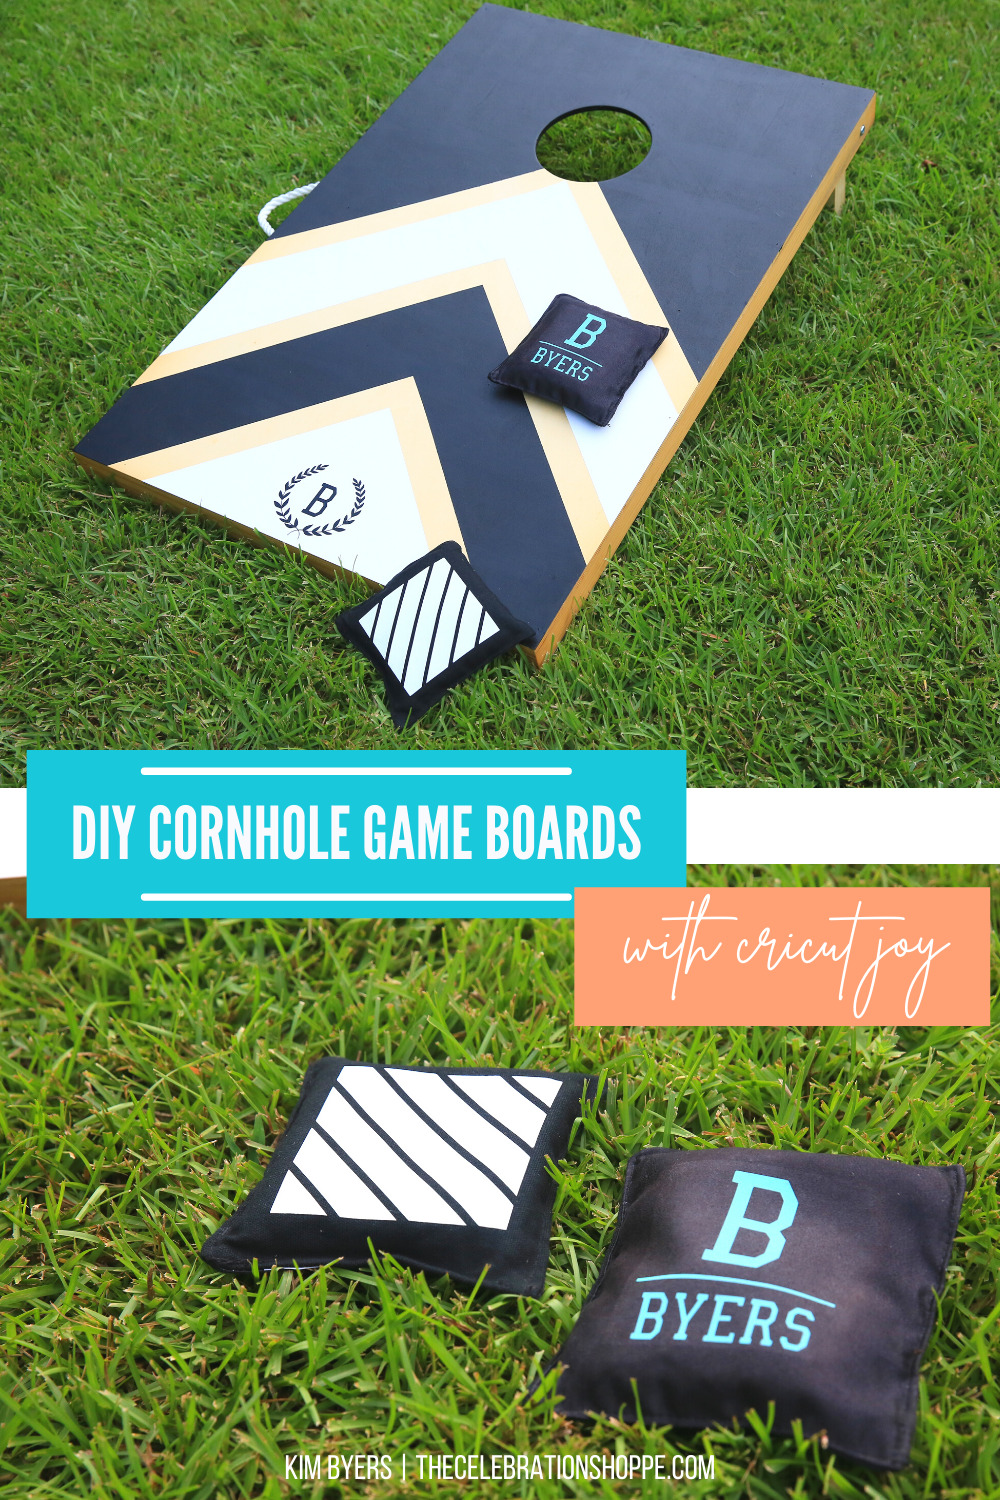
Let’s make custom cornhole boards and DIY corn hole beanbags! These are amazing for summer parties, football season and oh yes, wedding receptions!! We’ll use the Cricut Joy and to cut both Smart Iron On and Smart Vinyl, and the Cricut EasyPress 2 to apply the iron on to the bean bags.
We’ll also tape off and paint the boards, PLUS I’ll give you my best tip on how to apply vinyl to wood! It works and it’s inexpensive!! Plus you won’t have to wait for your paint to cure so you can apply iron on with heat! I’m never good at waiting.
Let’s get started!
What You’ll Learn In This Video Tutorial + TimeStamps
00:00 Introduction To How To DIY Cornhole
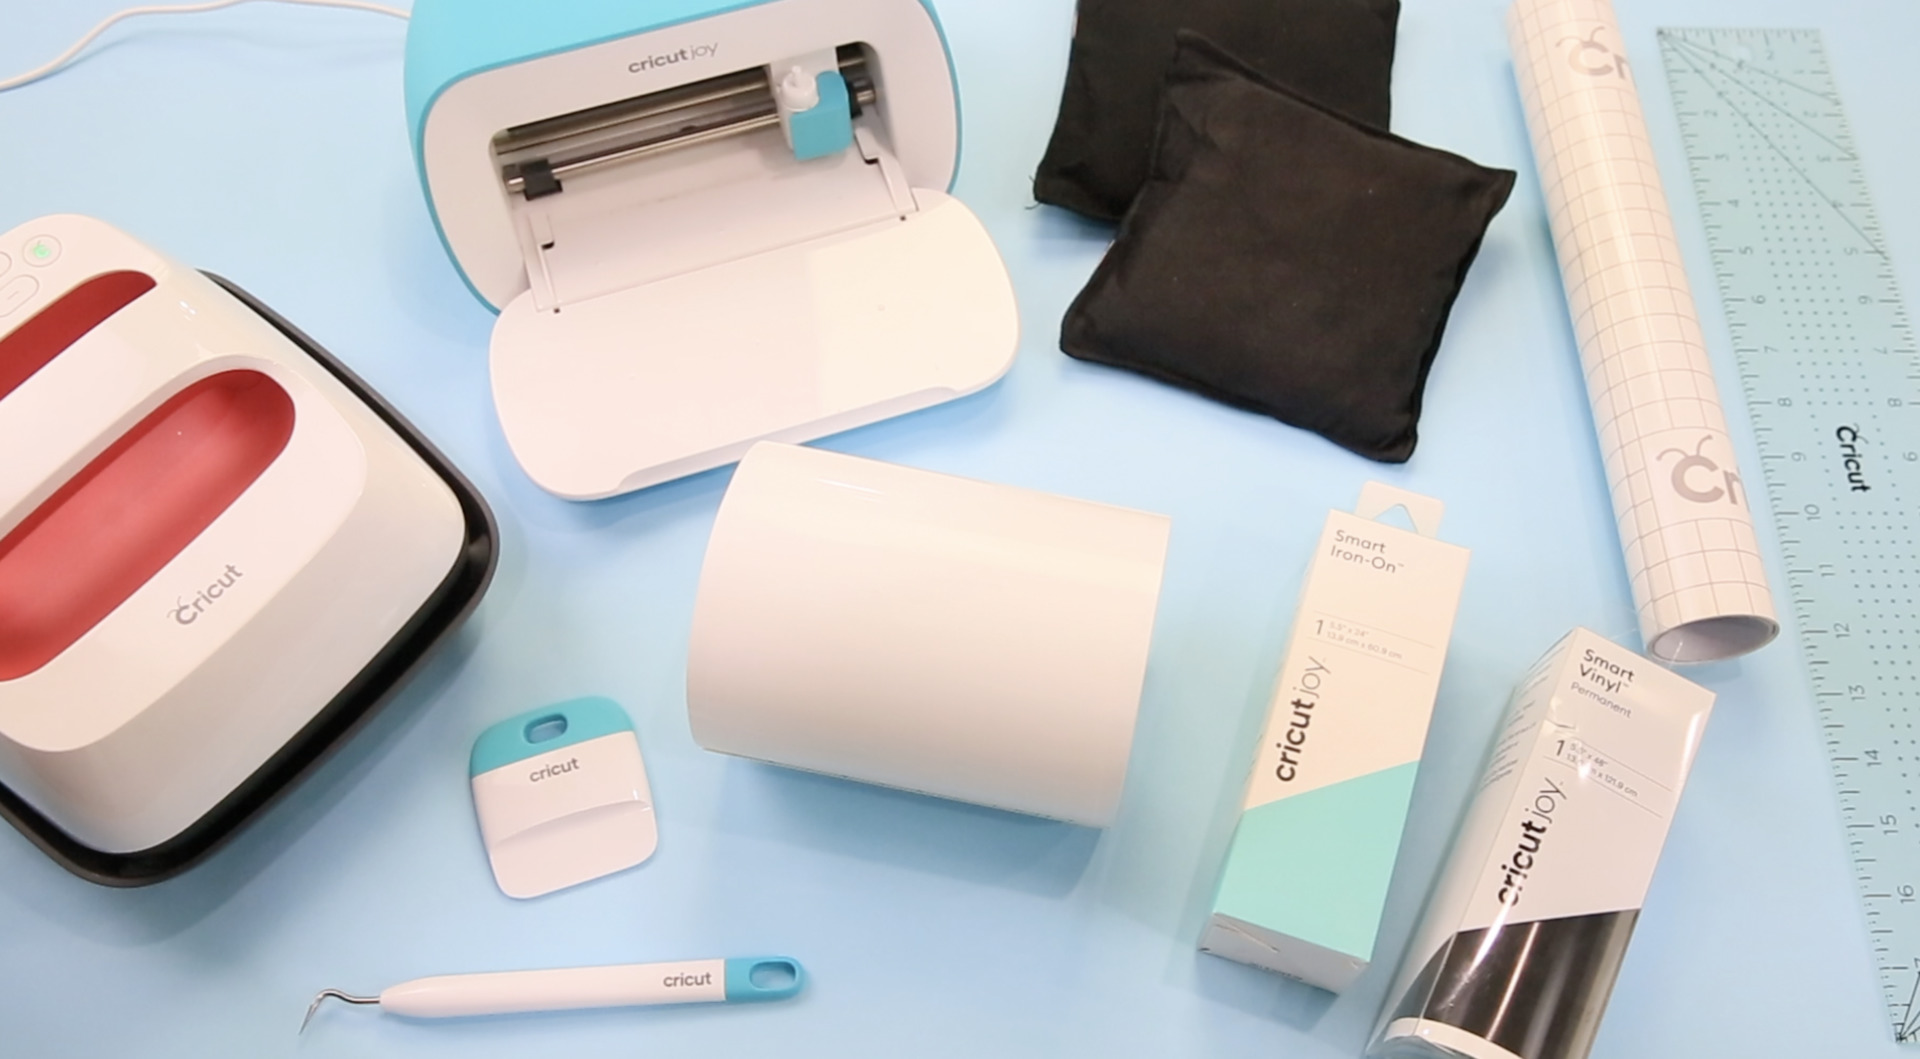
00:43 Craft Materials Overview For Cornhole Boards
02:36 How To Paint Stripes On Wood, Custom Cornhole Board Design
05:16 Cricut Design Space Tutorial For Cornhole Bags
07:30 How To Use The Contour Tool In Cricut Design Space
11:10 Sending Smart Vinyl & Iron-On To Mat
15:25 Craft Materials Overview For Cornhole Bean Bags
15:58 How To Cut Smart Material With Cricut Joy
16:42 How To Use A Trimmer To Save Iron-On Remnants
17:49 How To Weed Iron-On & Vinyl
18:27 Heat Press HTV (aka Iron-On)
20:42 Sealing Cornhole Boards With Polycrylic
21:59 Cutting Smart Vinyl
23:18 How To Use Transfer Tape with Vinyl
24:43 The Best Way To Apply Vinyl To Wood
Why Cricut Joy & Smart Materials
For those of you that craft with me, you know I love my Cricut machines. And I’ve come to more and more love working with the little Cricut Joy. Being able to pick it up and move it out of the way when I’m done cutting is such a small, but wonderful, thing. And, I’ve come to love Smart materials. The more I use them the more I want them. Not having to worry with the mat for quick projects is a dream.
Oh, you know I SAVE ALL MY REMNANTS and I use them all the time. Those of course need a mat, but being about to just “plug and play” most of the time is so great.
For this project I was able to embellish all of the bags and the boards in minimal time. Honestly the painting and top coat was the bulk. The actual Cricut crafting time was less than 30 minutes including weeding and heating with the EasyPress 2!
Supplies You’ll Need
⭐ Cricut Joy (Cricut Maker or Explore Air)
⭐ Vinyl (use on mat)
⭐ Transfer Tape (for vinyl)
⭐ Black Acrylic Paint (outdoor use)
⭐ White Acrylic Paint (outdoor use)
⭐ Polycrylic (clear sealer)
⭐ Edge Sealing Tape (Scotch Blue or Frog Tape)
⭐ Paint Brushes or Sponge Brushes
Craft Room Supplies You Might Like
⭐ Brayer
Other Cricut Joy Video Tutorials You Might Like
- DIY Back To School Water Bottle With Vinyl
- Card Making With Cricut Joy
- How To Make Halloween Cards With The Cricut Joy
- How To Make Planner Stickers With The Cricut Joy
This post contains affiliate links, which means if you purchase something through this post I will earn a small fee from the retailer at absolutely no cost to you. They pay me for bringing you to them and I use it to keep the craft room stocked and the coffee pot working! Thank you for supporting me! All content, ideas, photography and opinions are that of my own.
 Complete Guide To Cricut Explore 3