Hi everyone! It’s Deanna of Mirabelle Creations sharing a little Elf on the Shelf holiday magic this morning. {grin}
At our house, the kids count down to the arrival of Freddie, our Elf on the Shelf. They are just as excited for his arrival on Thanksgiving weekend as they are for a visit from Santa. The first thing they do every morning is see where he has landed after his overnight flight back to the North Pole.
I’ve secretly always been a little jealous of my nieces’ elf, Buddy, because she has a kicky little skirt. The skirt is white with little red snowflakes and has a decidedly retro-cool vibe.
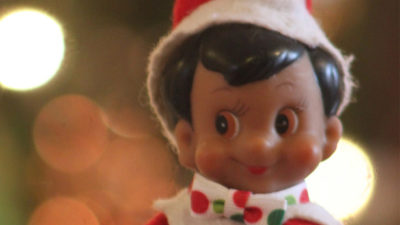
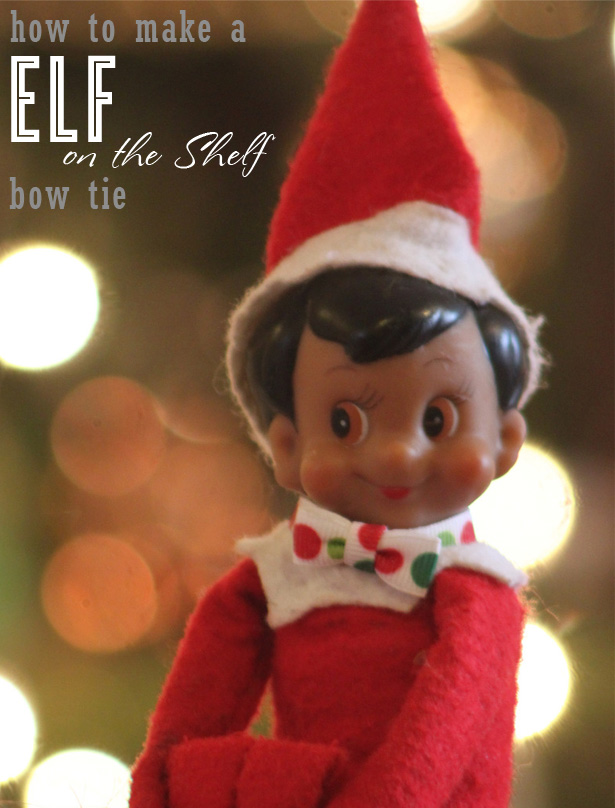
Being the proper gentleman that he is, our elf, Freddie, needed a little haberdashery to reflect his traditional style too. So, I created a few bowties for Freddie to add to his wardrobe.
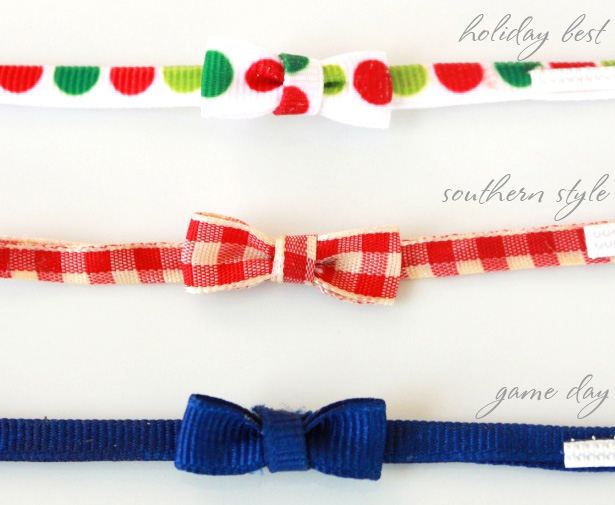
The three looks included a gingham bowtie to represent his authentic Southern style, a Kentucky blue bowtie to sport on UK game days, and a polka dot bowtie in holiday colors for those festive holiday events. The first day we left out the bowties for Freddie, he landed the next morning in front of our dining room mirror so he could check out his new fabulous look!
Here’s a list of what you’ll need to make your own Elf on the Shelf bow tie:
- 3/8” ribbon
- needle & thread
- fabric glue
- sticky back velcro
- iron
And the easy how to make a elf bow tie steps:
- Cut three pieces of ribbon in the following lengths: 2 ¼”, 1 ½”, 4 ½”
- For the 2 ¼” piece, make a loop with the ends slightly overlapping. With the overlapping portion in the center, pinch the center to create a bow with a crease in the middle. Sew together the ribbon from front to back, then top to bottom to secure the bow.
- Fold the 1 ½” ribbon in half, lengthwise. Add a small amount of fabric glue down the center, then iron the fold.
- Repeat Step 3 with the 4 ½” piece of ribbon. This is the portion that goes around the neck of the Elf.
- Center the bow portion with the 4 ½” long neck portion. Sew the bow onto the neck portion.
- Wrap the 1 ½” piece around the center of the bow and neck portion, to cover the stitches you made. Stich the 1 ½” to the back of the bow, cut off any overlapping portion.
- Cut one small piece of Velcro ¼” wide. Stick Velcro to the ends of the 4 ½” piece.
As always, I hope you’re inspired to craft, bake, create and celebrate!


 7 Rudolph the red nosed reindeer treats