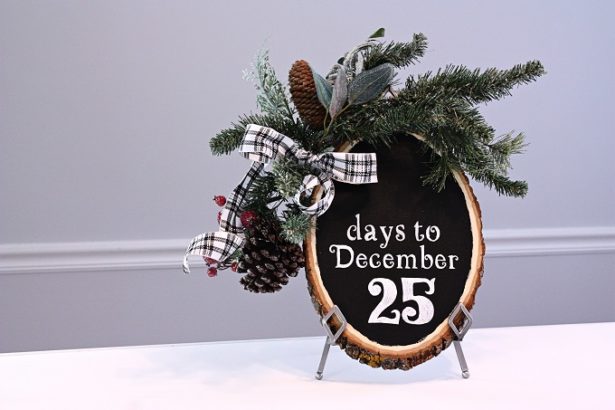
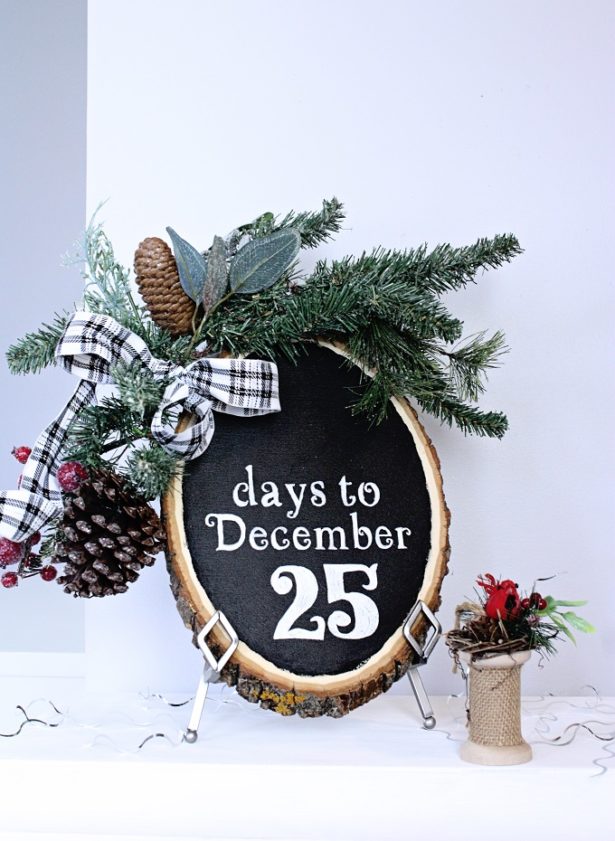
Are you ready to count down to Christmas? We are! We want to know exactly how many days until the big guy in the red suit comes down our chimney. Here’s a super easy DIY chalkboard Christmas countdown that I created for our front entry.
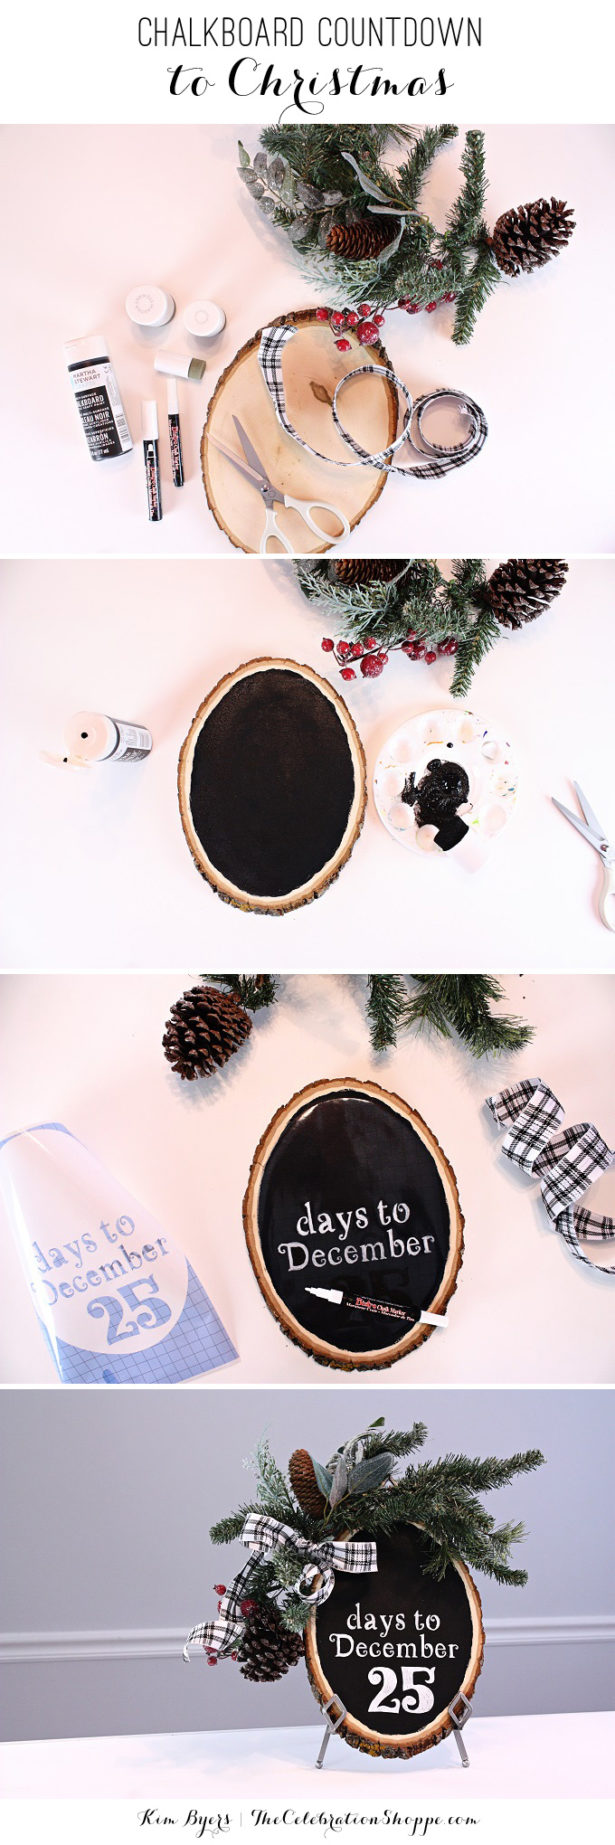
Want to make one too? You just need a few craft supplies from Jo-Ann Fabric and Craft Stores:
- Wood slice
- Martha Stewart black chalk paint
- Martha Stewart foam pouncers
- Cricut vinyl stencil
- Lightweight Cricut mat
- Cricut Explore Air
- Bistro chalk marker (thin)
- Garland
- Picture frame stand
And here are the easy DIY steps for making this countdown to Christmas:
- Paint – paint wood slice with chalkboard paint. Allow to dry for one hour and paint a second coat.
- Design – open Cricut Design Space and create a design. It’s simple. Just measure your wood slice, open a new project, click on the insert shape feature, select circle and reshape it to an oval the size of your wood. Now that you have your shape, insert any text and images you’d like. Here’s my Cricut Design Space file if you’d like to start with it!
- Cut – place Cricut vinyl stencil on a lightweight mat, send your design to the machine, select vinyl stencil as your setting and press cut.
- Apply – peel the stencil off of the backer carefully and place on wood.
- Chalk – using a chalk marker, outline and fill in your design. I suggest going over it twice.
- Embellishments – add a little garland to your countdown. Mine didn’t require glue, but you could hot glue it if you wanted.
Would you rather watch a video of me making this fun chalkboard countdown to Christmas? Just click the play button below!
Now hop over to Jo-Ann and shop this post:
- Wood slice (in stores)
- Martha Stewart chalk paint
- Martha Stewart foam pouncers
- Cricut vinyl stencil (in stores)
- Lightweight Cricut mat (in stores)
- Cricut Explore Air
- Bistro chalk marker (thin)
- Garland (in stores)
- Picture frame stand (in stores)
As always, I hope you’re inspired to craft, bake, create and celebrate!
INSTAGRAM | FACEBOOK | PINTEREST | GOOGLE+ | TWITTER | YOUTUBE | BLOGLOVIN
This DIY project is sponsored by Jo-Ann Fabric and Craft Stores. Thank you for supporting my wonderful sponsors. They make it possible for me to keep the ideas coming! All content, ideas, photography and opinions are that of my own and I’d have it no other way!


 Easy Ways To Go MAD FOR PLAID This Holiday