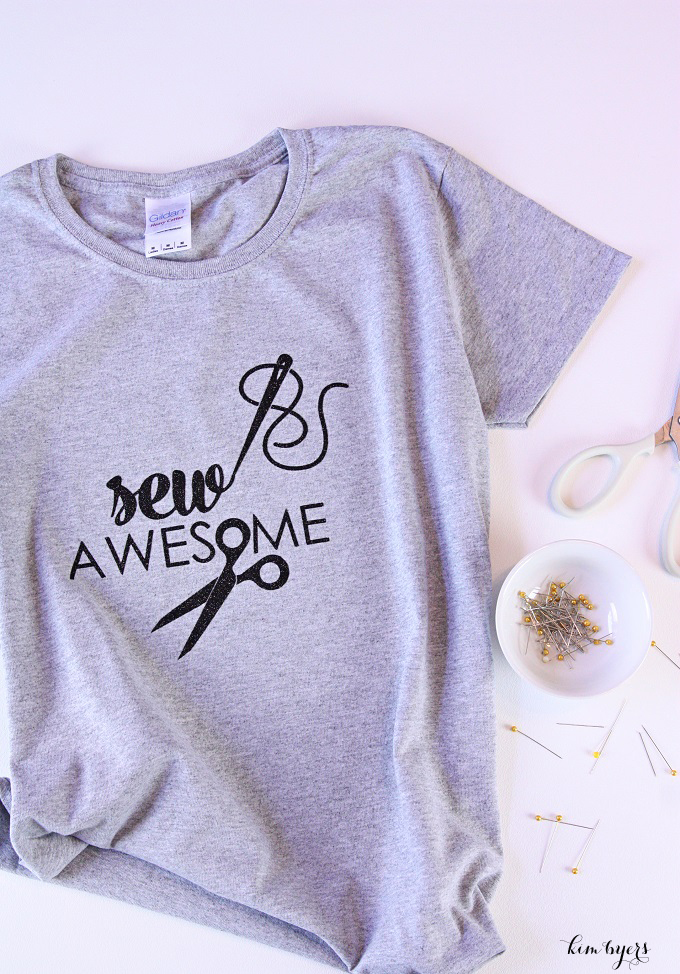
I’m still learning to sew; my mom is the real expert. She’s amazing. If I could just learn half of what she knows I would be ecstatic. As a little “happy gift” for her, I designed a “Sew Awesome” image and whipped her up a iron-on graphic Tshirt. I made me one too. {wink}
Did you know it’s National Hobby Month and JoAnn Fabric And Craft Stores is ready to help you start the new year with your favorite crafts! I’ll be honest, I have so many hobbies that it’s hard to pick just one, from paper crafts to iron-on projects to fun food creations to sewing. Let’s get crafty and I’ll teach you how to make darling iron-on projects that are all your own!
If you couldn’t tell by the design, I’m in love with the graphic Tshirt trend so I’m going to show you how to make an iron-on tee. But you can use this same process to make bags, blankets, canvas, etc. JoAnn has a great selection of them all!
Once you know what medium you’re going to embellish, select a design. I love using my Cricut Explore Air 2 to create in Design Space. There are literally thousands of designs and fonts to choose from, but not only that, you can peel back the layers and take things apart to make your own creations and you don’t have to be a designer. Design Space is very user friendly.
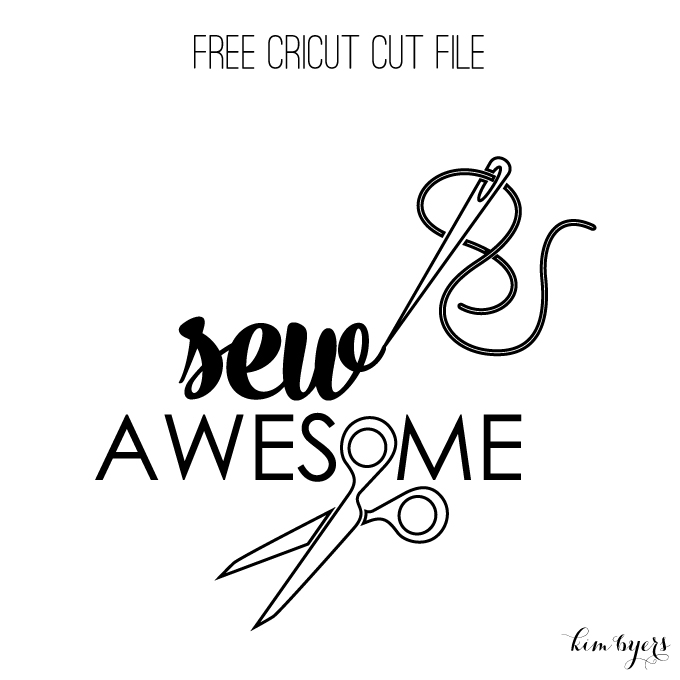
That said, if you are a designer, Cricut Design Space allows you to upload your own cut, and print then cut files too. Use my Sew Awesome graphic and give it a try. It’s super easy to upload designs. Just follow the prompts.
DOWNLOAD FREE SEW AWESOME CUT FILE
Now you have selected your medium and your design, let’s talk iron-on colors. JoAnn offers not only a multitude of iron-on colors, they also have glitter iron-on and foil iron-on. I’m currently in love with them all!
To recap, here’s what you’ll need to make a darling iron-on project for National Hobby Month. Just hop over to your local JoAnn Fabric and Craft Stores or go online for these craft supplies:
- Cricut Iron-On
- Cricut Explore Air 2
- Cricut Weeding Tool
- Cricut Standard Cutting Mat
- Iron & Pad
- Ruler
- Tee, Bag, Canvas, Etc.
- Design Space
Finally, let me show you how easy it is to put your entire project together.
- Measure – after selecting your design, measure the area you’d like to embellish and adjust your design in Design Space accordingly.
- Cut – cut your design as one element or in layers. For this one I used black glitter iron-on. Remember to “mirror” the image when creating with iron-on or it will read backwards. Eeek!
- Iron – the iron-on is super easy to place as it comes with an adhesive cover. It keeps all the letters and graphics together. Just place where you’d like it on your medium, iron according to the instructions on the packaging and you have a lovely personalized item in just minutes!
Looking for more fun and easy DIY graphic Tshirt crafts? Make sure you try my Valetine Pink & Gold Conversation Heart Tee, Shine Bright TShirt, and Makers Gonna Make Tshirt. That last one is truly one of my favs!
Or, if you’d like to try other materials, try my Handmade Iron-On Pillows, or Iron-On Teacher Tote.
As always, I hope you’re inspired to craft, bake, create and celebrate!
INSTAGRAM | FACEBOOK | PINTEREST | GOOGLE+ | TWITTER | YOUTUBE | BLOGLOVIN
Sew Awesome Graphic Tshirt & National Hobby Month seen first on The Celebration Shoppe.
This DIY project is sponsored by Jo-Ann Fabric and Craft Stores. Thank you for supporting my wonderful sponsors. They make it possible for me to keep the ideas coming! All content, ideas, photography and opinions are that of my own and I’d have it no other way!
This post may include some affiliate links at no cost to you. The advertisers pay and it’s a great way for us to keep the lights on. Plus, I wholeheartedly promise that I won’t link to or recommend any product to you that I wouldn’t try or buy myself!


 Amazing Grace Graphic Tee & Free SVG Cut File