This weekend was a beautiful fall weekend and we packed each day with baking new Halloween treats (some dairy free for us moms who deal with food allergies), decorating pumpkins (the super easy way) and spending time with some great friends.
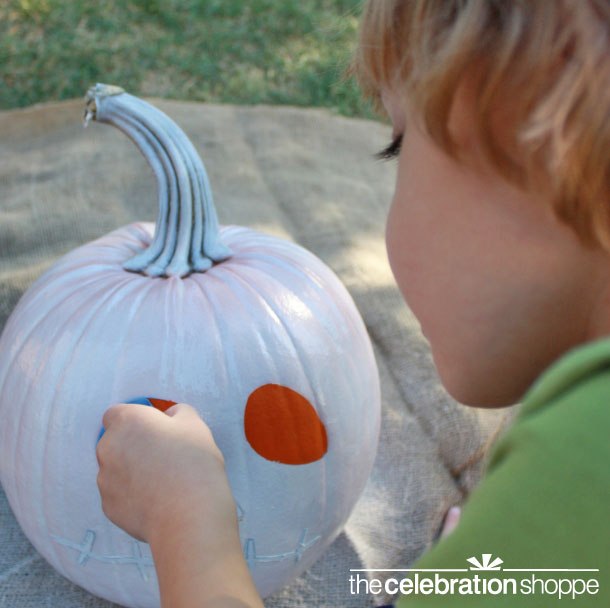
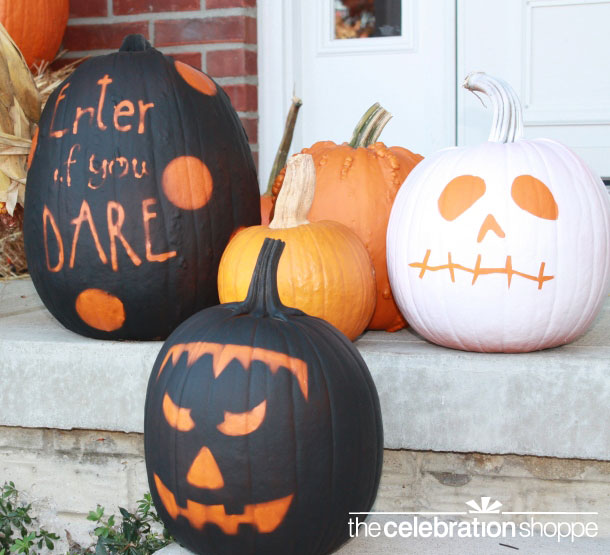
I’ll share the treats soon, but I wanted to start with the pumpkins. I’ve never been much for cleaning out pumpkins. It’s messy and in Ohio some years it can just be down right cold. Long story short, I look for alternatives. This year we thought we would go the super easy route and just spray paint the pumpkins so that the kids could help (at least a little; it’s too toxic for them without a mask and taking breaks every 30 seconds or so).
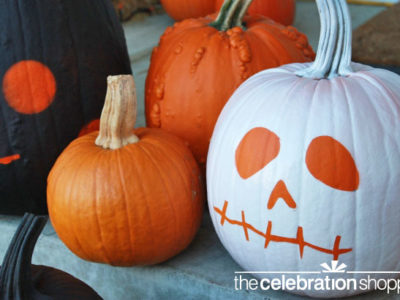
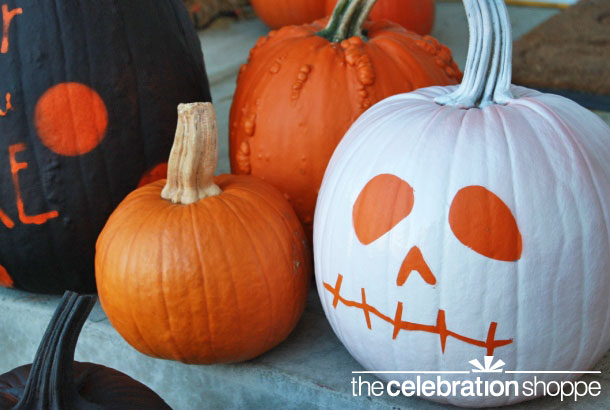
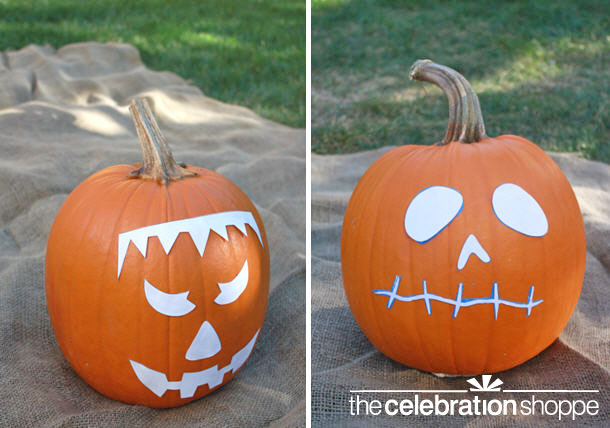
I started by going to Better Homes and Gardens and letting the boys select their own template. My oldest chose a Frankenstein stencil and my youngest chose a spooky skeleton stencil. (We also made a “Enter if you DARE” stencil with a cricut and circle punch.) Next we cut out the stencils and attached them to the pumpkins. For the Frankenstein pumpkin and Enter if you DARE pumpkins we wanted a menacing effect so we just attached the stencils with hot glue, leaving the edges up so that some of the paint would get in around the stencil. For the spooky pumpkin we wanted harder lines so we covered the area with painters tape, attached the template and then I trimmed it out with a straight edge.
Using a piece of burlap to protect the grass, we lightly sprayed both pumpkins with a constant back-and-forth motion, allowed them to dry and then peeled off the stencils.
The entire process took about an hour and the boys were thrilled with the outcome!
Want more creative pumpkin carving ideas: Decorating Pumpkins with Studs, No-Carve Pumpkin Decorating Ideas, Carving Pumpkins.
As always, I hope you’re inspired to craft, bake, create and celebrate!
INSTAGRAM | FACEBOOK | PINTEREST | GOOGLE+ | TWITTER | YOUTUBE | BLOGLOVIN

 new farmers market printables