Table of Contents[Hide][Show]
Wondering why Cricut Maker vs Cricut Explore Air 2? You’re not the only one. People ask me that question often and today I’m going to tell you what I tell them through pictures and projects!
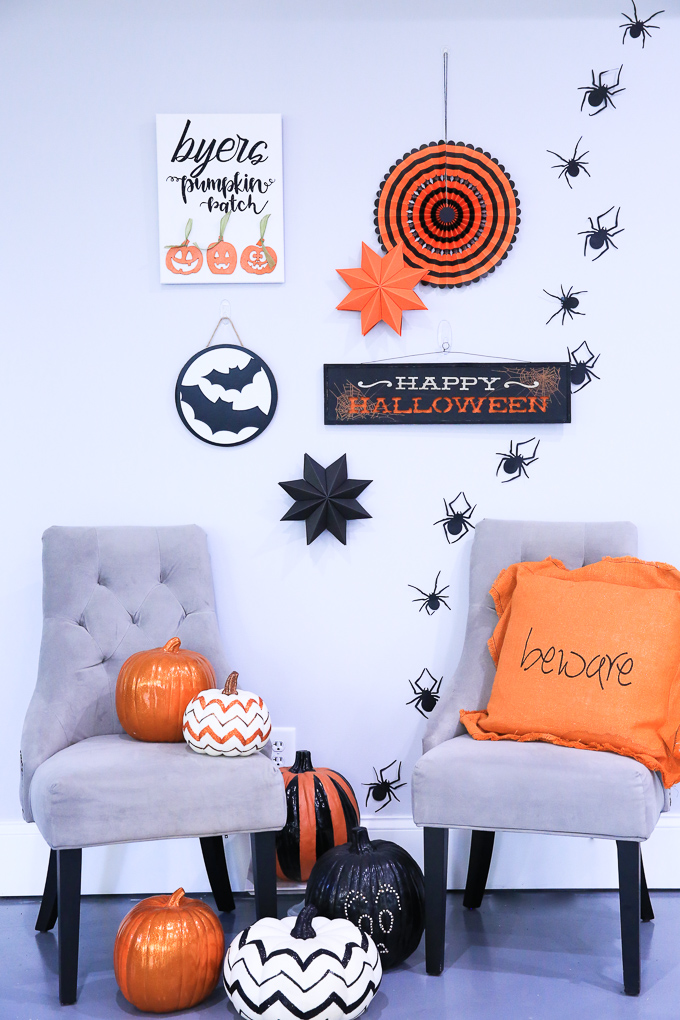
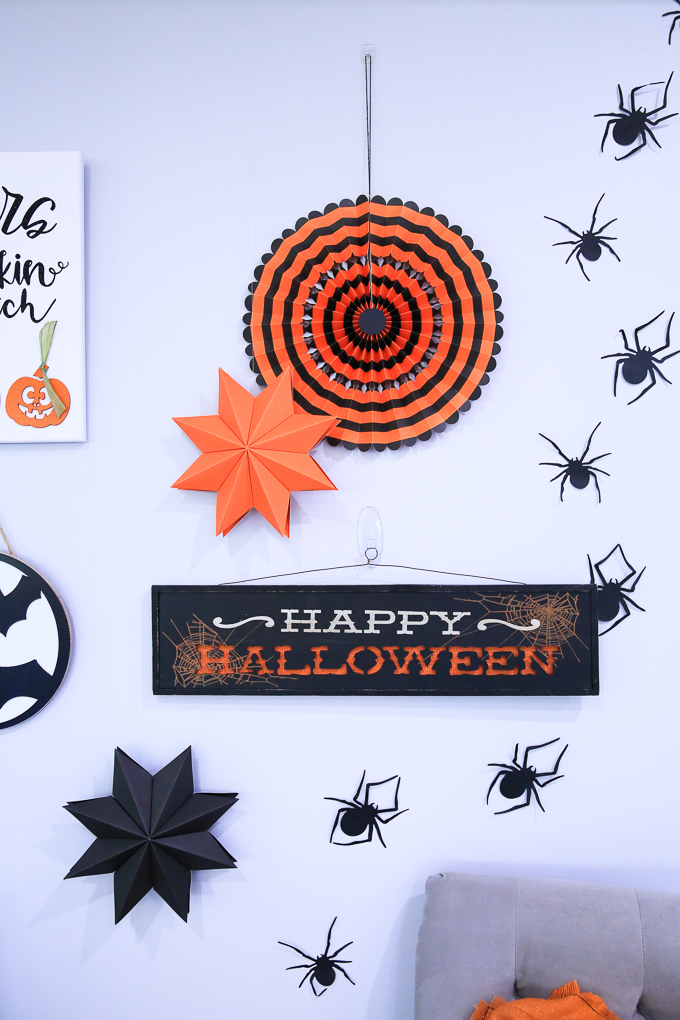
I made “almost” everything on this wall with my Cricut Maker and I could have made only one with my Cricut Explore Air 2.
The Cricut Explore Air 2 is a great machine, but now that the Cricut Maker is available you have so many more options. The reason? Cricut Maker can grow with the Adaptive Tool System. All the genius that Cricut comes up with now, like the Rotary Blade, Knife Blade and Scoring Wheels, can be used within the Adaptive Tool System.
Oh and they’re not done yet! Yay!
What is the Cricut Maker Adaptive Tool System?
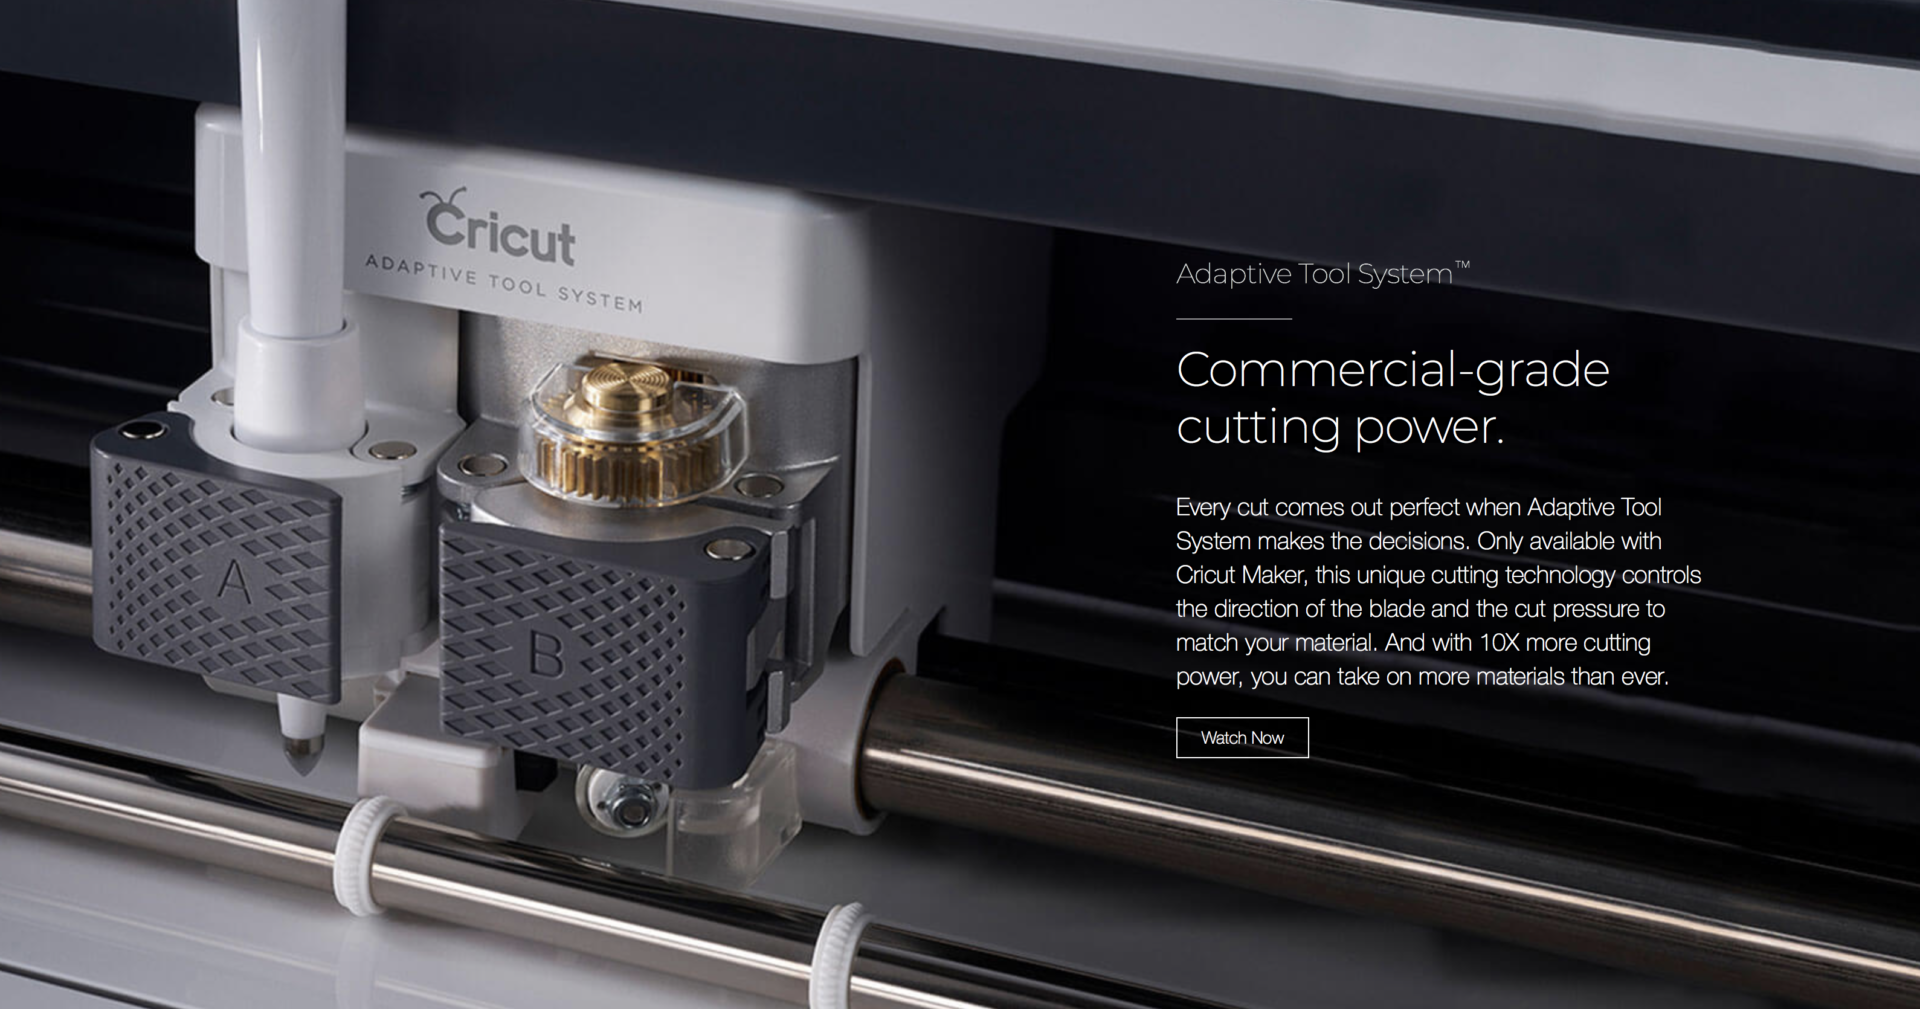
If you own a Cricut Explore Air 2 you have a dial on one side where you select the type of material you’re using (which you can now do better in Cricut Design Space with the drop down menu) and you have a smaller housing. That housing allows you to cut (traditional Cricut blade and you can purchase a Deep Cut Blade), score (pen type with much less pressure) and write.
The difference is the Maker’s Adaptive Tool System is designed so that they can create new tools without you having to upgrade machines again. So all these cool new tools you see coming out, they will all work with the Cricut Maker because of this new housing. Now you can use your machine until you wear it out!
What Tools Are Exclusive to Cricut Maker vs Cricut Explore Air 2?
Cricut has a whole top secret list of goodies that will come your way over time, but right now you can get these three and they are pretty amazing!
Rotary Blade
Do you see the gear at the top of Rotary Blade, that allows the blade to swivel instead of picking up the blade and putting it back down. That is how the Cricut Maker can cut fabric, sewing patterns, fine papers like tissue paper, all without tearing or pulling! It’s amazing. The pressure is perfect and even, not wobbly like me with a hand rotary blade!

Cricut has special mats for fabric too. They’re pink and they come in 12×12 and 12×24. The best part, you don’t have to back your fabric before cutting. The mat holds over 100 fabric types all without you needing to back it first.
Knife Blade
Next up is the Knife Blade. I went out to Cricut Headquarters when they were prepping to launch this tool and so I’ve seen it used by the professionals, and then came home and used it myself. It’s really as easy as it looks.
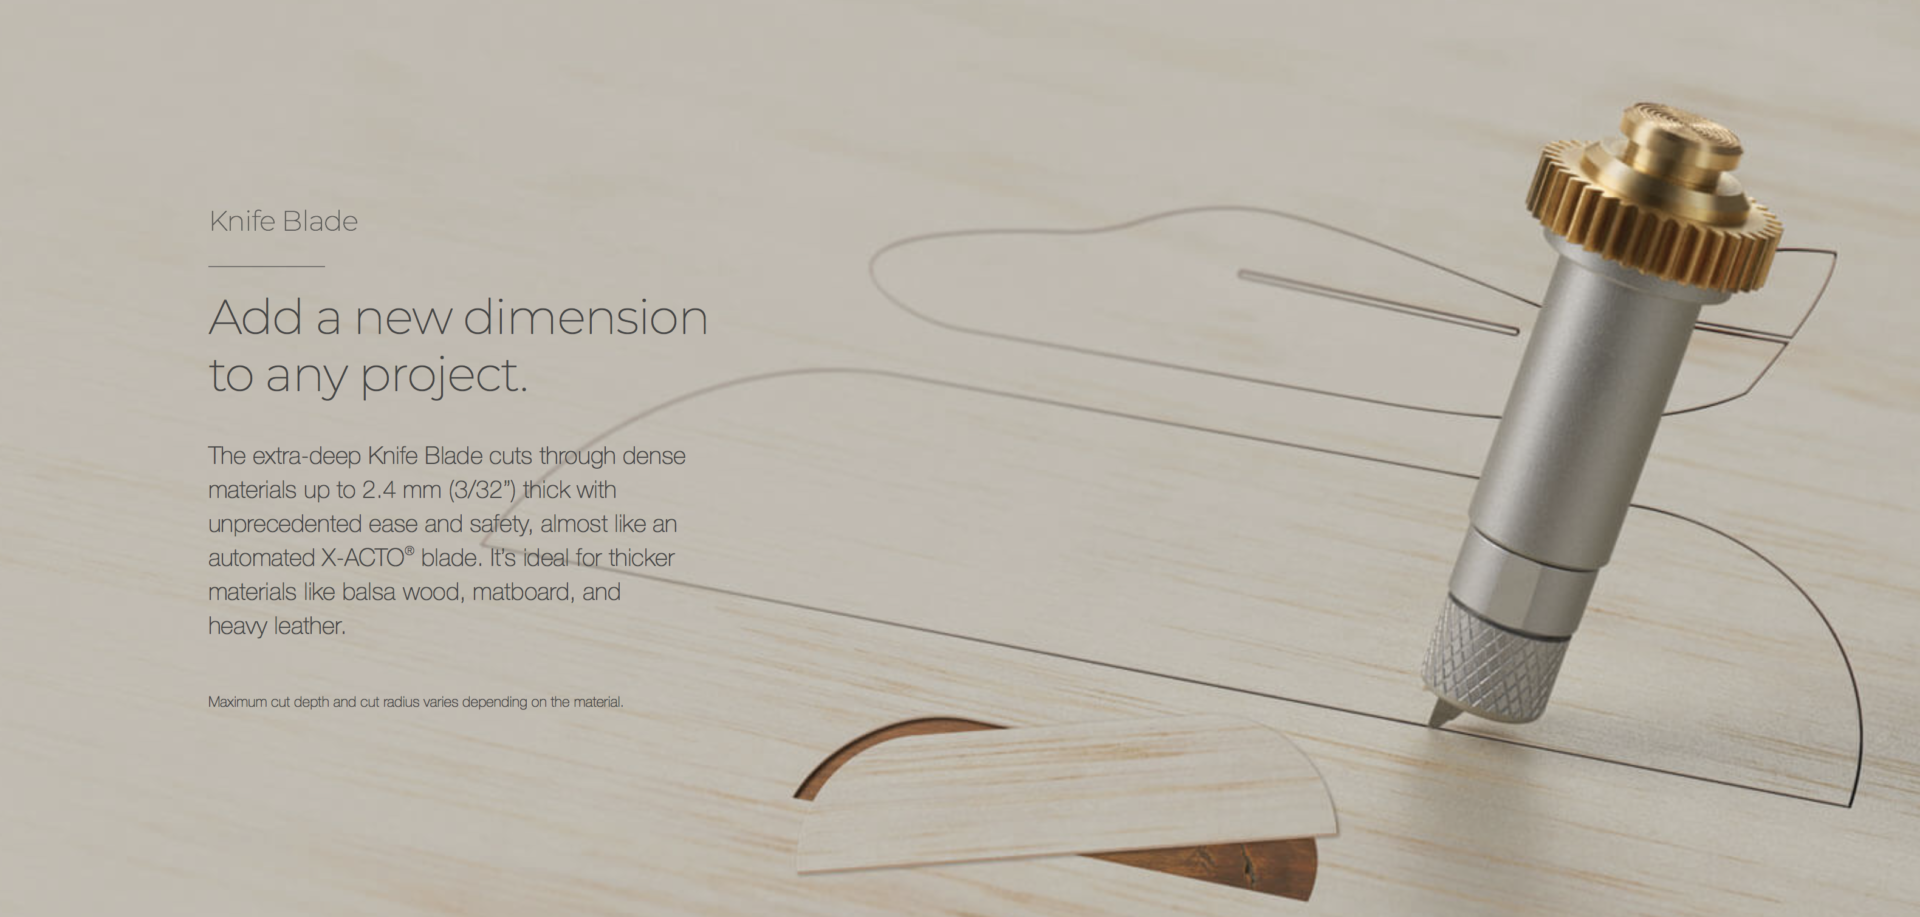
Things to know:
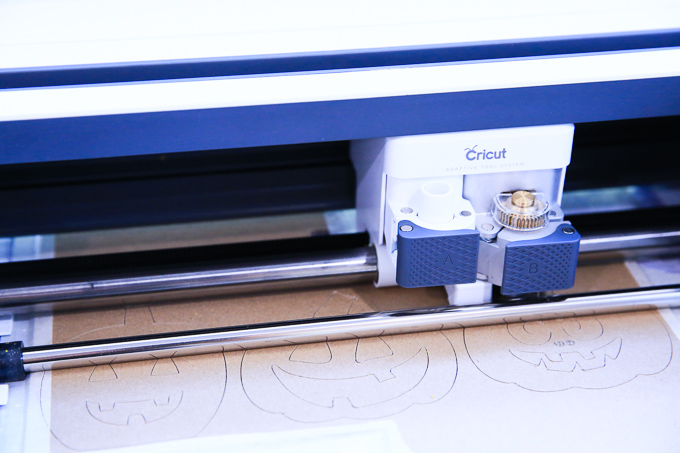
- Projects take 20 passes, and sometimes more depending on the thickness of your material.
- Yes, 20 passes is necessary if you want perfect and beautiful edges. Don’t rush it.
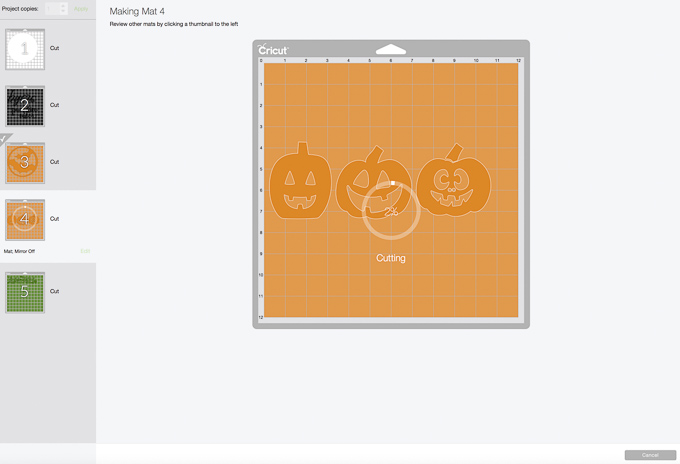
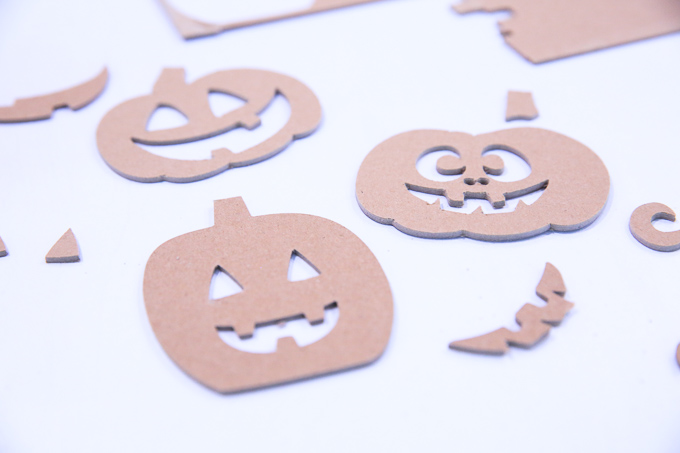
- The machine can cut for several hours depending on the detail (the pumpkins below took an hour-and-a-half).
- Use masking tape to secure the edges of your materials so they don’t slip on pass 19 (thank goodness I learned that little tip before making my first project or I would have cried!).
- You can’t use your mobile device for this tool because Aunt Jenny might call or you get bumped offline and then you have a half cut project that you’ve been waiting on for an hour. No thank you! ;) Just use your laptop or desktop and don’t worry!
Scoring Wheel
This little wonder has me all starry eyed. The Cricut Explore Air 2 has a scoring pen, but it was never deep enough. My projects never looked as perfect or as professional as I wanted them to.
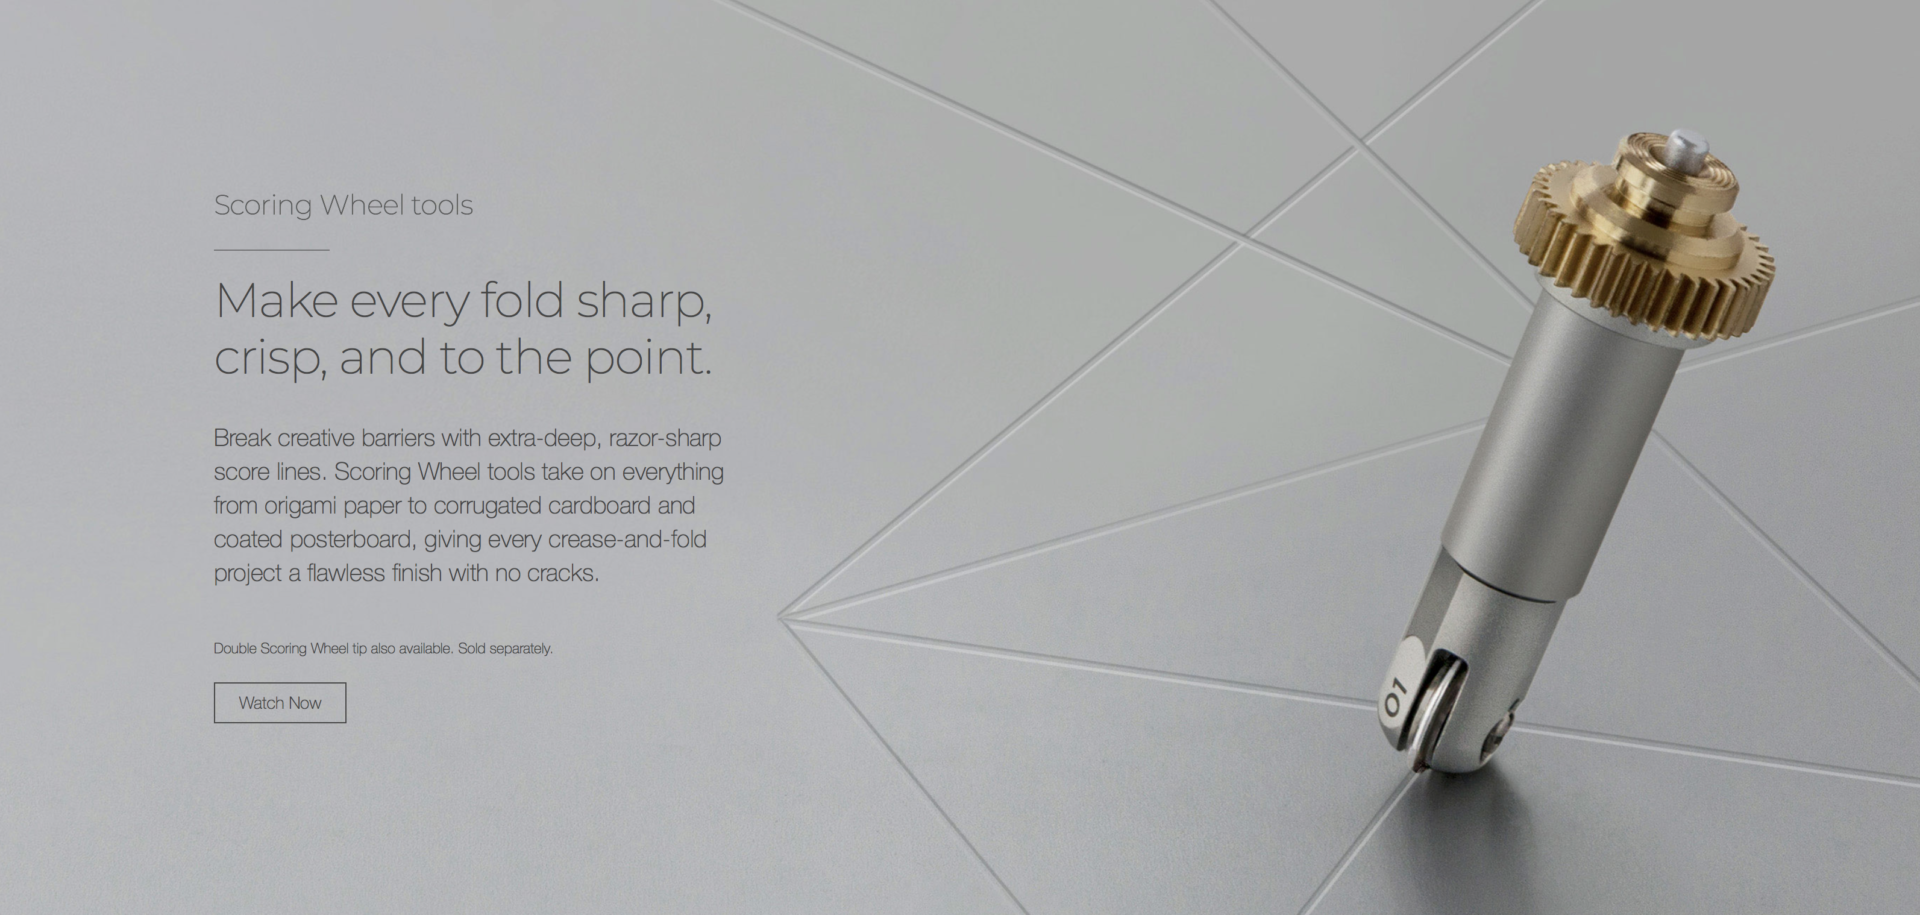
This tool has two levels, .01 with one wheel and .02 with two wheels for projects with sharp or flat bends like envelopes. It’s heaven to a stationary crafter!
What I Made With My Cricut Maker
Everything on this wall, with the exception of the wooden frame, can be made with the Cricut Maker and it’s tools. If I had tried this with my Cricut Explore Air 2, I would have only been able to make the paper items and the scores wouldn’t have been as crisp (by a long shot!).
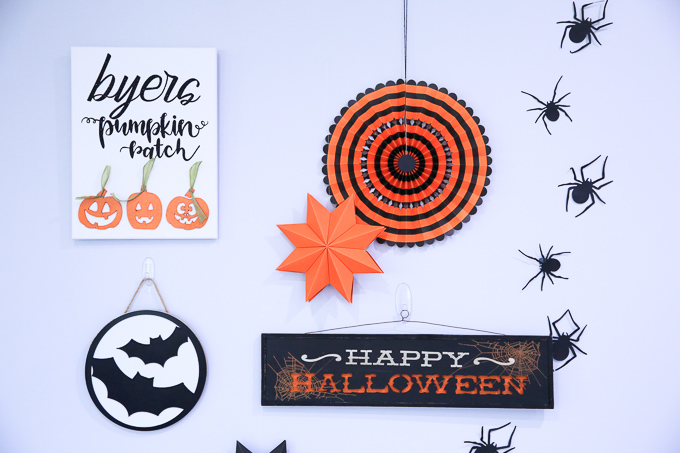
One of my favorite things to do now that the Cricut Maker is in my craft life, is to layer! Canvas are one of my favorite… okay… IS my favorite craft right now, because I can decorate my home beautifully on the cheap!
Did you see my mudroom Halloween makeover? Make sure you pop over and see the Sit A Spell Sign I made!
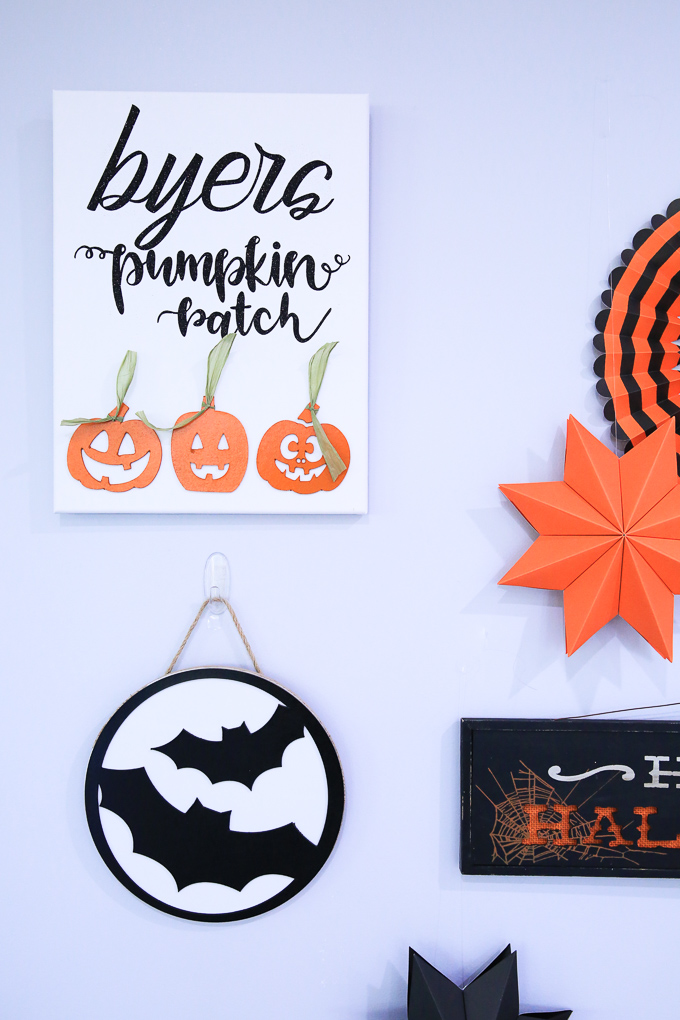
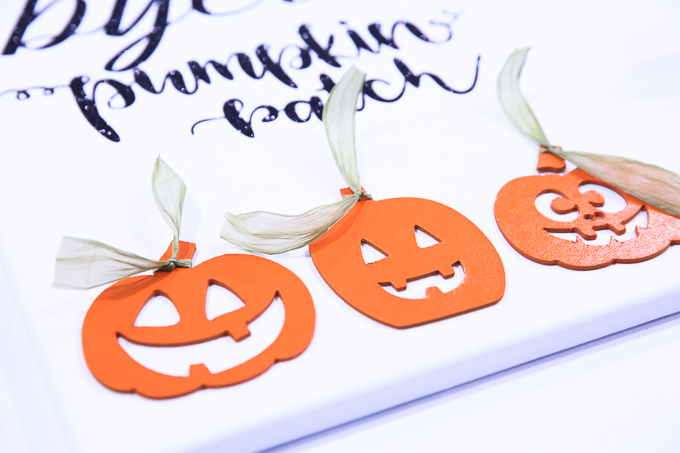
For this canvas I used iron-on, and then layered on the pumpkins and the raffia ribbon to give it all dimension!
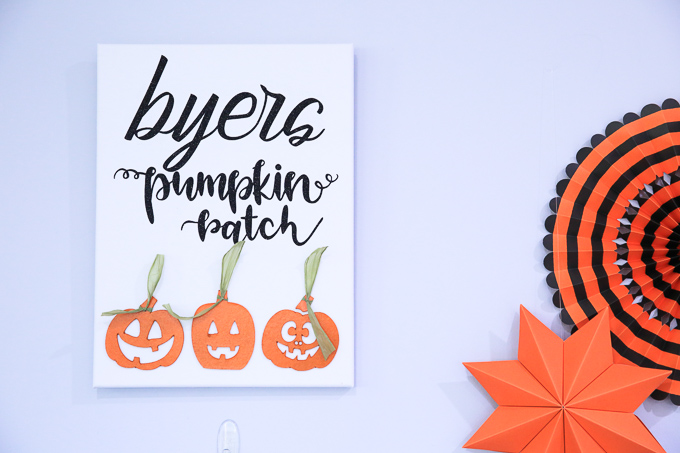
Here’s what you’ll need to make this Pumpkin Patch Canvas:
- Cricut Maker
- EasyPress 2, size 12″x10″ (see all 3 sizes)
- EasyPress Mat
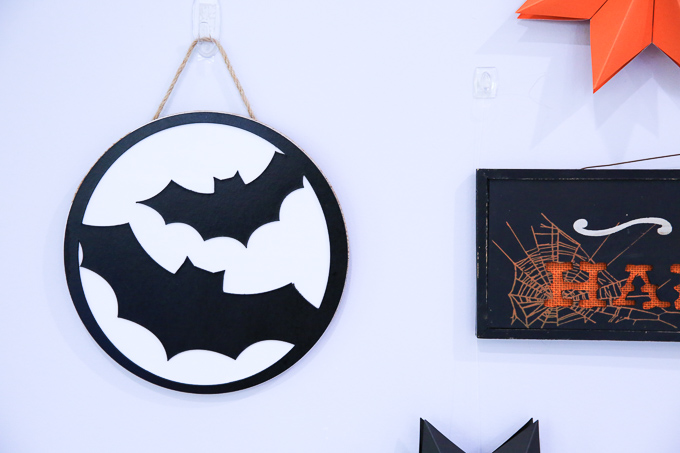
- Knife Blade (pumpkins and bat circle)
- Cricut Design Space Project (canvas and bat circle)
- Black Glitter Iron-on
- Chipboard (pumpkins and bat circle)
- Weeding Tool
- Strong Grip Cutting Mat (for chipboard)
- Standard Grip Cutting Mat (for iron-on)
- Masking Tape (chipboard)
- Elmer’s Extreme Glue
- Canvas, 12″x16″
- Raffia ribbon, green
NOTE: For the Circle Bat Decor you would only need the machine and tools above plus black spray paint for the chipboard, white vinyl and a $3 wood round from the craft store. You can easily hang it with a piece of course twine that has been glued on with wood glue (and dried overnight).
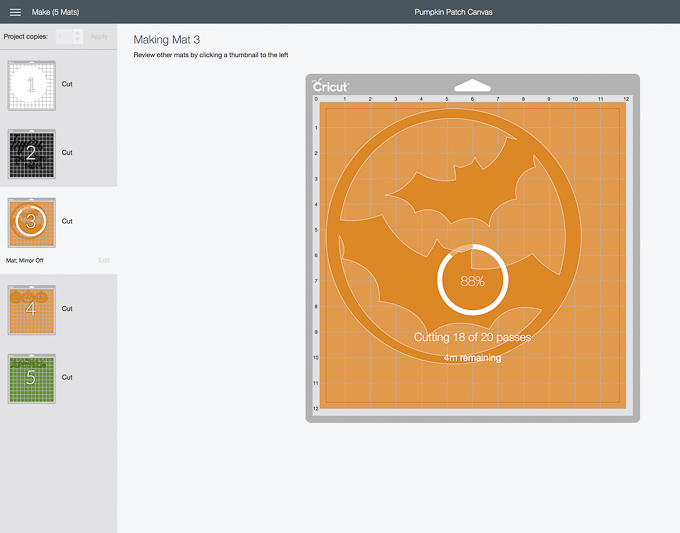
Okay, back to making the Pumpkin Patch Canvas!
Here are the easy steps for making this darling AND PERSONALIZED canvas sign for your home.
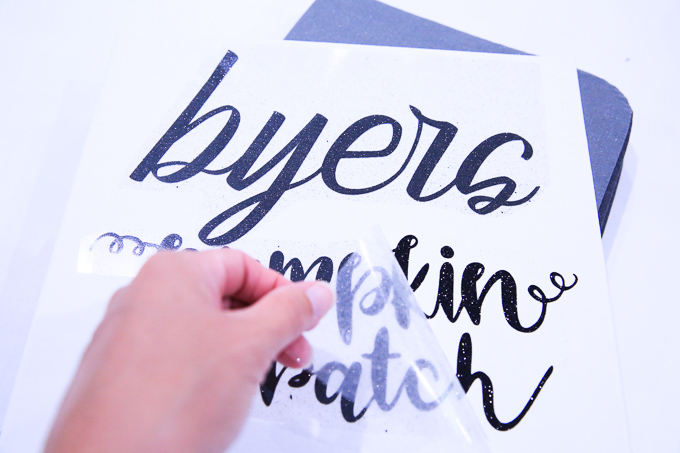
- Design Space, size – open my project, personalize with your family name and to the size of your canvas. My canvas is a 12″x16″.
- Design Space, font – If you use a script font, ungroup the letters, move them closer together, and group them. Once you’re sure they’re perfect and just the way you want them, WELD them. This will allow them to be cut as one image instead of a break in the material between each letter. Trust me (learned the hard way long ago) it’s visible with dark colors.
- Cut, iron-on – I suggest cutting your iron-on first so you can be working on it while the chipboard is cutting.
- Cut, chipboard – switch your blade and prepare your strong grip mat by securing the chipboard with masking tape around each side. This will keep it from slipping! Start cut and remember you must use a computer. Knife Blade won’t work on mobile.
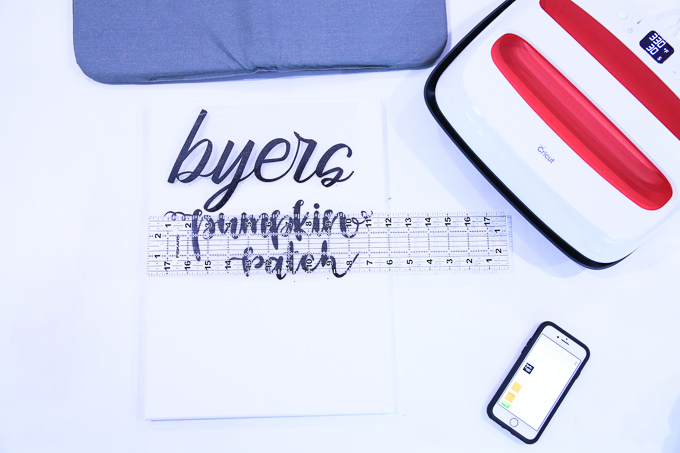
- Weed & EasyPress – weed the negative design. Then, using the EasyPress 2 guide, pre-heat the machine and the canvas. I placed the EasyPress mat under my canvas because it fit this time, but I often use a towel for canvas.
- Spray Paint – once the pumpkins are done, take them to a well ventilated area and spray paint them. Allow them to dry for a few hours.
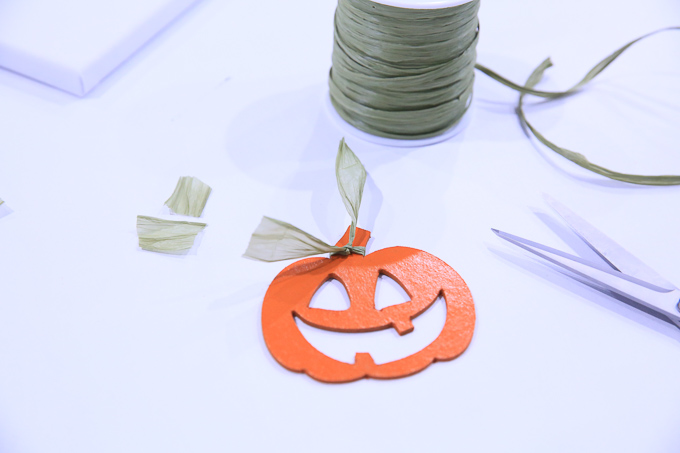
- Glue & Embellish – once pumpkins are dry, flip them over, tie raffia ribbon to look like vines, add glue and place on canvas. Be sure to use a ruler to make sure you’re the same distance from each side and bottom of the canvas.
Want To Know More About The Cricut Maker Vs Cricut Explore Air 2
- 10 Cricut Tools And Materials I Love And What I Craft With Them
- Ice Cream Party Cake Topper With Knife Blade
- Cricut Maker vs Cricut Explore, What’s The Difference
So what do you think? Cricut Maker vs Cricut Explore Air 2, although a bit more expensive, will last for years because all the new tools will work with one machine! This is your last upgrade. And it’s the perfect time to ask for it. Christmas is just around the corner! ;)
More Cricut Halloween Crafts
- Minnie Mouse Halloween Costume
- Sit A Spell Halloween Sign With Cricut EasyPress 2
- Monster Halloween Treat Bag
- You’ve Been Boo’d Label
- Pumpkin Spice Donut Treat Bag
As always, I hope you’re inspired to craft, bake, create and celebrate!
INSTAGRAM | FACEBOOK | PINTEREST | GOOGLE+ | TWITTER | YOUTUBE | BLOGLOVIN
Thank you for supporting my wonderful sponsors. They make it possible for me to keep the ideas coming! All content, ideas, photography and opinions are that of my own and I’d have it no other way! Comments submitted may be displayed on other websites owned by the sponsoring brand.
This is a sponsored conversation written by me on behalf of Cricut. The opinions and text are all mine.

 Minnie Mouse Halloween Costume With Cricut