Each year we get together with all of our neighbors and I host our annual Halloween block party. The premise is that everyone brings their favorite Halloween or fall treat and we all reminisce about the summer and tell any plans for the upcoming winter (besides hibernation of course!). This year I used my Candy Corn collection and gave it a little lighter twist from how I styled it in August for the shoppe. I made mostly dairy and nut free goodies. As many of you know my youngest has severe food allergies and I can’t stand for him to feel left out!
There is nothing worse than that little face looking at me with sad eyes and asking me “Mommy, is that my kind?” His “kind” meaning made with soy milk or vegan butter. Of course unless I made it myself the answer is typically “I’m so sorry baby…” And any mother with a child who suffers from food allergies can attest that it breaks your heart!
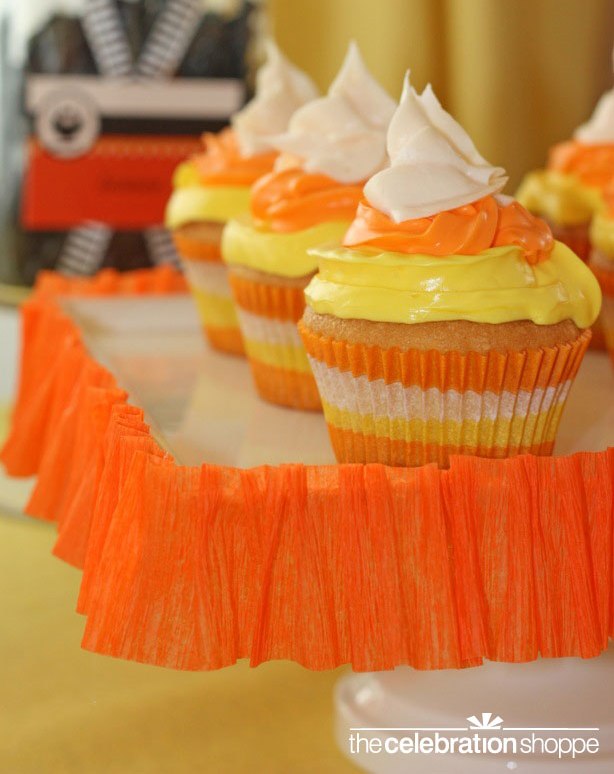
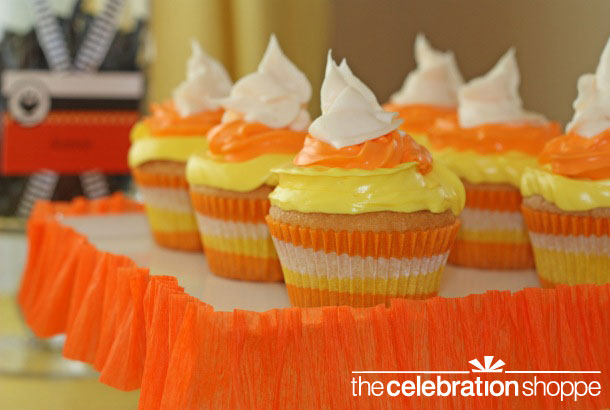
All of my desserts that night were inspired by the yummy candy corn and the first on my list was a cupcake… imagine that! By the way, Brach’s candy corn has milk in it, but the Kroger brand is dairy free (has egg though)!
So using a Duncan Hines Butter cake mix and Smart Balance Light vegan butter (be careful that you get the light; the others have dairy in them) I whipped up these cupcakes. My only advice on the butter is to use a little less than the recipe calls for because it has a very buttery taste.
And if your little one also has an egg allergy, which my little guy did for the first three years of his life, try making your cupcakes out of a brownie mix instead. Just make according to the recipe and fill your cupcake liners higher than normal. I would also suggest that you either use the tin/silver liners or you use cupcake wrappers, like we create for our collections, to hide the wrapper as brownies have oil in them and will discolor your wrappers.
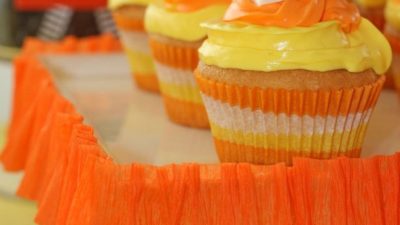
For the icing I simply used Pillsbury Cream Cheese icing and tinted it using gel food coloring (liquid food coloring thins your icing). Using resealable bags with a slit corner (for easy cleanup) I just piped one layer at a time. It was as simple as that!
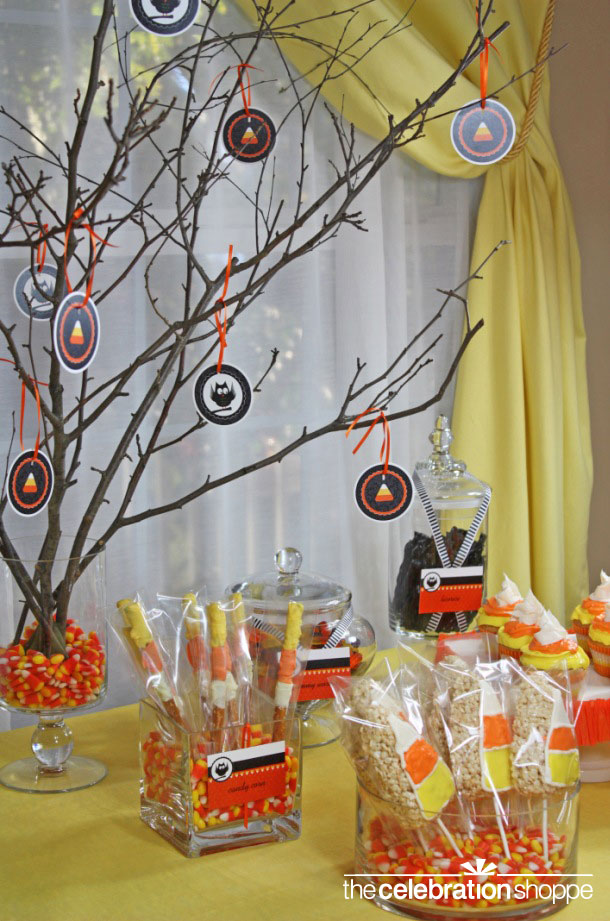
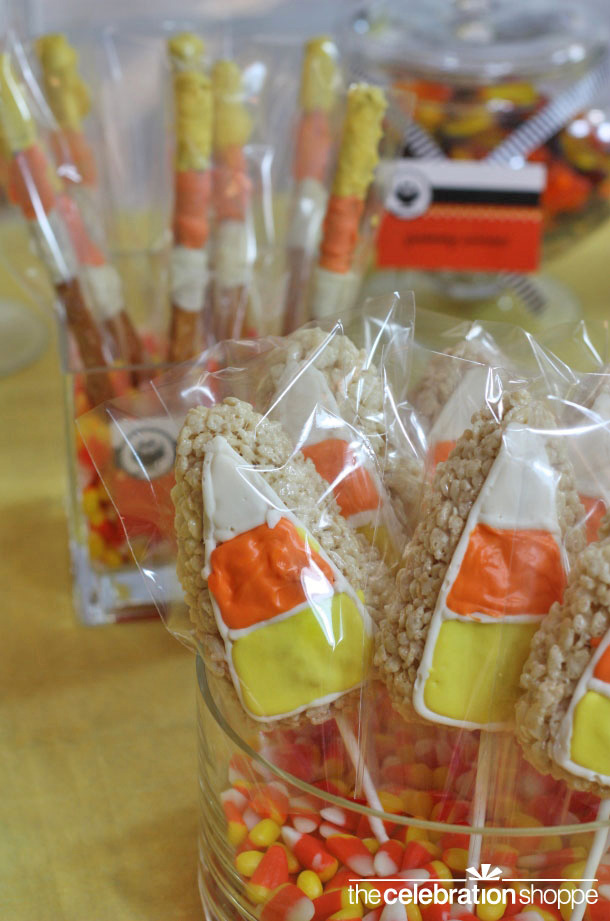
Next I made rice krispies treats, a dessert every kid… and let’s face it, every adult loves! These were gone in a flash! I used the normal ingredients, but in the place of butter I used Smart Balance Light vegan butter again.
- While the treats are still warm mold them into triangles and insert lollipop sticks. Do this before you ice them or your could crack your icing, plus you want to form the treat back around the stick so that there aren’t too many pockets of air.
- Gently push down, don’t crush the cereal, on the top of your treats. You’ll want a flat surface, or as flat as you can get it, for icing.
- Using a #7 tip, a connector and a resealable bag, outline your treats with white icing, leaving no gaps or your icing will run.
- Melt a small bowl of white, yellow and orange icing (one at a time) in eight second intervals. Carefully spoon the icing into the sections and pull icing to the corners with a toothpick. You want your icing warm, but not too hot and soupy or it will remelt your marshmallows.
- Allow treats to dry completely before inserting them into cello bags.
I also served dairy free licorice, candy corn inspired pretzels sticks (made with tinted “real” milk chocolate so I’ll share those in a separate post) and my little guy’s favorite, gummy worms. My oldest will eat anything sweet so I knew he was covered! {wink}
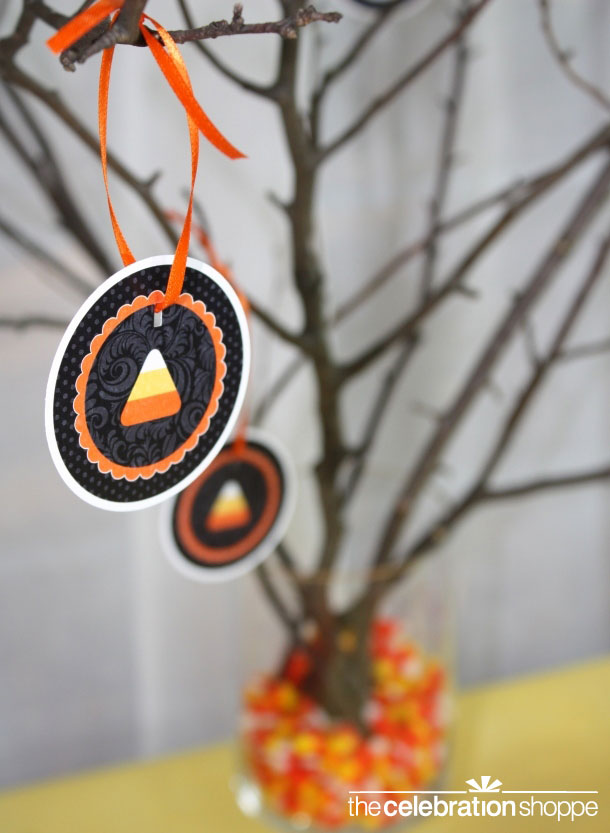
As for decorations, instead of using my cupcake picks in the actual cupcakes, I hung them from tree branches to create a dramatic and tall centerpiece (you all know how much I love height on a table!).
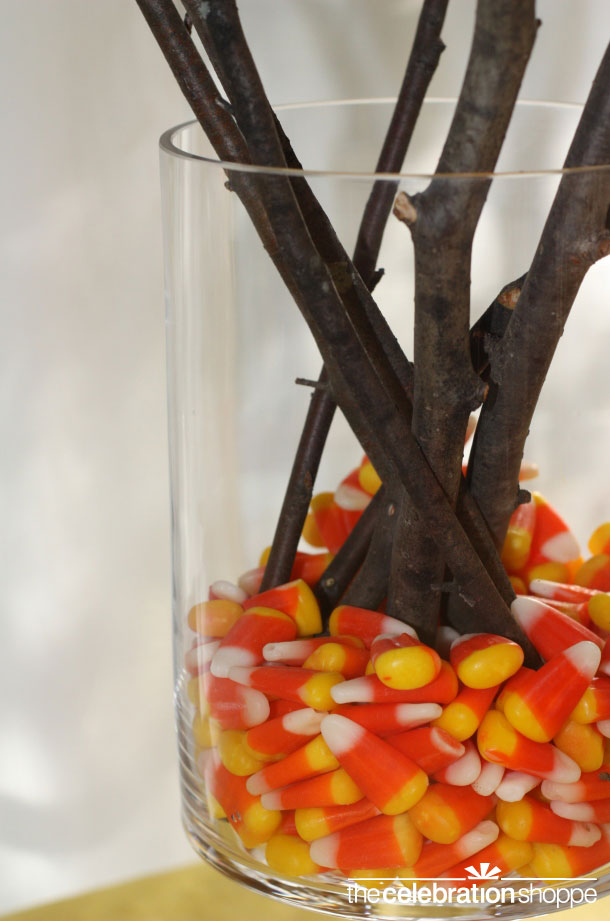
And filled the glass apothecary jar, turned vase, with what else… candy corn! You’ll notice that candy corn was also the fillers for the rice krispie treat bowl and the pretzel jar. Inexpensive and bright, just my style!
I can’t let you go without pointing out the crepe trim on the cake plate (shown in the first and third images). I just made tiny folds back and forth to give it a ruffled look and then attached it to my square cake plate with just a drop of hot glue here and there. It looked lovely, only took minutes and came right off with a light tug.
As always, I hope you’re inspired to craft, bake, create and celebrate!
INSTAGRAM | FACEBOOK | PINTEREST | GOOGLE+ | TWITTER | YOUTUBE | BLOGLOVIN


 free Halloween printable!