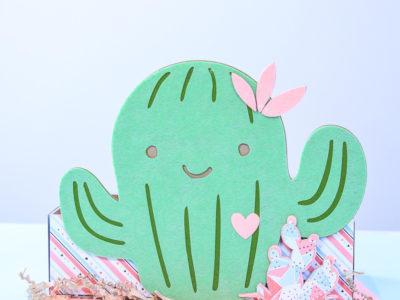
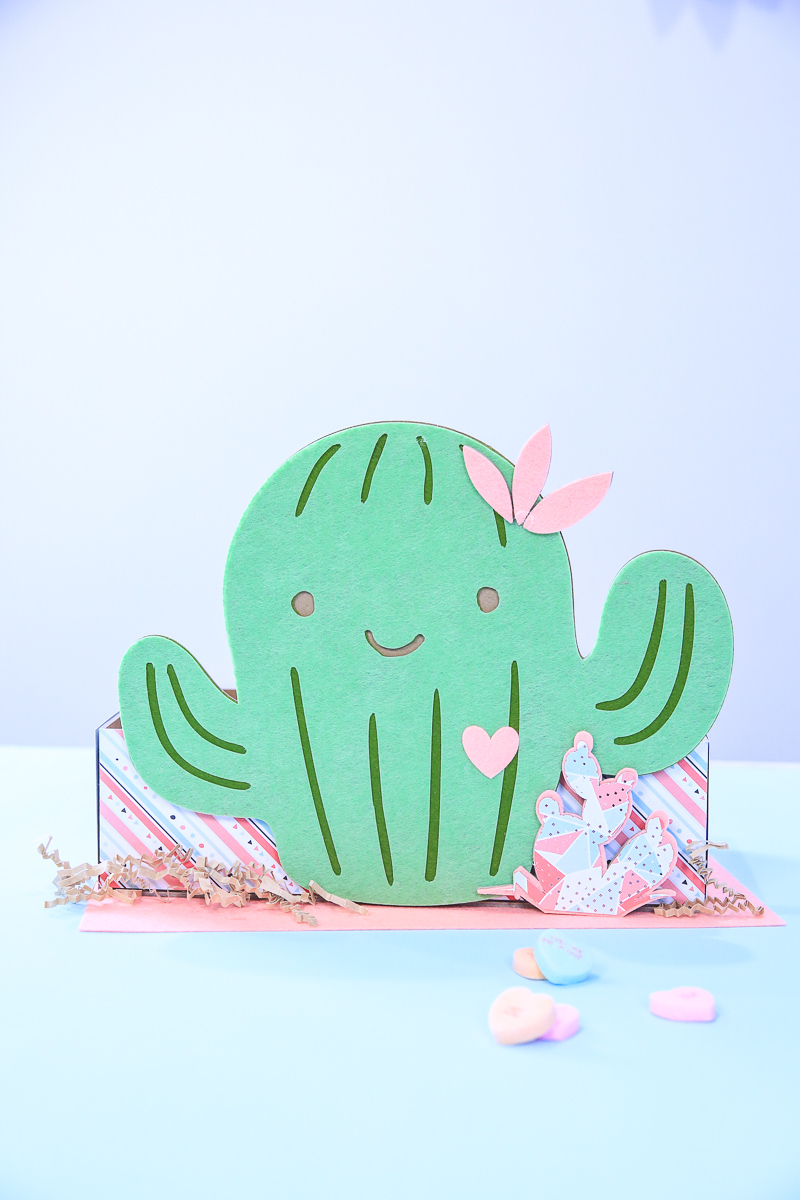
Let’s make a cactus Valentine box with our Cricut Maker. This cuter than cute idea will be perfect for Valentine’s Day class parties!
And what’s more, let’s make matching “You’re Stuck With Me” Valentine cards that are perfect to give with packs of gum!
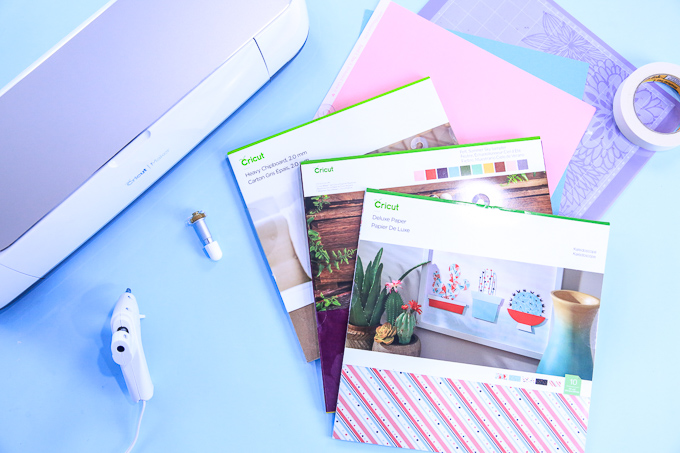
Supplies for Cactus Valentine Box
The thing I love most about this box is that you can make it anything you want! I made the box, covered it with paper and then embellished it with a darling happy little cactus.
You could use this same idea and Cricut Design Space to make this anything you want. A monster truck. A unicorn. A unicorn monster truck. ;)
- Cricut Maker
- Knife Blade
- Rotary Blade (optional, you can use Maker standard blade for felt)
- Design Space Project
- Chipboard*
- Felt, Cricut Summer Sky Sampler
- Premium Paper, Cricut Kaleidoscope
- Hot Glue Gun
- Strong Grip (purple) and Standard Grip (green) Mats
- Masking Tape (for chipboard mat)
- Optional: Glue Stick (or just use light amount of hot glue)
- Optional: Krinckle gift packaging (aka tumbleweeds)
- Optional: Access Premium (so worth it!)
*I suggest only the Cricut brand chipboard. They produced it to have an even core that won’t damage your blade. Other chipboard can have hard knots in the core.
Cactus Valentine Box Instructions
- Design – Using my Design Space file, you can make this exact Valentine Box. Or, you cake keep the box and add any embellishments you want! As I mention in my video, I might just make a few different kinds. What do you think of a vintage truck carrying hearts?!
- Gather Materials and Blades, Cut – I like to cut my Chipboard first just because it takes the longest. Each mat will take 20 passes over the Chipboard. After Chipboard, change your Knife Blade to the Rotary Blade and cut all your felt. Finish with the standard Maker blade and cut all your cardstock.
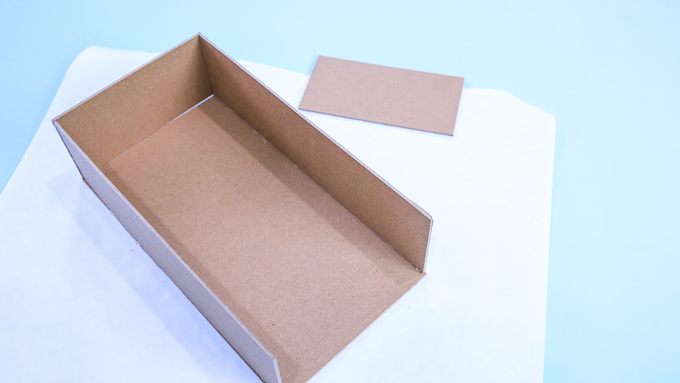
- Assemble Box – I like to use hot glue. It’s fast and if you have a low temp hot glue gun you’re not likely to burn yourself! ;) Using the base of the box as a stand, hot glue on the long sides first and then the short. Watch the video if you’re not sure. Using glue dots, cover box in paper.
- Embellish with Cacti – Using hot glue, lightly applied, cover Chipboard in felt, attach to the front of the box and embellish with mini cactus and tumbleweeds.
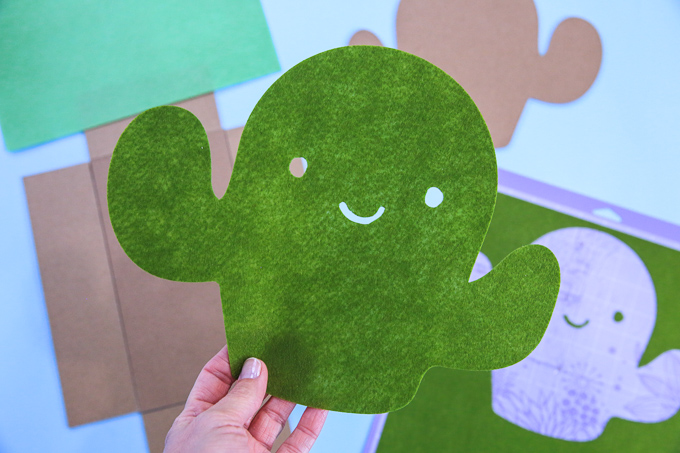
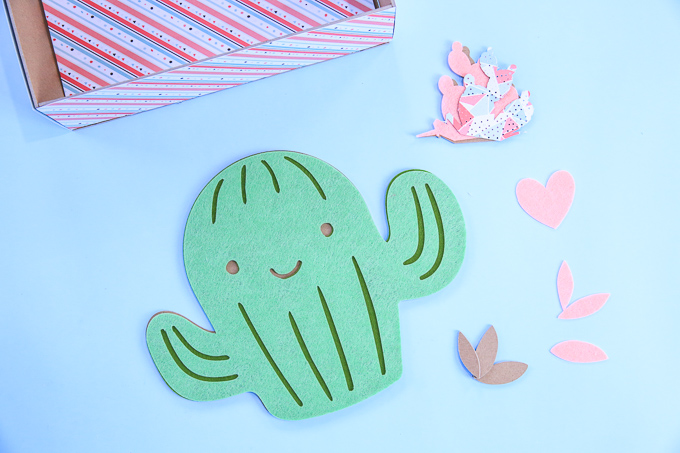
Watch – Make A Cactus Valentine Box
Do you prefer watching a video tutorial to reading a tutorial? Me too! I have you covered with my YouTube channel.
Join me on YouTube and I’ll walk you through how to make this easy cactus Valentine box from start to finish! Plus, I’ll be adding the “You’re Stuck With Me” Valentine card video in a few days!
SUBSCRIBE to my YouTube channel. I have new videos each Tuesday!
Supplies for Cactus Valentine Card
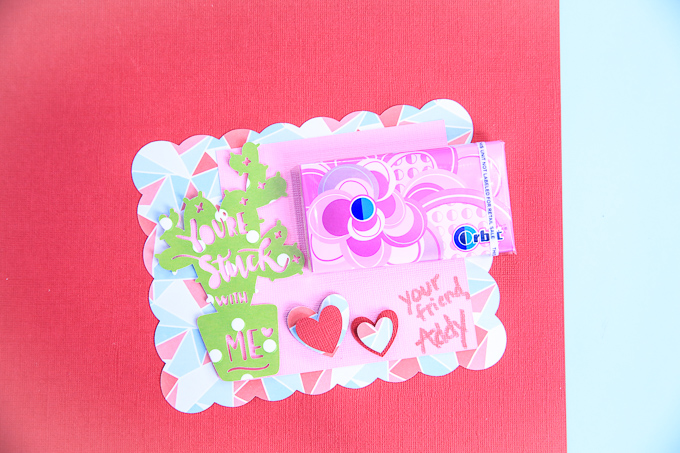
- Design Space Project
- Cardstock, Pink, Green, and Kaleidoscope Sampler Set
- Glue Dots
- 3-D Foam Adhesive Squares
- Gum Packets
Cactus Valentine Card Instructions
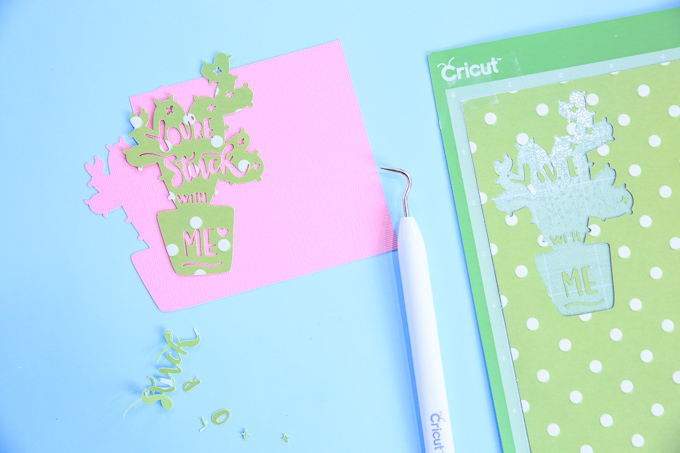
- Design – I really liked the cactus, but there was no where for my niece to write her name, so I used the weld and contour tools to make the card larger and still have some shape. Open my Design Space file to help you through this explanation, or just make it as is because I’ve already done the work for you!
- How to use Weld & Contour – Select any image and choose contour. This will allow you to hide all the cuts inside the shape. Now you have an outline of your image. Next insert a shape, I used a rectangle. Place them over each other, select them both and choose Weld. This will make both elements one. I did this so that my cactus could stick off one side and there would still be open space to write.
- Cut & Assemble – cut out each mat, assemble with glue dots and don’t forget to attach the gum! :)
More Cricut Valentine Crafts
- Do Me A Flavor – Ice Cream Valentine Card
- I SODA Think You’re Cute – Soda Pop Label
- Valentine Candy Bar Wrapper
As always, I hope you’re inspired to craft, create and celebrate!
INSTAGRAM | FACEBOOK | PINTEREST | TWITTER | YOUTUBE
INSTAGRAM | FACEBOOK | PINTEREST | TWITTER | YOUTUBE
Make A Cactus Valentine Box and Card with Cricut Maker seen first on The Celebration Shoppe.
This post contains affiliate links, which means if you purchase something through this post I will earn a small fee from the retailer at absolutely no cost to you. They pay me for bringing you to them and I use it to keep the craft room stocked and the coffee pot working! Don’t worry. All content, ideas, photography and opinions are that of my own and I’d have it no other way!
This is a sponsored conversation written by me on behalf of Cricut. The opinions and text are all mine.

