Learn all about the Cricut Joy Card Mat! I’ll show you what it is, and teach you how to use it to make beautiful cards. Don’t know what the Cricut Joy is yet? Read my What Is Cricut Joy and What Can I Make With It! post.
This is a sponsored conversation written by me on behalf of Cricut. The opinions and text are all mine.
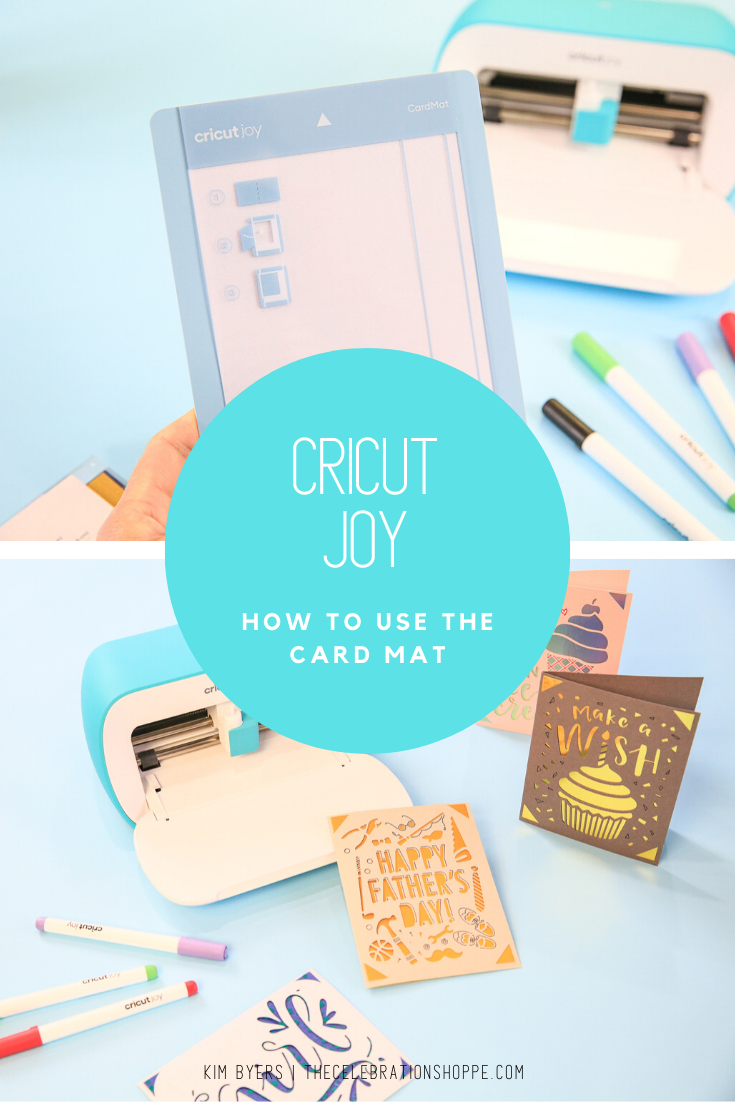
Ok, let’s make some cards!
I’m going to be completely honest, I don’t like spending $4 on a card for every birthday and holiday. I love giving cards, and even mailing cards, but with a family as large as mine, buying a card for every occasion really adds up!
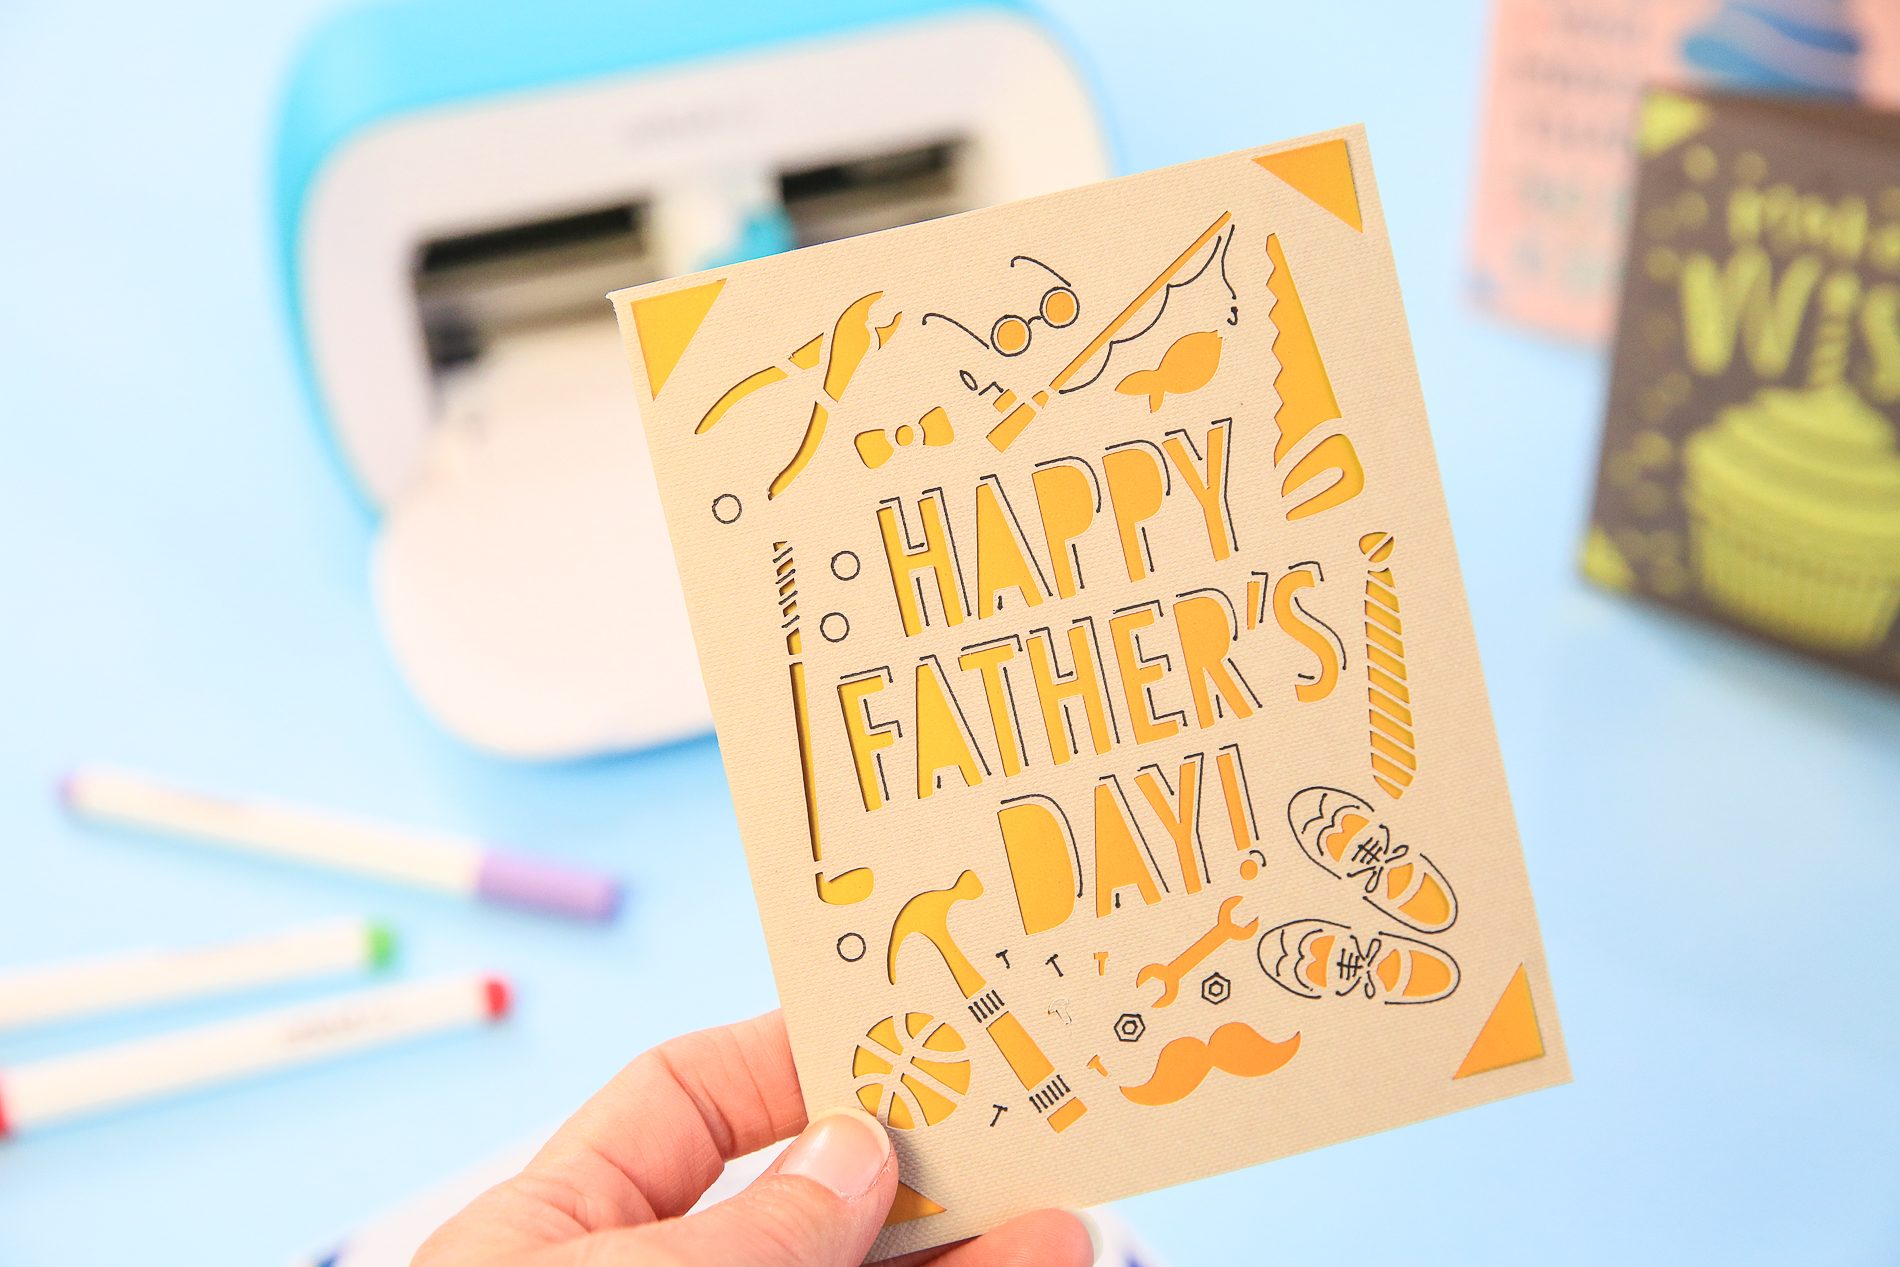
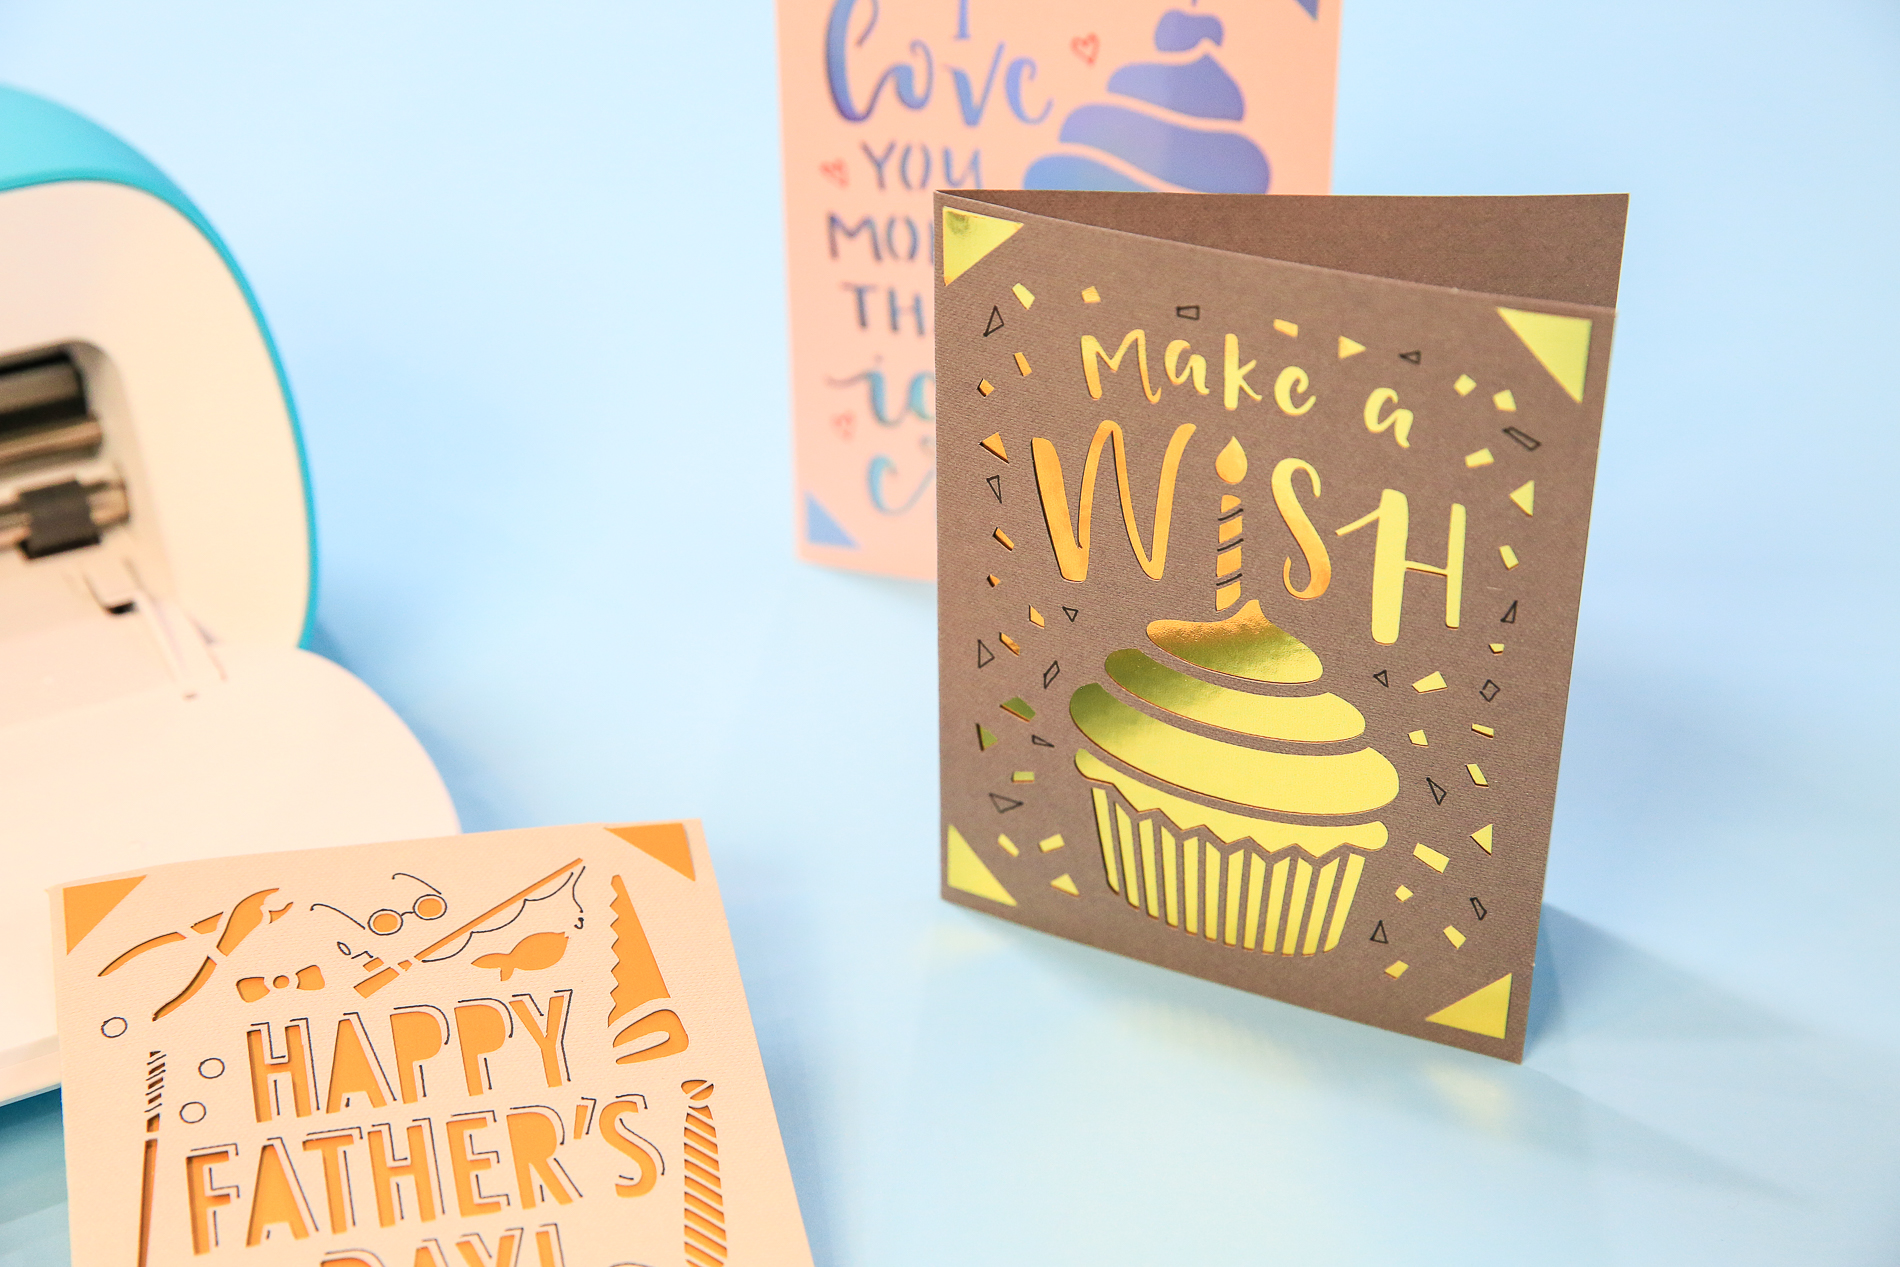
In comes the Cricut Joy Card Mat and I’m happy! I can make a card in literally one cut and it’s so fast. I’ll never have to go to the party cardless again! HA!
If you’ve not seen it yet, the Cricut Joy is the newest, powerful but tiny, die cutting machine from Cricut.
What Is The Cricut Joy Card Mat
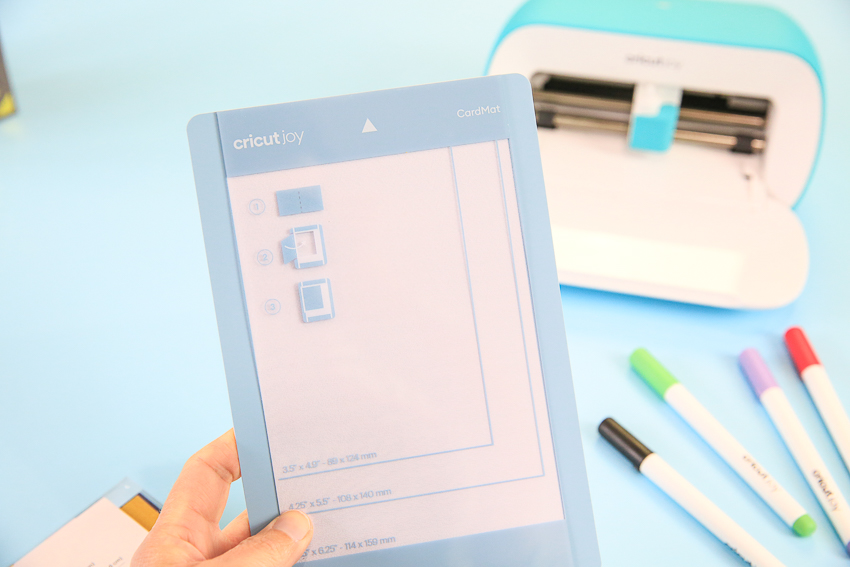
The Joy CardMat (actual name, one word) is brand new, and currently only available with the Cricut Joy. That could change someday, but for now this mat is exclusive to the Joy.
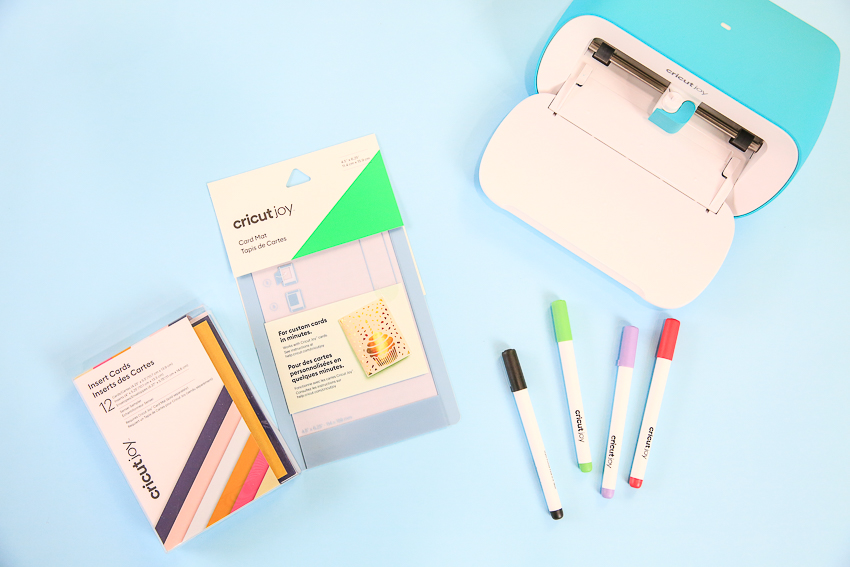
By the way, have you been introduced to the Cricut Joy yet? If not, I have all the details for you, including an unboxing video!
What makes it special? Well it’s not a normal mat for one. It will allow you to cut a card in just a few minutes on Card Insert Sets that are already cut to size and scored. Just place the insert on the mat (I show you how in my quick card video below), insert it into the Joy and in one cut (and the pen if you want) you have a darling card!
What Are Insert Card Kits?
Insert Card Kits are coordinated paper kits that include 12 cards, 12 inserts and 12 envelopes.
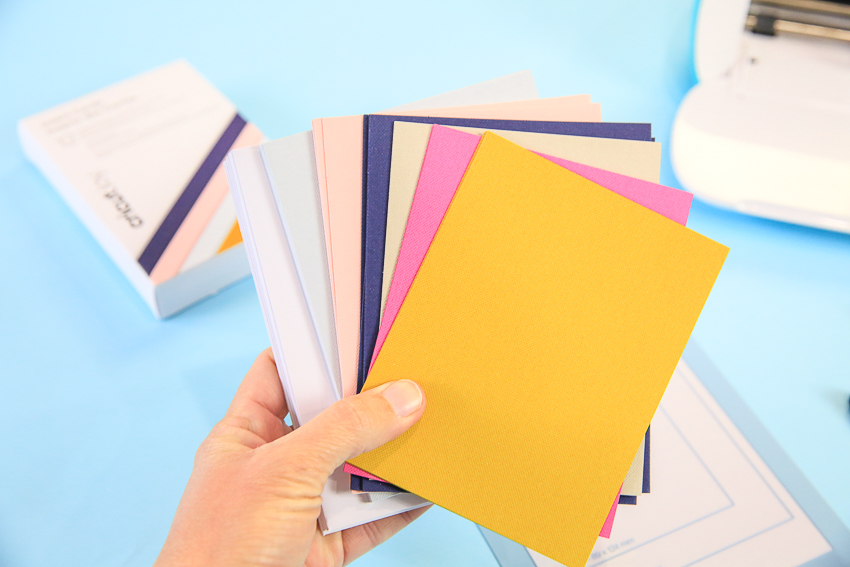
The “card” is the paper that you cut using the CardMat. (Make sure you watch me make a card on YouTube so see just how easy it is!)
The “insert” is the piece of paper that inserts into the slits at each corner of the card. It gives your card dimension by giving another layer of color to the ONE cut of the card itself.
Then of course there are the envelopes.
As of writing this post, there are 21 color coordinated kits and at the price (not on sale) each card will cost about $.50. LOVE THAT!
Supplies You’ll Need To Make A Cricut Joy Card
- Cricut Joy
- Joy CardMat
- Insert Card Kits
- Pens (optional, but love the look!)
- Basic Tool Set
Let’s Make A Card
Step 1 – Open Design Space – search for Quick Cuts in cartridges (Images > Cartridges > Quick Cut or go to Projects> Free For Cricut Joy). Select a card and choose “Make It”
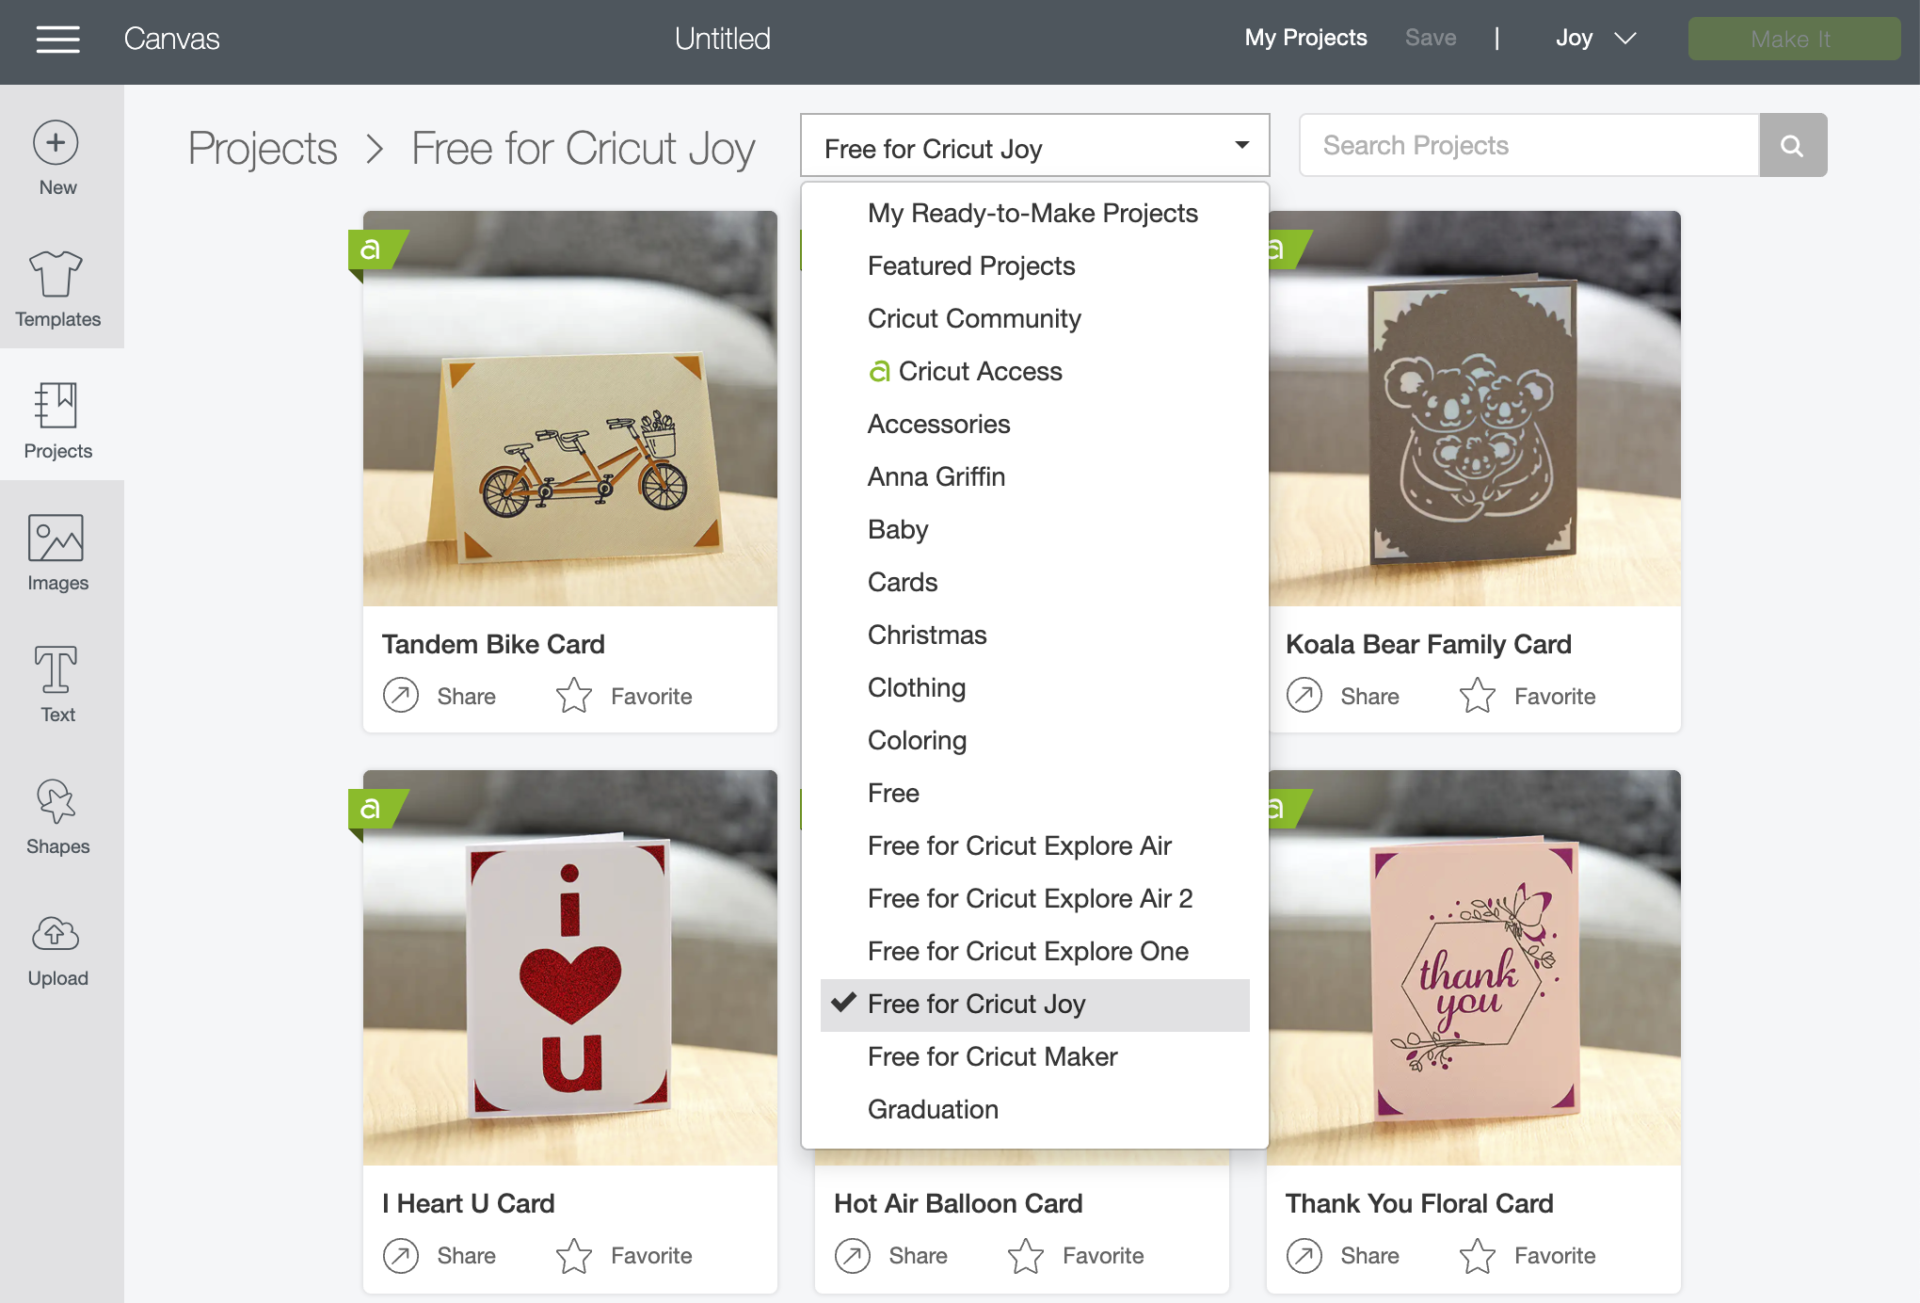
Step 2 – Review Artwork – make sure the “on Card Mat” is selected and choose “Make”
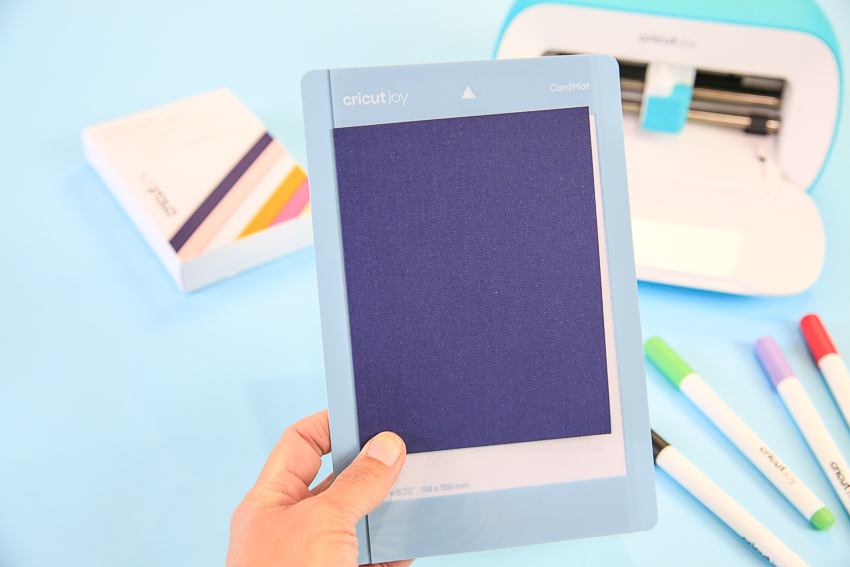
Step 3 – Load Paper on Mat – using the Insert Card Kits, place a folded card into the mat so that the back of the card is protected. Insert into the Cricut Joy machine. The sensors will feed the mat in.
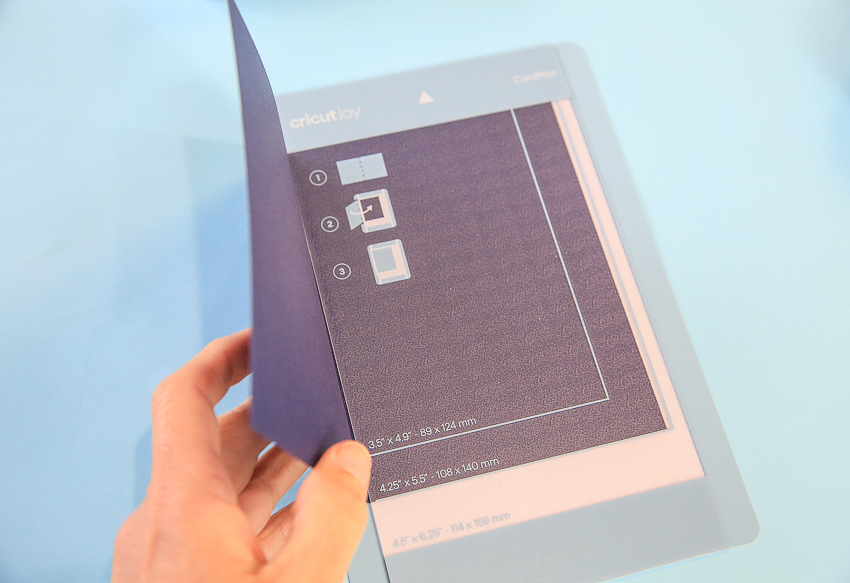
Step 4 – Cut – your machine is connected by bluetooth and there are no buttons on the machine. You’ll have to make all your actions on your mobile device or computer. (NOTE: If your card calls for the pen tool, watch for the prompts to change the pen and the blade)
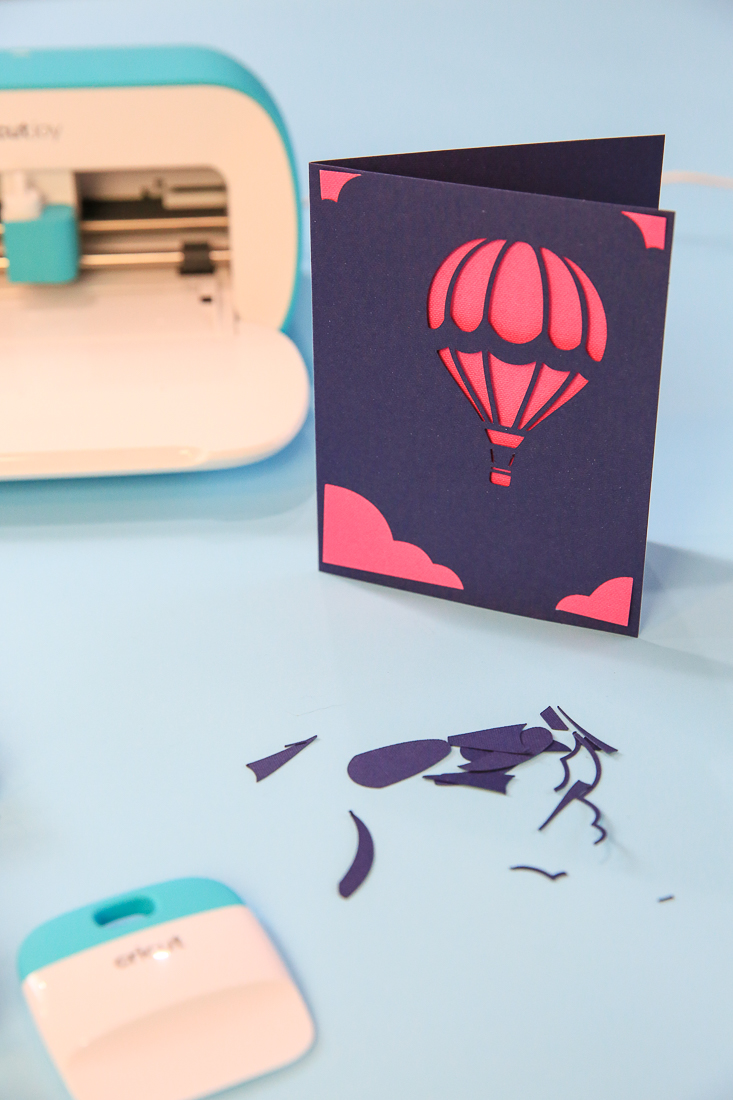
Step 5 – Insert – Once the card is complete, insert the backer card into the corners of the card and you’ll immediately have a pop of color and lots of dimension to this simple card.
VIDEO – Watch Me Make A Card
Let’s walk through the entire card making process, start to finish, including Cricut Design Space!
More To Know
- To write or draw on the inside of the card, fold the card inside out and repeat the steps above. Be sure that your Draw design is properly oriented and positioned on the project preview screen.
- Cricut Joy Blade will leave impressions on your mat as it cuts all the way through your material. This is normal.
- If your material is not adhering well to the mat, you can use a brayer to create a firm bond with the mat adhesive. The Card Mat will lose stickiness and will eventually need to be replaced.
Where Will You Use Your Cricut Joy?
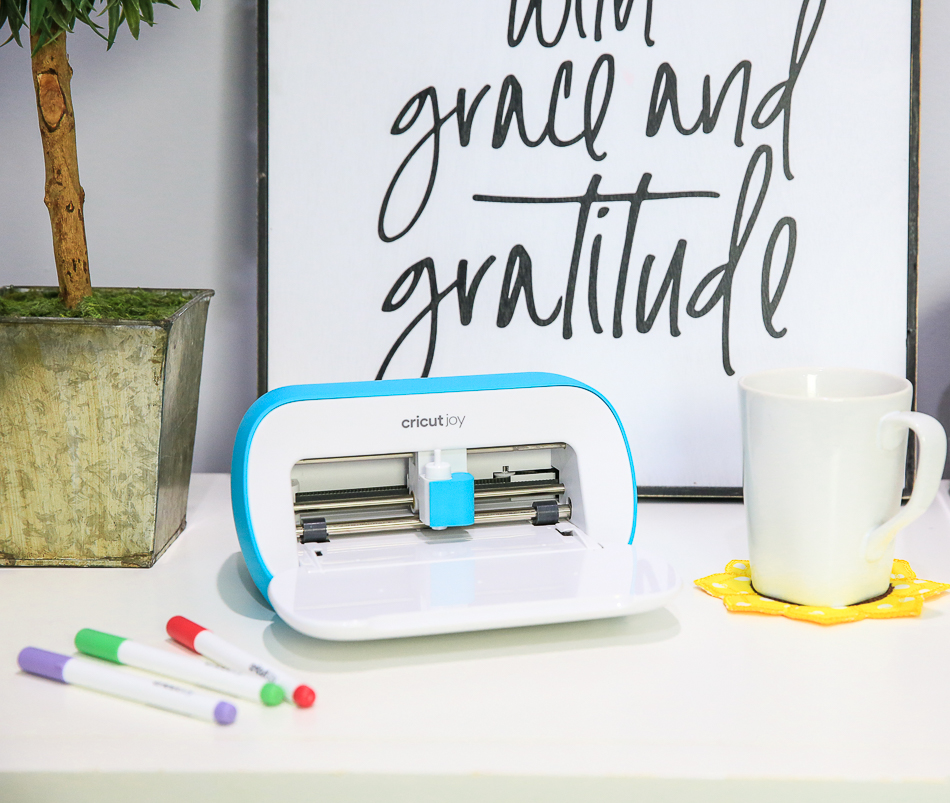
One of the things I love about this machine is that it’s small and easily portable.
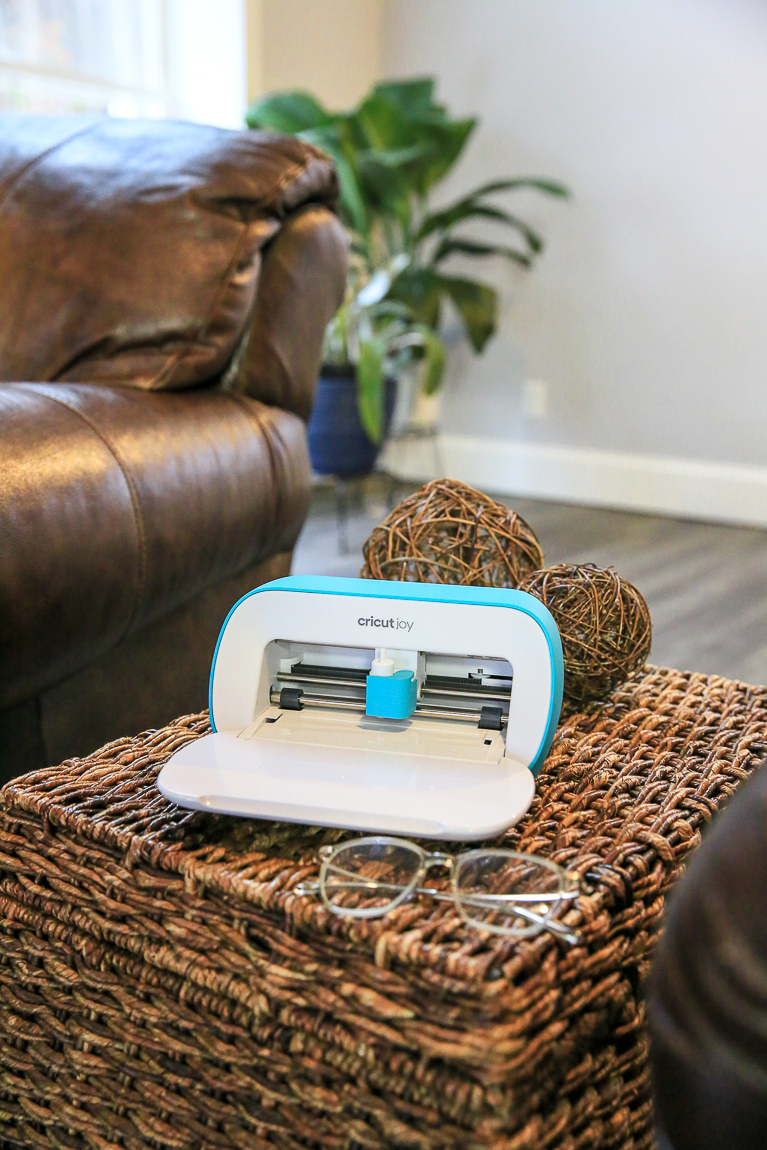
It fits in a cubby or looks great on a counter. It packs away easily and sets up instantly, making it no problem to move from room to room. Not having to transport a mat too (that’s right, the Joy SMART materials don’t require a mat!), combined with the smaller material size, makes the whole Joy compact and portable. No craft room required.
I personally like to “go” places and craft, like my mom’s or a friends, so the Joy is perfect for me on the go. :)
I also like to craft in my kitchen or my living room sometimes when we’re all watching a movie. I don’t want to be left out, and I want to get things done too! :)
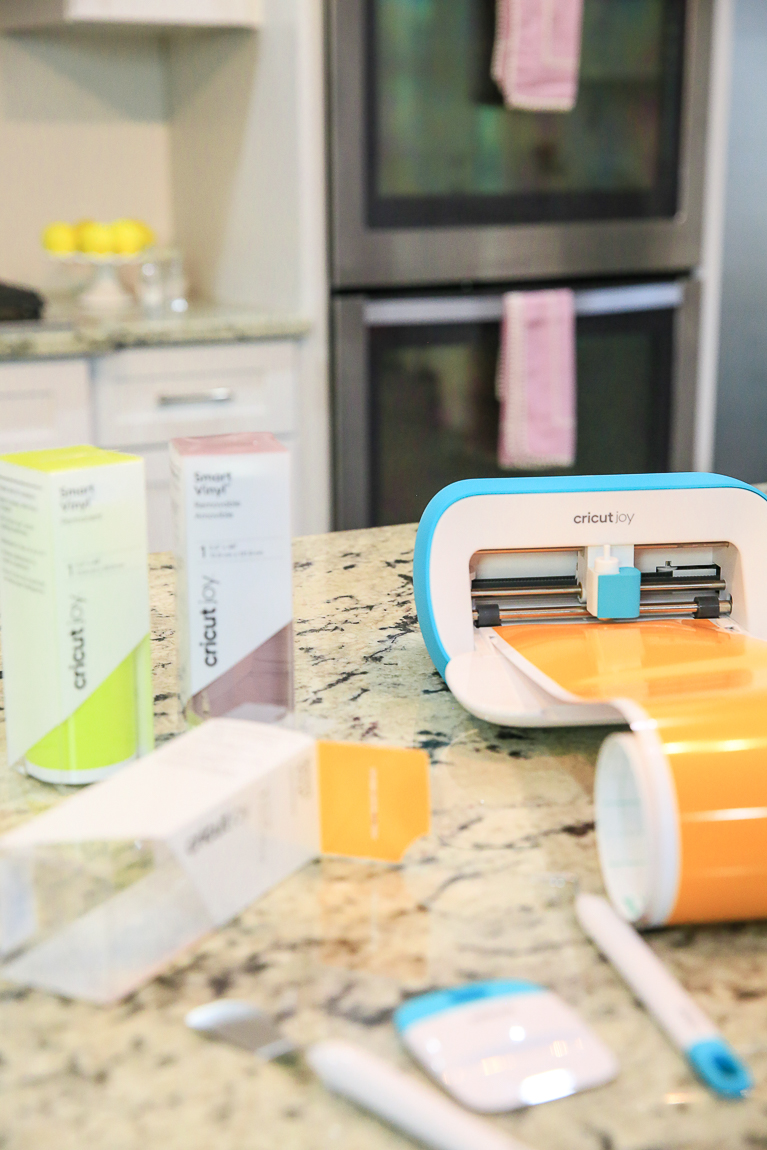
Where will you craft with your Cricut Joy?
More Video Tutorials
Other Cricut Craft Ideas
- Infusible Ink Grocery Tote Bags
- Orange You Glad It’s Summer Teacher Appreciation Gift
- Personalized Wedding Cake Topper
As always, I hope you’re inspired to craft, create and celebrate!
INSTAGRAM | FACEBOOK | PINTEREST | TWITTER | YOUTUBE
INSTAGRAM | FACEBOOK | PINTEREST | TWITTER | YOUTUBE
This post contains affiliate links, which means if you purchase something through this post I will earn a small fee from the retailer at absolutely no cost to you. They pay me for bringing you to them and I use it to keep the craft room stocked and the coffee pot working! Don’t worry. All content, ideas, photography and opinions are that of my own and I’d have it no other way!

 What Is Cricut Joy?