Getting married?! Let’s make a Cricut wedding sign to welcome guests to your big day!
Wedding signs are all the rage. I mean, why not. It’s the perfect way to personalize welcoming your guests, directing guests around your venue so everyone gets to where they need to be on time and to label areas, like the guest book, all with just a little effort! Plus Cricut allows you to make your wedding sign personal, creative and totally you too! Yay!
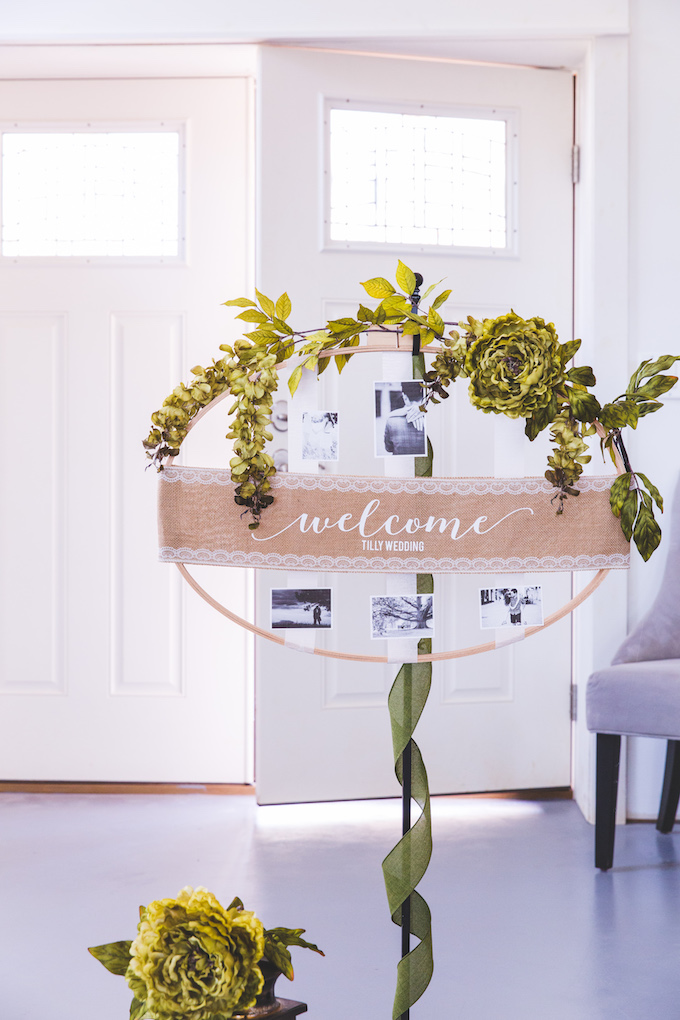
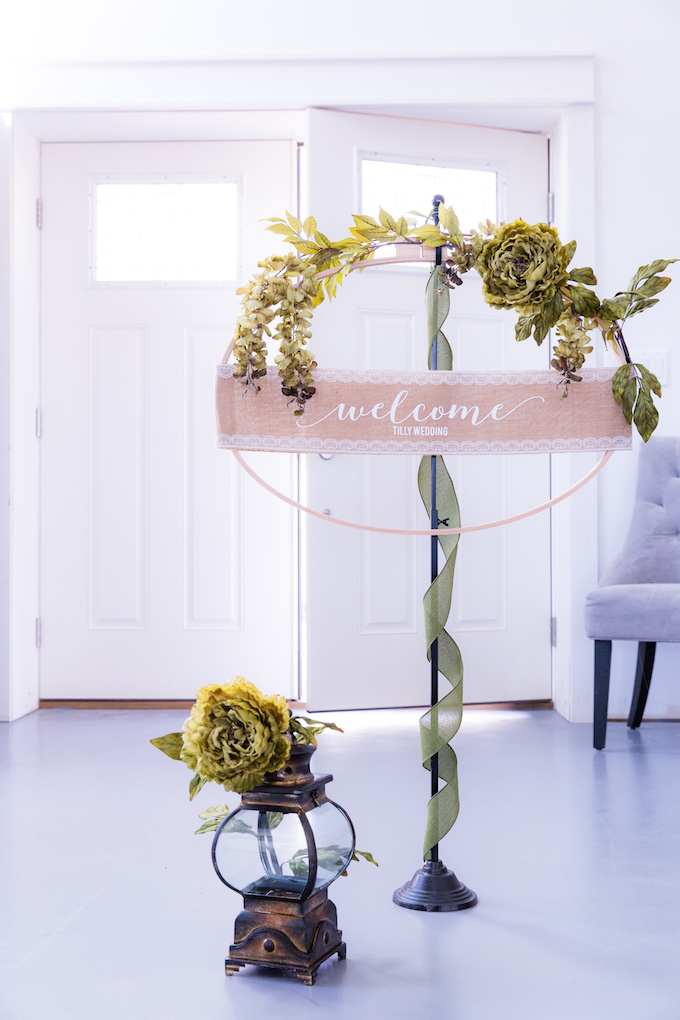
For this wedding sign I used an oval embroidery hoop. They’re inexpensive, easy to decorate and you can find them at most any craft store. Plus, it came together super quick!
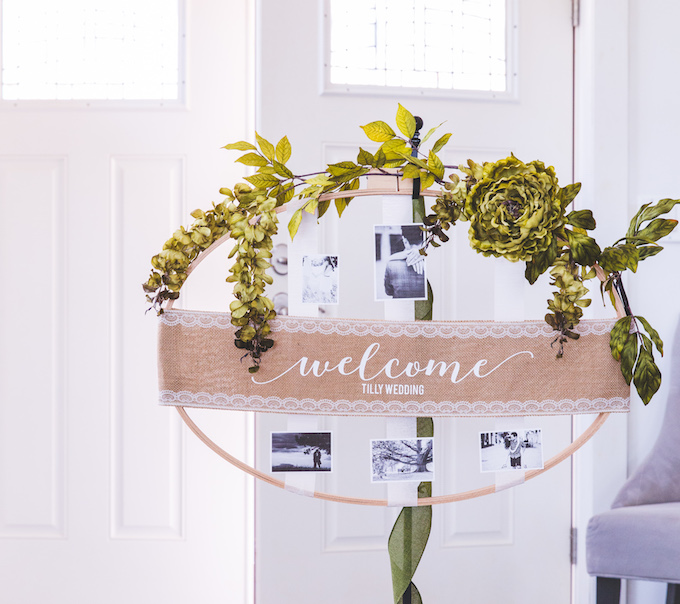
You can even add photos of the couple! They can be engagement photos or just photos they’ve taken over the dating months and years! I chose to print them all in black and white to keep with the wedding theme, plus I thought it gave the hoop a bit of a nostalgic look!
Supplies To Make A Welcome Wedding Sign
- Oval Embroidery Hoop, 18″ x 27″
- Burlap Ribbon, Wide With Lace (6 to 8″ wide)
- White Iron-On
- Cricut Explore or Cricut Maker
- Florals (these came from Hobby Lobby)
- Ribbon (length of stand or to hang)
- Hot Glue Gun (I love my Elmers No Strings Glue Gun)
- Floral Wire (available in multiple colors)
- Scissors
- Ruler (my favorite clear ruler)
- Optional – Metal Wreath Stand
- Optional – White Ribbon, Black & White Couple Photos, and Glue Dots
Photo Tip – Consider printing them in black and white on cardstock, then trimming them out with a white boarder so that they look like polaroids!
— DOWNLOAD CRICUT WEDDING SIGN CUT FILE —
How To Make A Cricut Wedding Sign
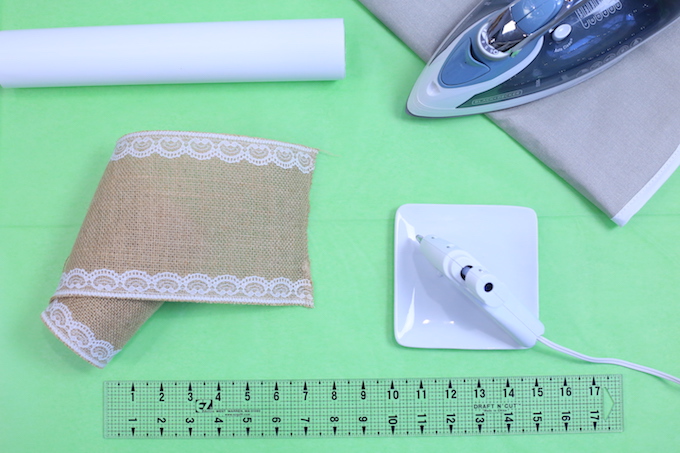
- Measure & Cut – Measure the width of your hoop and cut your ribbon to fit. I recommend leaving an extra 4″ on each end so you can wrap the ribbon around the hoop. Now, measure and mark the center point of the ribbon.
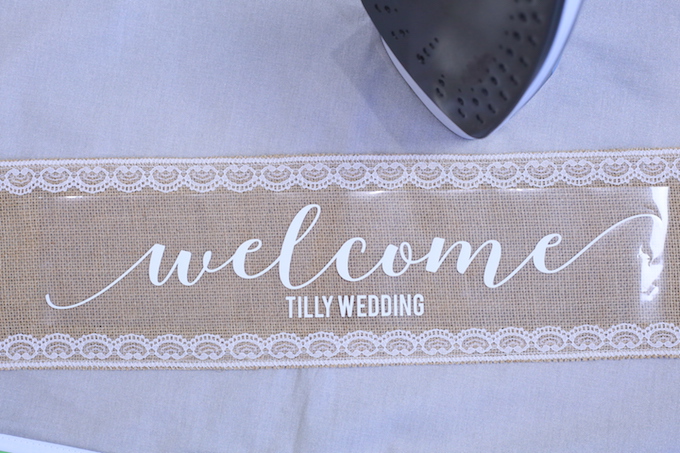
- Cut Iron-On Lettering – Open Cricut Design Space. Download my free WELCOME cut file (above). Load it to Design Space. Erase the family name and add your own. Resize the design to fit your ribbon length if needed. NOTE: Remember to mirror image all iron-on projects. Cut lettering into white iron-on. Lay design on ribbon, finding the center you marked and iron in 10-15 second intervals, flipping the ribbon over to iron front and back until attached.
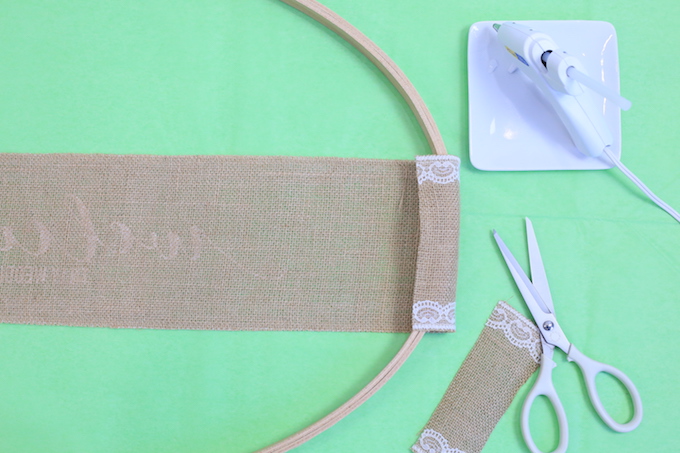
- Glue To Hoop – Using hot glue, attach burlap ribbon to hoop sides making sure to close it to the fabric in the back so it looks finished from both sides.
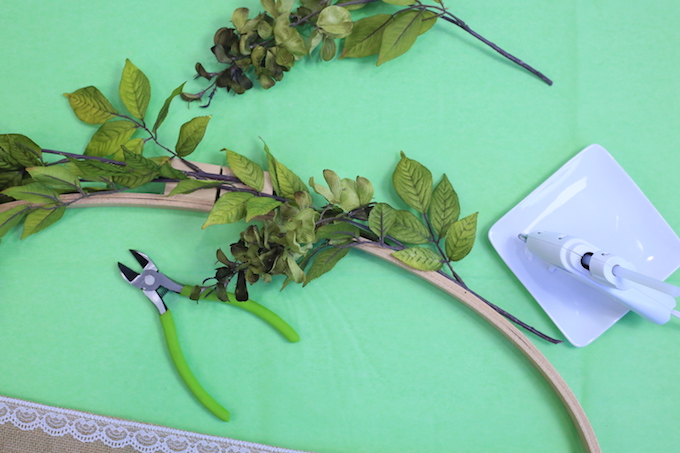
- Add Florals – Using hot glue, attach florals in your wedding colors to the center top and side. Bend them to fold around the hoop if needed. Now that you have them placed where you want them, use floral wire to secure them. Wind and a lot of movement can cause glue to release, but the floral wire will ensure the florals never fall off.
- Add Photos – If you want to add more personal touches, hot glue white ribbon vertically (measuring to make sure they are equal distances apart), print photos on cardstock in black and white, and attach with glue dots.
More Cricut Wedding Ideas
As always, I hope you’re inspired to craft, bake, create and celebrate!
INSTAGRAM | FACEBOOK | PINTEREST | GOOGLE+ | TWITTER | YOUTUBE | BLOGLOVIN
Thank you for supporting my wonderful sponsors. They make it possible for me to keep the ideas coming! All content, ideas, photography and opinions are that of my own and I’d have it no other way! I would never recommend a product to you that I wouldn’t use myself. Oh, and there may be affiliate links in this post, of which we do earn a small fee at no cost to you. They help me keep the lights on! ;)
Make A Welcome Wedding Sign With Cricut And An Embroidery Hoop + Free Cut File seen first on The Celebration Shoppe

 Ice Cream Party Cake Topper With Cricut Knife Blade