
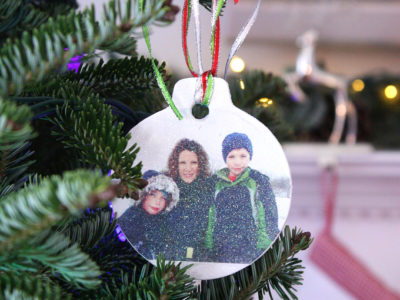
Have you ever made photo transfer Christmas ornaments? I love making Christmas ornaments each year. My tree is a collection of memories. A few things made or purchased each year, so every year when we decorate our tree it’s like a trip down memory lane. I love it!
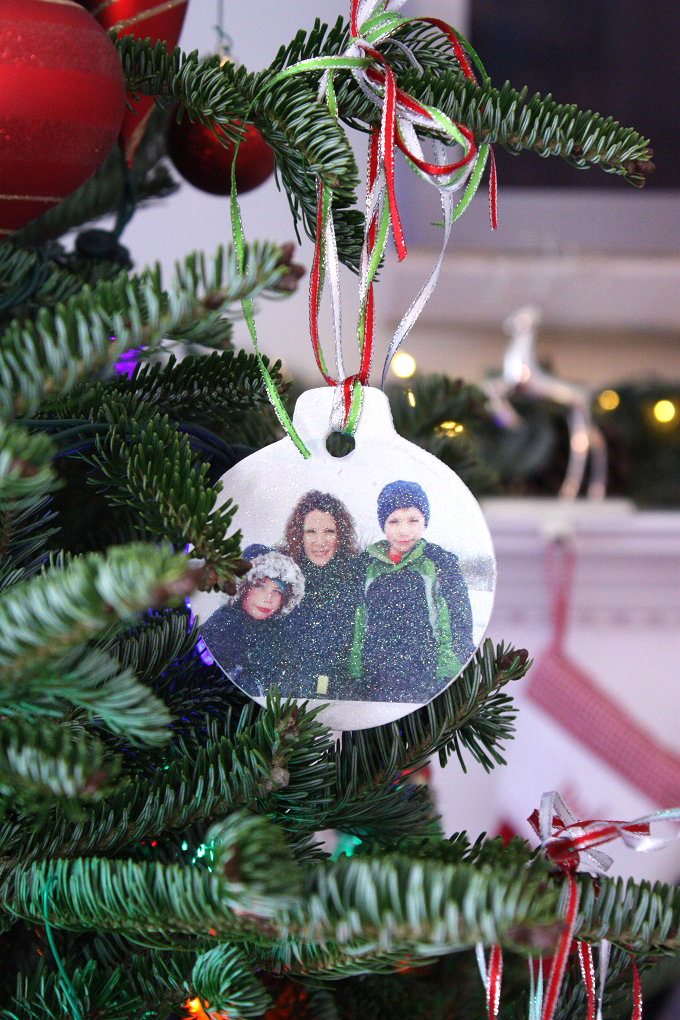
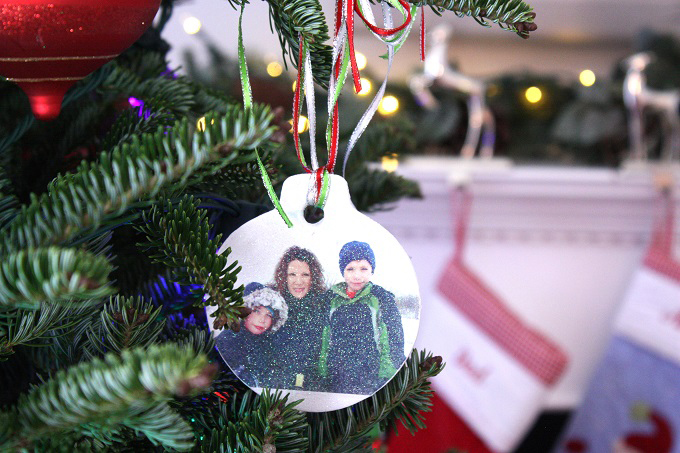
I made these photo transfer ornaments out of some of my favorite snow day photos. Want to try some?
Make photo transfer Christmas ornaments
To make these, you’ll need:
- Wood ornaments (or wood plaques and drill holes, this process also works on canvas)
- White craft paint
- Laser prints of family photos (super easy, see notes below)
- Matte gel medium (I used Liquitex Matte)
- Bone folder (or a credit card)
- Fine sandpaper
- Elmer’s spray adhesive
- Martha Stewart ultra-fine white glitter
- Ribbon
- Scissors
- Optional: Wax paper
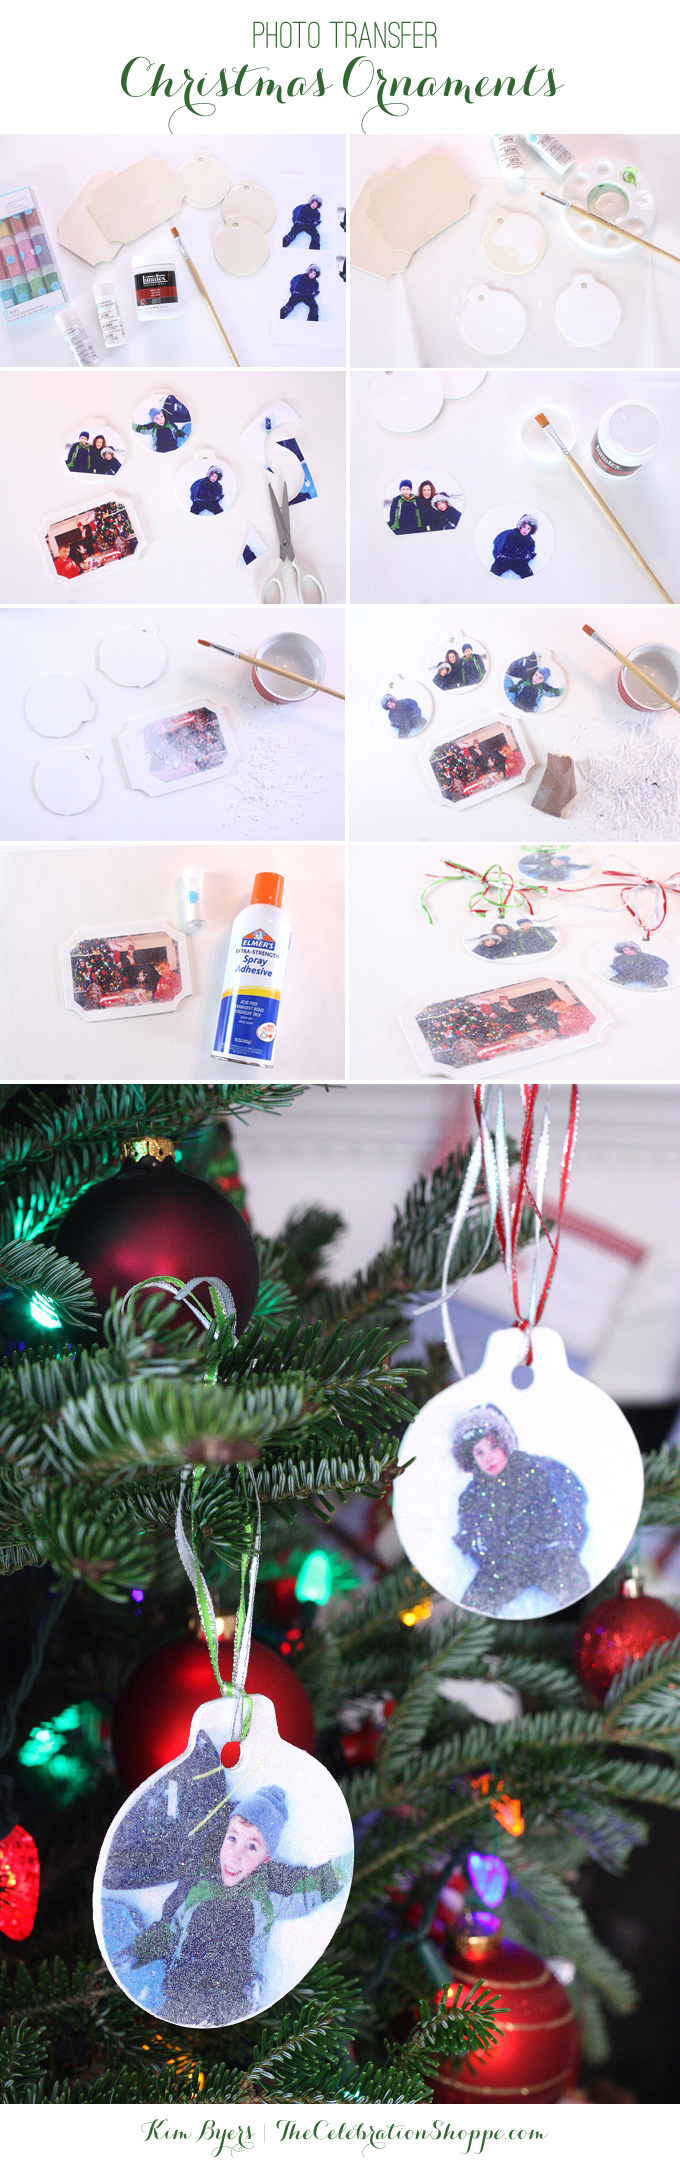
Steps For Making Photo Transfer Ornaments
- Paint – paint wood ornaments white. A light background is easier to transfer onto. If you want a red frame or other color, you can transfer onto a white background and decorate the edges.
- LASER Print Photos – select your favorites, place them onto a 8.5×11 sheet in your computer’s photo editing tool and reverse (or flip) the image so that when transferred it faces the right way. I put the same photo on the sheet a few times in case I messed one up. ;) Take the file to an office supply store and print LASER copies. Your home ink jet won’t work and traditional photo prints won’t work. If this sounds scary, just take the photos on a card reader or USB to the office supply store and they will do this for you!
- Cut Photos – cut your photos out to the size of the ornaments.
- Transfer – brush gel medium on the front of the image and apply it to the wood. Using a bone folder (or a credit card) carefully smooth out any bubbles and set the image. Allow the ornament to dry overnight
- Remove paper – using a brush and water, dampen the ornament and lightly rub away a layer of the paper with your fingers. It took me three to four tries with each ornament allowing the paper to dry for two or three minutes between.
- Sand edges – this step and the next are optional. If you’d like, lightly sand the edges of the ornament. It smoothes the images further into the grain of the wood and it helps remove any paper that might be left hanging at the edges.
- Add glitter – place wax paper on your table (or go outside to the grass if your weather is good), lightly spray the ornament and sprinkle ultra-fine glitter all over it. It gives the ornament and snowy feel and it protects the image. This step isn’t necessary, but I love the look!
All that’s left to do now is thread your new, very personal and very sweet, ornaments with ribbon and hang them on the tree!
Have you seen the little needle art Christmas ornament my little guy made. He started with a drawing and then stitched it. I will cherish it always.
INSTAGRAM | FACEBOOK | PINTEREST | GOOGLE+ | TWITTER | YOUTUBE | BLOGLOVIN
This DIY project is sponsored by Jo-Ann Fabric and Craft Stores. Thank you for supporting my wonderful sponsors. They make it possible for me to keep the ideas coming! All content, ideas, photography and opinions are that of my own and I’d have it no other way!

 Easy Plaid Penguin Christmas Crafts