This is a sponsored conversation written by me on behalf of Cricut. The opinions and text are all mine.
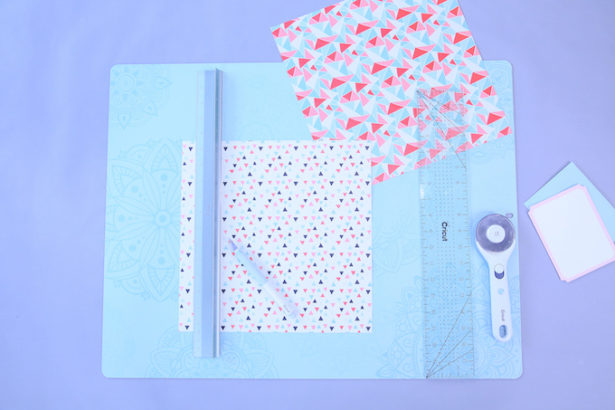
Let’s make handmade cards for birthdays with the new Cricut hand tools! The clear acrylic ruler has been a favorite, almost necessary, tool for almost every craft. I actually feel lost without it! But Cricut’s new cutting ruler, with the grip bottom, is becoming my new second favorite!

I’m a huge fan of party invitations. When my boys were little I put a great deal of time into their birthday party invitations. I wanted them to be so darling that they were almost impossible to say no to! ;)
From pirates, to pool parties, to campouts, they were the first spark of excitement for their big day!
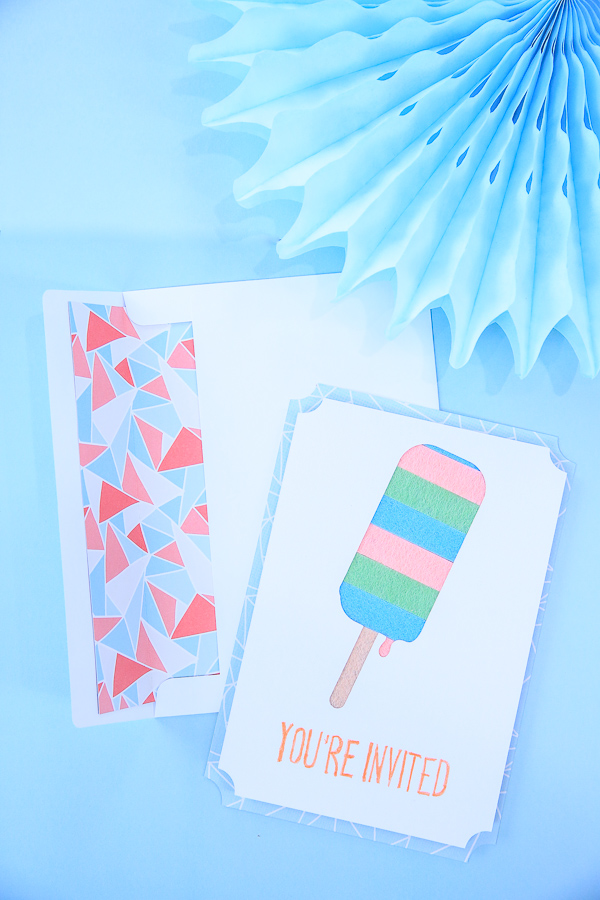
The new Cricut Hand Tools make creating such fun and inviting handmade birthday cards a cinch!

There’s more than one color, but I chose the Mint color family of tools. Aren’t they pretty?!

To learn more about each tool and how best to use each, hop over to my Complete Cricut Tools post. I’ll walk you through each!
Handmade Card Supplies – Popsicle Birthday Invitation
For this handmade card, I chose to use the Cricut Kaleidoscope Deluxe Paper Pack and the Cricut Spring Rain Felt Pack, along with the Coral Pen.

Here’s a complete list of the supplies you’ll need:
- Acrylic Ruler
- Cutting Ruler
- True Control Knife
- Rotary Blade
- Self Healing Mat
- Kaleidoscope Deluxe Paper Pack
- Spring Rain Felt Sampler Pack
- Coral Pen
- Glue
- 3-D Foam Adhesive Squares
- Optional – Cricut Maker or Explore Air 2
How To Make A Popsicle Handmade Card for Birthdays

This card is super simple to make, especially with the Cricut Hand Tools.
- Base Card – Trim a rectangle from mint paper as the back. If you want, use a glass or other round object to cut a half circle from each corner.
- Popsicle Card – Freehand with the True Control Knife Blade, or if you have a Cricut Maker or Cricut Explore Air 2, use it to make the popsicle shape.
- Cut Felt – Using the rotary cutter, cut one strip of coral, green and blue felt 1/2″ wide. Then it into 2″ pieces. Cut a slightly larger rectangle out of tan felt for the stick.
- Glue – Apply each strip onto the back of the popsicle knockout card so that it appears to be stripes.
- Layer – Using 3-D foam adhesive dots, layer the two cards together.


Make Envelope Liner For Handmade Cards
This is an extra small step that is so worth your time and effort. Why leave the envelope plain when you can take it to the next level with 2 minutes of work!
- Measure Envelope – Measure the interior flap of your envelope. I recommend making the liner 1/4″ smaller on each side so that it inserts easily.
- Cut – Using the True Control Knife and the Cutting Ruler, trim out a piece of paper to fit.
- Score – Lay the liner in place and score it with the crease of the envelope. Use the cutting ruler and a bone folder, or if you don’t have one, a case knife from the kitchen! ;)
- Glue – Lightly glue the liner into place!


In my opinion, the Cricut Handmade Tools are essential for your craft room whether or not you have a Cricut machine. You will use them all the time! I know I do!

More Cricut Crafts
- Handmade Photo Christmas Card – Video
- Make A Reverse Canvas & Praise God SVG – Video
- Make A Wedding Cake Topper With Cricut Maker – Video
- 10 Cricut Tools and Materials I Love and What I Make With Them
As always, I hope you’re inspired to craft, create and celebrate!
INSTAGRAM | FACEBOOK | PINTEREST | TWITTER | YOUTUBE
INSTAGRAM | FACEBOOK | PINTEREST | TWITTER | YOUTUBE
This post contains affiliate links, which means if you purchase something through this post I will earn a small fee from the retailer at absolutely no cost to you. They pay me for bringing you to them and I use it to keep the craft room stocked and the coffee pot working! Don’t worry. All content, ideas, photography and opinions are that of my own and I’d have it no other way!


