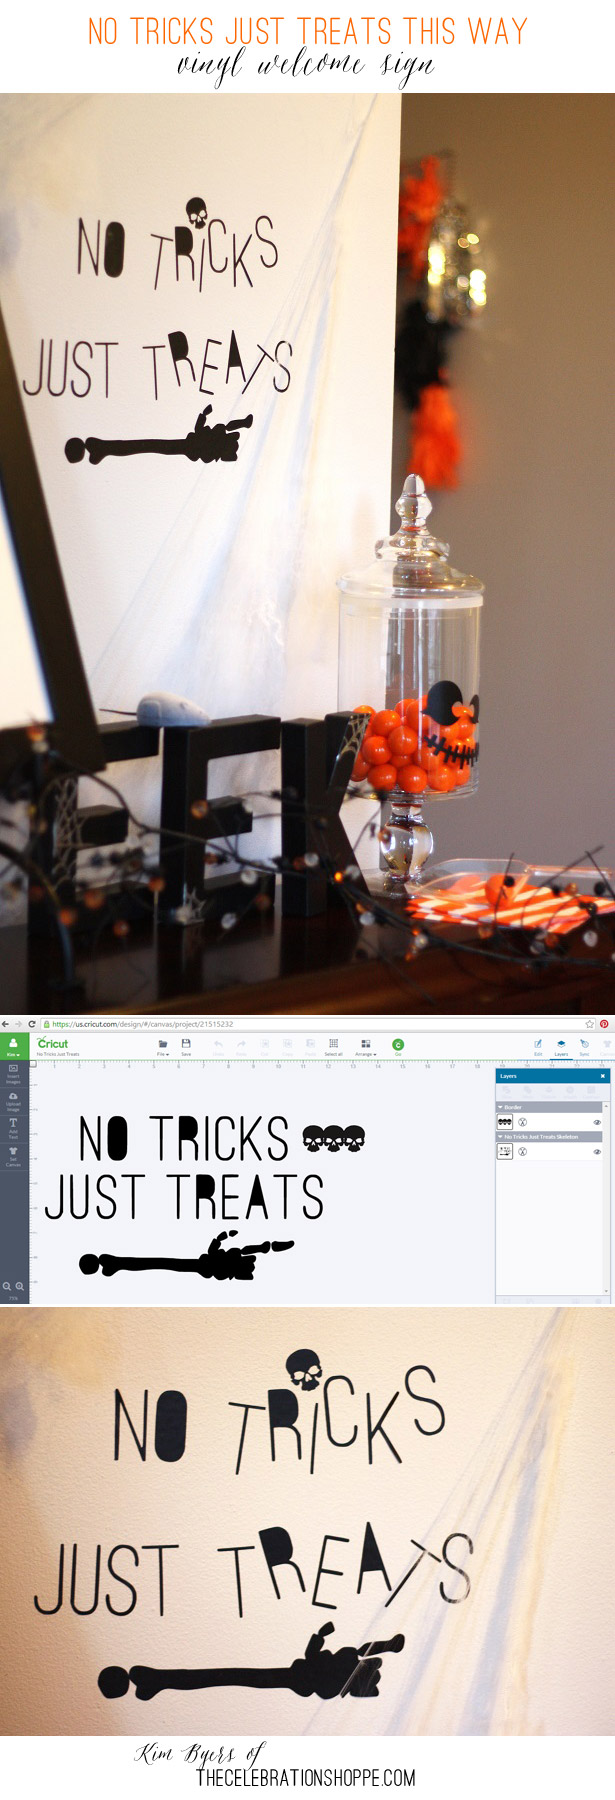
I hosted a Pumpkin Carving Party on Friday night for 15 of my boys’ closest friends (grin) and to welcome guests, I made a super simple DIY vinyl Halloween sign with my Cricut Explore.
Easy How To Steps To Make Your Own DIY Vinyl Halloween Sign:
1. First, open Design Space
2. Next open my NO TRICKS JUST TREATS sign (with a silhouette skeletal arm and skull dot to the “i”),
3. And lastly, apply black vinyl to a 12×12 mat and hit cut.
It’s truly that easy! Not to mention it’s an affordable way to decorate for Halloween!
You can use transfer paper to help you apply, but I wanted them to be a bit wonky so I just applied them by hand. I love the way it turned out!
By the way, did you hear that now you can print any design and your Cricut Explore can cut it for you… perfectly! I’m excited to give it a try with some of my designs!
You might also like: DIY Spooky Eye Halloween Mugs, Free Printable Bat Banner, Easy Monster Eye Tutorial
As always, I hope you’re inspired to craft, bake, create and celebrate!
INSTAGRAM | FACEBOOK | PINTEREST | GOOGLE+ | TWITTER | YOUTUBE | BLOGLOVIN
DIY vinyl Halloween sign No Tricks, Just Treats seen first on The Celebration Shoppe.
The Celebration Shoppe receives a form of compensation for ideas, styling and photography from time to time. All opinions expressed are genuine and not that of the sponsor. We would have it no other way!


 DIY Jack-O-Lantern Candy Jar & Halloween Entryway Decor