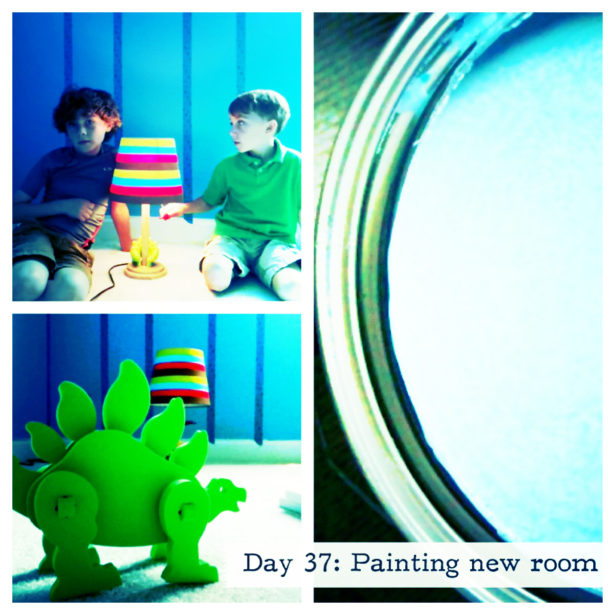
This collage of images taken with my iPhone and edited in Camera+, PicFix and PicFrame
We’ve been busy this summer with tons of projects around the house: gutting our guest bath downstairs, purging closets, my studio and our basement (I have way too many props for work and baby toys that sadly I’ll never see used again), organizing my craft room… and oh yeah… creating a new “big boy” room for the boys before school starts back up. It’s been a lot of work, but I love an organized house.
And for the bedroom, I have to say, I have an opinionated crew. I know… shocker! {grin}
Challenge #1 – We talked about themes (whether or not to have one) for months before we got started. The boys just couldn’t agree. We have four bedrooms so they can each have their own, but the boys want to stay in the same one for a few more years — their choice, not mine — but I do have to admit that I love it because you can hear them whispering secrets and reading books to each other. I’m very blessed with two little boys who are also best friends.
So after much debate we decided no theme, just bold color, allowing them to change art and pillows, etc., as their interests change.
Challenge #2 – Color! My oldest loves green and my youngest loves blue. And not those light hues that can easily work together… we’re talking hunter green and aqua blue… you see the problem.
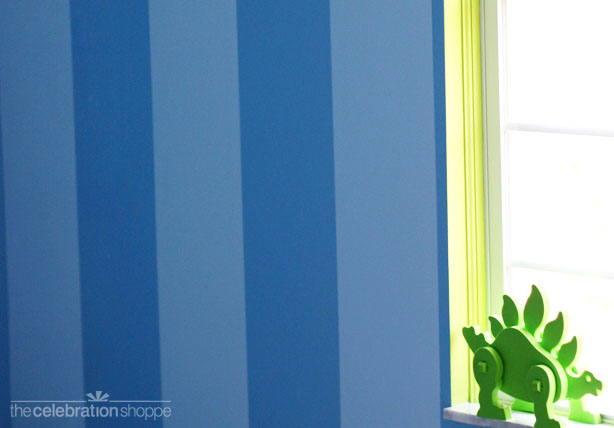
After another month I was able to talk them into blue walls, with a two-tone blue stripe accent wall. But you wonder how did I appease the green lover. Well… the outlets, inset of the window and art will be lime green. I know what you’re thinking. It’s the same thing my husband thought when I asked him to paint it… {snicker}
Challenge #3 – We’ve never painted stripes on the walls before. My hubby is a great painter, carpenter, and all around just clever when it comes to home projects. Whoa girls! He’s taken! {smile}
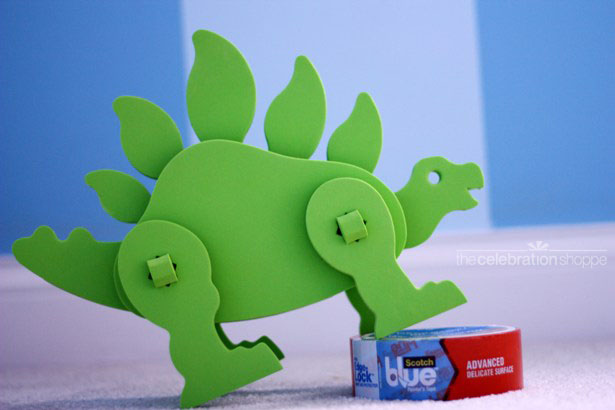
But even he was a bit nervous about painting stripes. We picked up a few rolls of Scotch Blue and he went to work measuring. That was honestly the toughest part, trying to determine how wide to make the stripes so that there was an even number… oh… and there was the window to consider.
In the end my smart guy figured it out and cut a board to help position a straight line all the way down the wall with the tape and another board the exact length of each stripe so there would be no measuring mishap halfway through the process.
Surprisingly to him, but not to me of course {so sure of myself… not!}, it’s coming together and looks really great! The Scotch Blue tape pulled away easily and the lines are so clean. One or two small touch ups in the corner, because of imperfections in the wall, and it was done! I think I’ll try my hand at some art prints using it!
I’ll share more as we go and until then, I hope you’re inspired to craft, bake… PAINT… and create!
Oh, and if you’re wondering why the first pic says “Day 37,” thats because I’m photojournaling our summer and this was taken on Day 37. (You can follow our adventures on Instagram at TheCelebrationShoppe.)
Join The Celebration Shoppe on facebook, sign-up for the daily ideas to come right to your inbox (a box in the right-side navigation bar), follow us on twitter, pinterest and on instagram at @thecelebrationshoppe
And by the way, this is not a sponsored post. I was just impressed with Scotch Blue and wanted to share!


 slumber party ideas