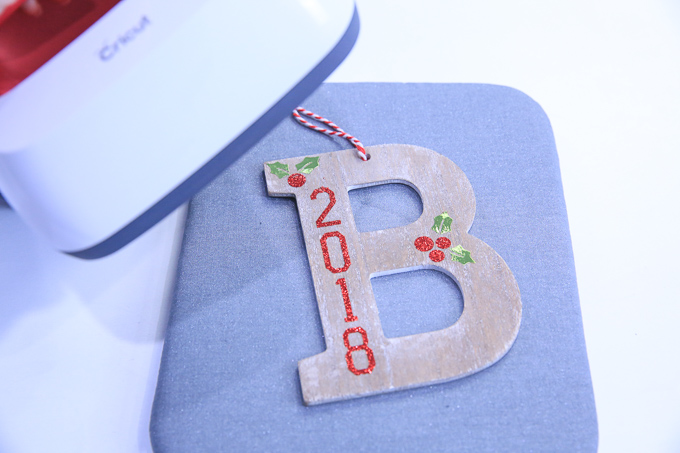
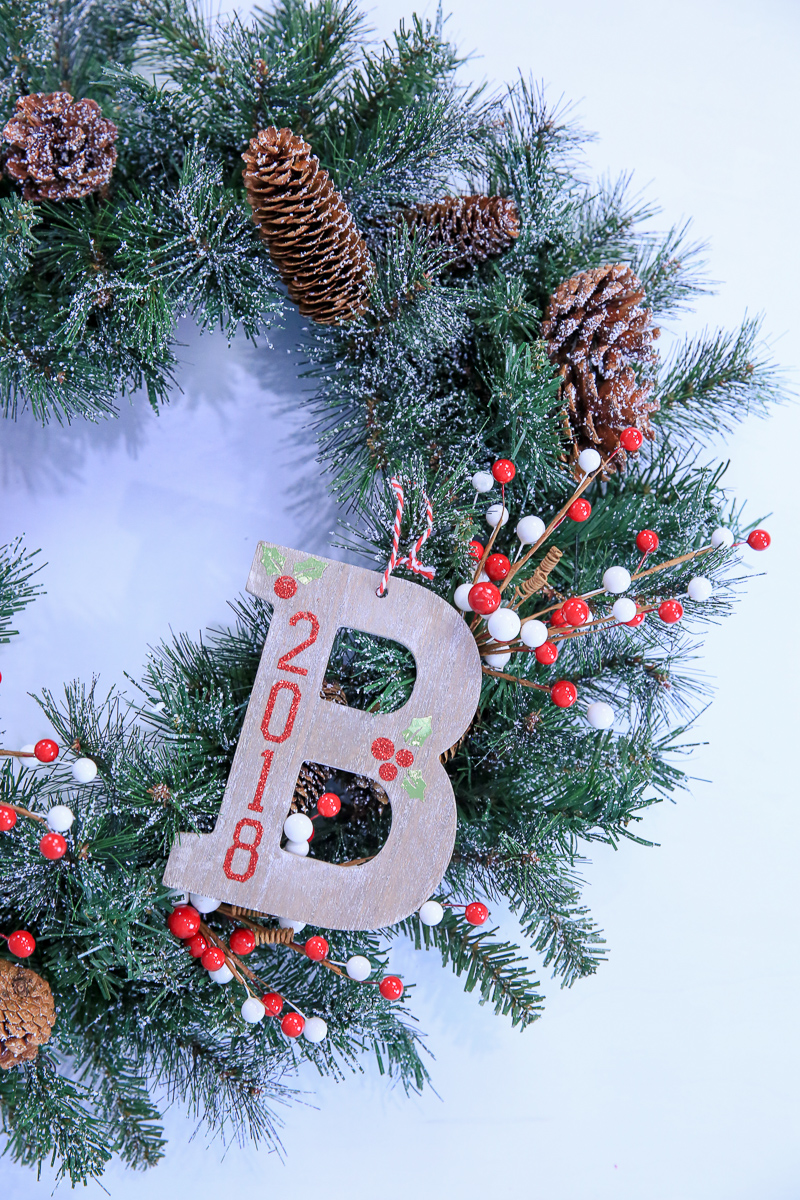
Let’s use the Cricut EasyPress 2 to personalize wooden Christmas ornaments with iron-on!
One of my favorite things about my Cricut is that I can personalize anything, especially store bought goodies! I lovingly call it, semi-homemade!
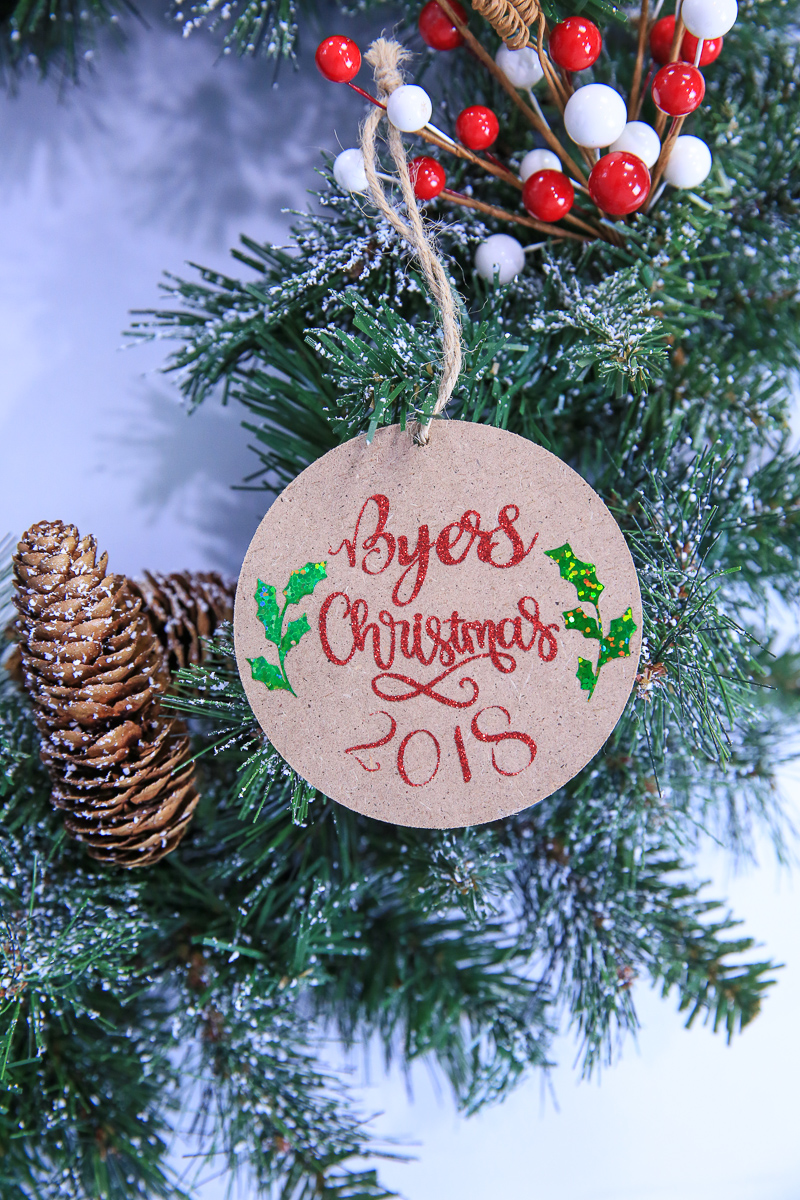
For this project, I’m using my new EasyPress 2 6×7″ that I like to call my mini. I love that it’s easy to take with me too when I craft at my mom’s especially during the holidays!
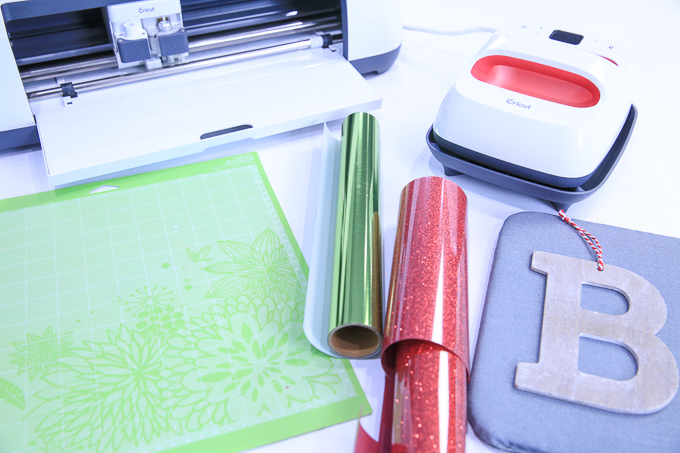
Supplies for Iron-On Wooden Christmas Ornaments
- Glitter Iron-On
- Foil Iron-On
- Everyday Iron-On
- Cricut Maker
- Standard Grip Mat
- Weeding Tool
- Scissors
- EasyPress 2 & Mat
- EasyPress 2 Heat Guide
- Ruler
- Blank Wooden Ornaments (dollar store)
- Design Space File
- Optional: BrightPad for weeding
- Optional: Knife Blade, Strong Grip Mat & Masking Tape (cut wood shapes)
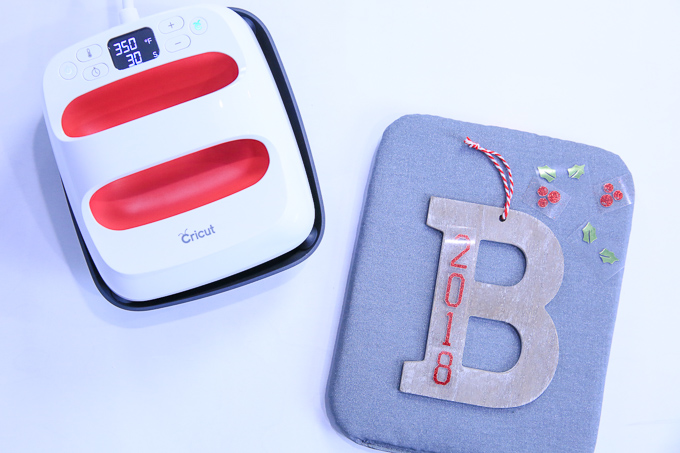
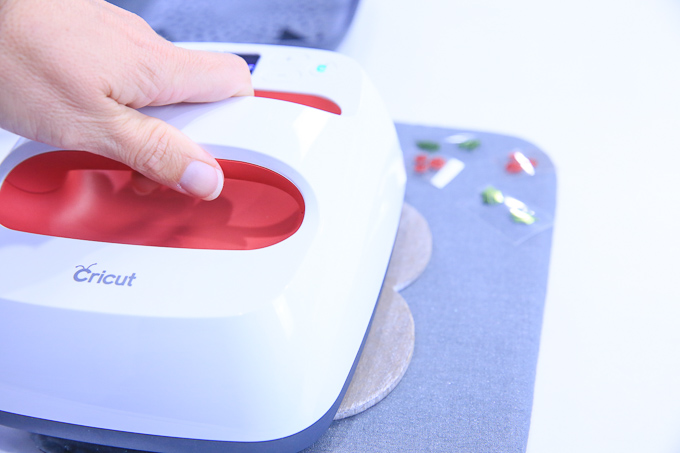
How To Apply Iron-On To Wooden Ornaments
Video – Unbox My Cricut EasyPress 2 With Me
Join me on Facebook for a replay of my Live, and I’ll show you everything in the 6×7″ EasyPress 2 box and we’ll make our first project together!
It’s perfectly petite and mobile. You can make perfect small-scale projects without working around seams. With a 6”x7” heat plate that heats up in just over a minute, make smaller projects in short order. And, don’t forget a new 8×10” EasyPress mat because “it’s all about that base!”

 Farmhouse Hot Cocoa Bar With Cricut